Today we would like to tell you how we successfully cloned a Windows Server 2012 R2 a few days ago. The clone process with Sysprep is partially described on many Internet pages, but we have not yet found the correct instructions. That’s why we want to show you here how cloning a VM is relatively easy.
Purpose of the cloning process
The starting point was that we wanted to completely clone an existing Windows Server 2012 R2 including the installed software, because we needed a complete copy of the server for test purposes. The server was set up as a virtual machine on a Windows Server 2012 R2 Hyper-V server. To avoid problems with the SID (Secure Identifier) within the network domain, the Windows server had to be processed via Sysprep.
Copy of the VHDX file
First we copied the VHDX file and created a new Hyper-V in the Hyper-V Manager. Since the VHDX file was accessible and could not be copied, we simply restored the VM and saved the VHDX file to a different location. Otherwise we have created the VM with the same Hyper-V settings, only we have not added a virtual switch to the network card so that the VM does not collide with the original VM when it is started for the first time.
SID check
We found the original SID on the original system with the Sysinternal tool “PsGetsid64.exe” , which is included in the PCTools . Below you can see the SID, which the tool reads very easily and quickly.
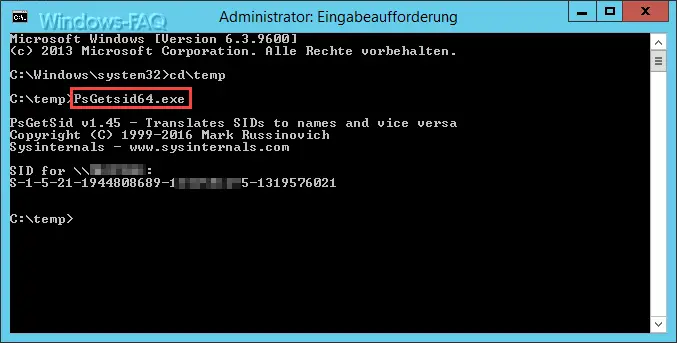
Of course we also did this with the cloned VM to check whether the SID is still the same. Of course, this was the case.
SYSPREP on cloned VM
On the cloned VM, we removed the PC from the domain as a precaution and included it in a working group . Then we called the system preparation tool “Sysprep” on the cloned VM . You can control this via the command line and parameters, but it also has a corresponding GUI . You can find the Sysprep program in the directory ” C: Windows System32 sysprep “.
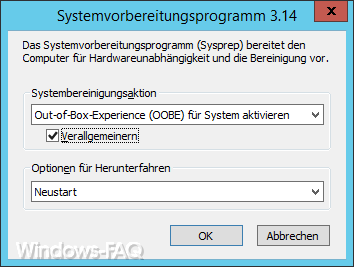
Here the settings ” Activate Out-of-Box-Experience (OOBE) for system ” and ” Generalize ” must be selected. You should then set the shutdown options to ” Restart “. After confirming ” OK “, Windows immediately begins with the generalization phase , ie with the system preparation.
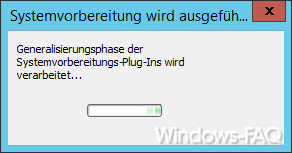
Depending on the speed of your system, this takes a moment. The VM is then restarted immediately and the Windows system adaptation is carried out.

Queries or language layout and the Windows key then appear , which of course must be re-entered. The Sysprep process removes all Windows activation information , a completely new Windows activation is necessary. After you have answered all the queries accordingly, your clone is actually ready.
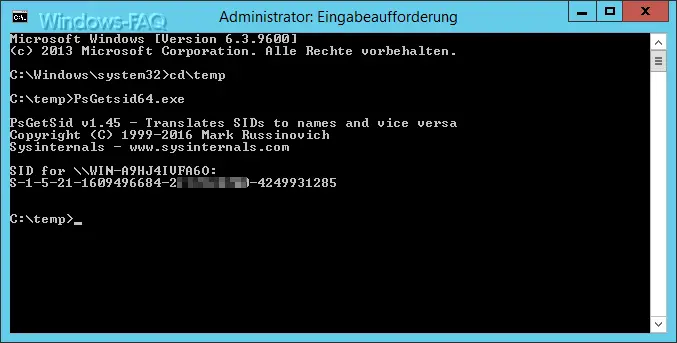
The PC or server in this case has of course also been given a new computer name by the process . The corresponding adjustments must therefore also be made here. Before we added the cloned Windows system back into the domain, we checked the SID again with the “PsGetSid64” tool , which now changes, as you can see below.
The entire process is now complete. Now the VM will receive a fixed IP and will then be added to the network domain. So we have successfully cloned the server system.
If you are interested in other Windows tools , we recommend the following articles.
–
Call system administration tools in Windows 10 – CONTIG Tool – Defragmentation of individual files or folders
– Stordiag – Storage and file systems diagnostic tool for Windows 10 (1607)
– EMET 5.5 Toolkit for Windows 10 Download
– Forgot WLAN password – No problem – Simply by tool read out
– PC performance problems with Fix it Tool from Microsoft
– AD Replication Status Tool (ADRS)