
While installing the NVIDIA graphics driver on your computer, it may stop and display an error message ‘ This NVIDIA Graphics driver is not compatible with the version of Windows ‘. If you are seeing this, then the NVIDIA installer is in conflict with the current version of your Windows. Follow these simple solutions and the problem will be solved in no time.
Workarounds –
1. Restart your computer and try the installer again.
2. Disable the antivirus on your computer. Then try to install it again.
- Fix: Check Windows Version
- Solution 2: uninstall the driver with DDU and reinstall it manually
- Solution 3: update your Windows
- Solution 3: install the NVIDIA driver with GeForce Experience
Fix: Check Windows Version
Step 1 – Check which version Windows is installed
Check that the version of Windows on your computer is the latest version.
1. Press the Windows key + R .
2. Type ” winver ” and hit Enter .
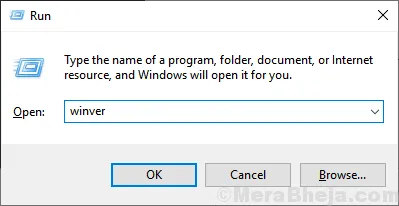
3. In About Windows you can see the version of Windows you are using.
(This computer has a version of Windows 2004 installed.)
If the version of Windows installed is not the latest, the installer will not install the graphics driver.
Step – 2 Check the OS type
You need to check if you are installing a 64-bit driver on a 32-bit Windows 10.
1. Press Windows key + R .
2. After that, type ” dxdiag “. Click on ” OK “.
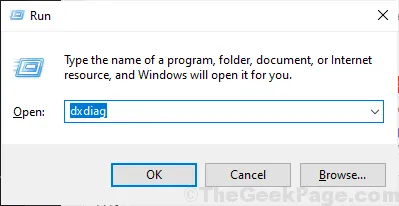
This will open the DirectXDiagnostic Tool on your computer.
3. Observe the ‘ Operating System: ‘ here. Please note whether it is 64-bit or 32-bit.
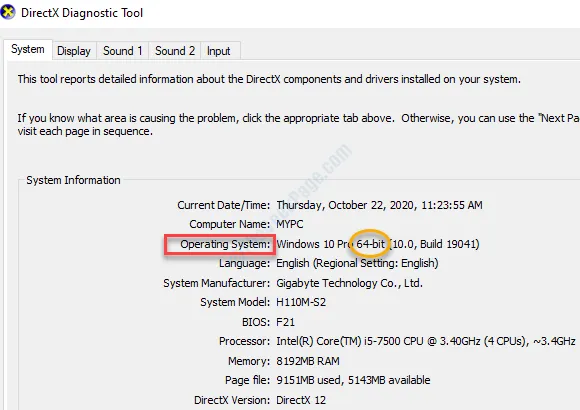
If you have the wrong version of the driver, download a new version of the driver according to your operating system type.
Try the installer again.
Solution 2: uninstall the driver with DDU and reinstall it manually
Display Driver Uninstaller is an open source tool that uninstalls your existing graphics driver.
Follow these steps carefully:
Step 1: download DDU and disable automatic update
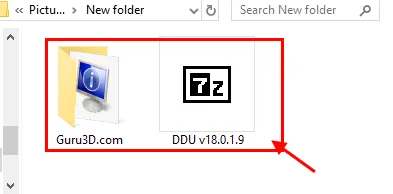
1. Download DDU.zip on your computer and after downloading it, unzip the folder to a location of your choice.
Remember the location where you extracted this zip file.
2. Now, press Windows Key + R to have lunch Run , and
3. Then type ” control printers “. Click on ” OK “.
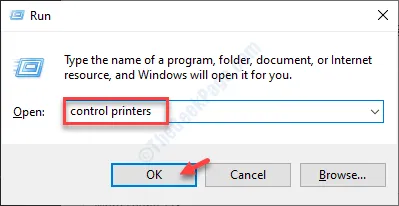
Device and Printers window will open.
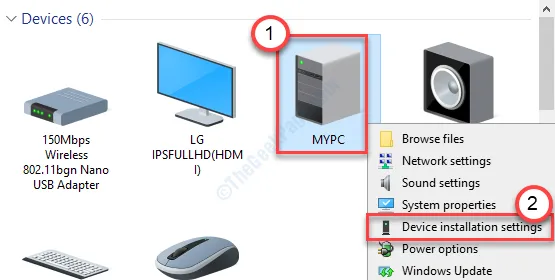
4. In this window you have to, right-click on the name of your computer and click on « Device installation settings “.
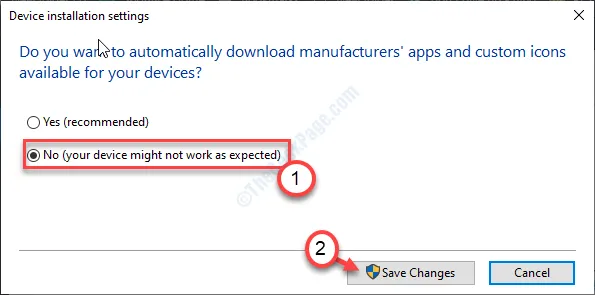
5. Then click on ” No (your device might not work as ” expected) “option.
6. Click on ” Save Changes “.
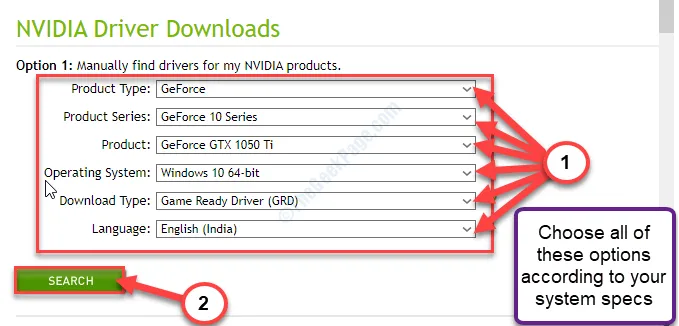
7. Search for « Nvidia drivers « from your browser and click » Download Drivers | NVIDIA “.

8. Enter the appropriate information in the appropriate sections (such as ‘Product type’, your ‘Operating system’, etc.).
9. Now click ” Search ” to search for the latest driver.
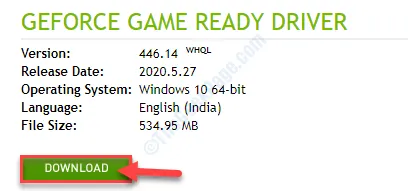
10. Then click ” Download ” to start downloading the driver.
Remember where you are saving the installer on your computer.
Close the browser window after downloading the driver.
Step 2: boot into safe mode and uninstall the graphics driver
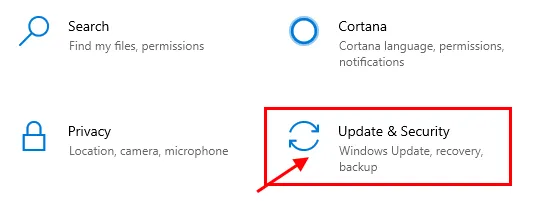
1. Press Windows Icon + I and click ” Update and Security “.
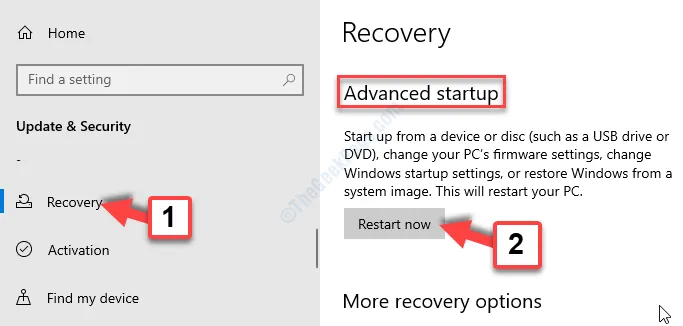
2. Now, in the left panel of Settings , click on « Recovery «,
3. Then, under ‘ Advanced startup p’, click on ” Restart Now “.
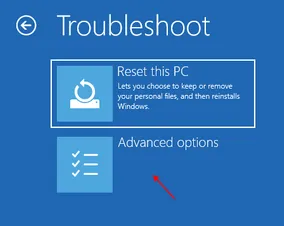
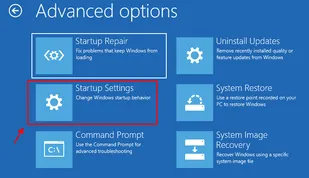
4. Once your computer restarts in Windows Recovery Environment , click on ” Advanced options ” in Troubleshooting mode.
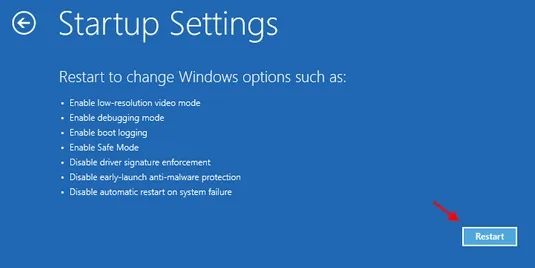
5. Then you have to click on the « Startup Settings ».
6. Now click on ” Restart “.
7. You have to press F4 to ” Enable Safe Mode “.
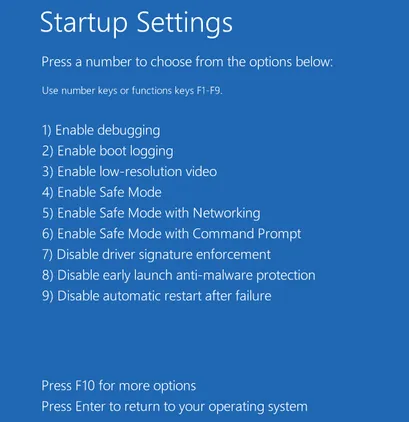
Now, it will boot into safe mode.
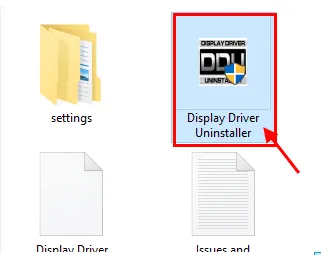
8. Now navigate to the file location where you extracted DDU.zip .
9. Double click on ” DDU v18.1.0.9 ” to extract the main files.
10. You have to go to the extracted folder and then double click on the « Display Driver Installer ».
11. Now, in the Display Driver Uninstaller window, on the left side, click on the drop-down menu next to ” Select device type ” and click on ” GPU “
12. Here you have to finally click on « Clean and Restart “.
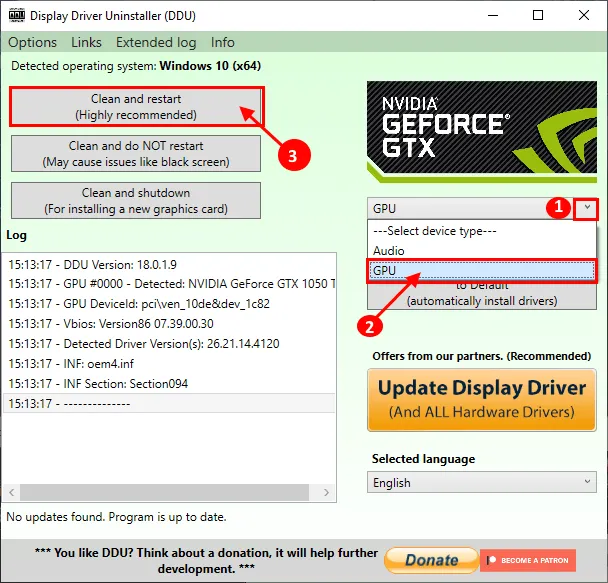
The NVIDIA drivers will be uninstalled from your system and the system will start up in normal mode again.
Step 3: install the graphics driver manually
Once your computer restarts, follow these simple instructions to resolve the problem.
1. You must locate the downloaded installer on your drive.
2. You have to double click the offline installer to run it.

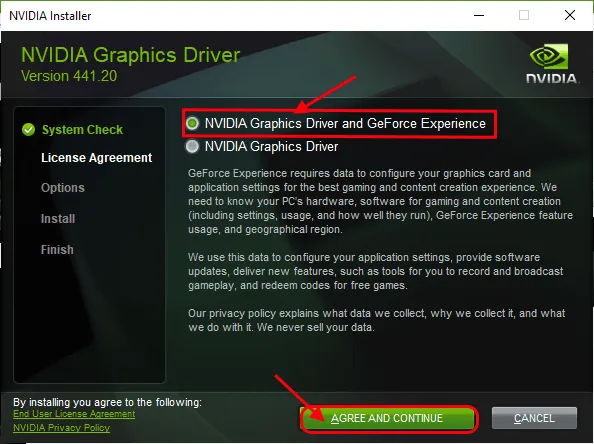
3. When the NVIDIA graphics driver window appears, click ” NVIDIA GeForce Graphics Driver and Experience “
4. Then click on « Agree and continue “.
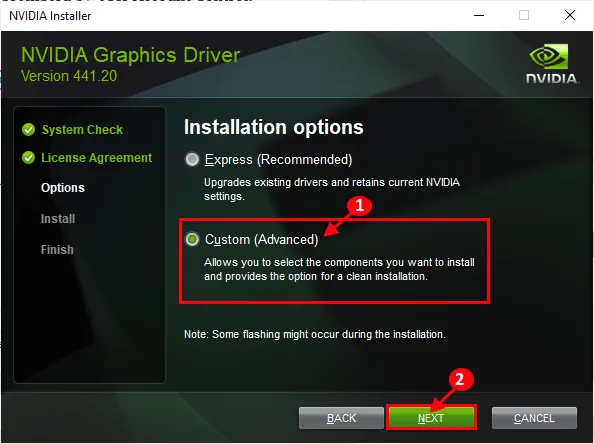
5. In the next step, click on ” Custom Installation “.
6. Click ” Next ” to continue the installation process.
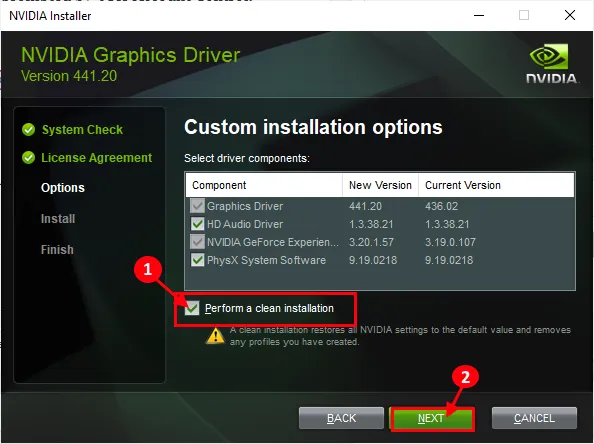
7. Finally, check the ” Perform a clean installation ” box
8. Click ” Next ” and the installation process will start.
9. After installation is done, click ” Close ” to close the NVIDIA Graphics Driver Installer window.
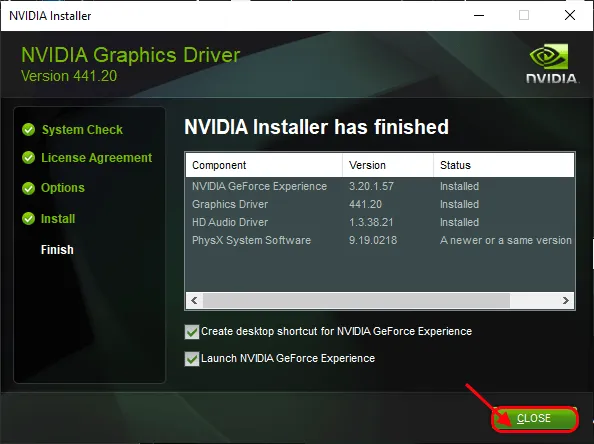
Restart your computer for the installation process to complete.
All that remains is to enable automatic updates for your graphics driver.
10. After restarting your computer, right-click on the Windows icon and click ” Run “.
11. Type this code and press Enter .
control printersCopy
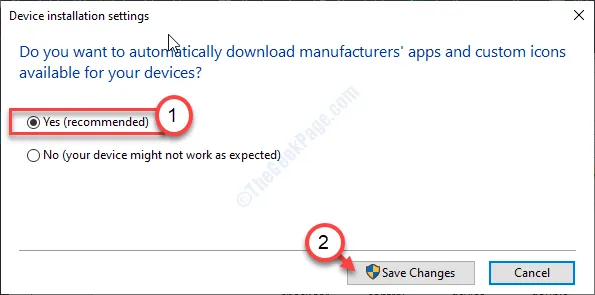
12. Again, right-click on your computer and click on ” Device installation settings “.
13. This time you should choose “ Yes (recommended) ” And then click on “ Save Changes “.
This should have fixed the problem on your computer.
Solution 3: update your Windows
Perhaps the version of Windows you are using is not the latest version.
1. Press the Windows key + I .
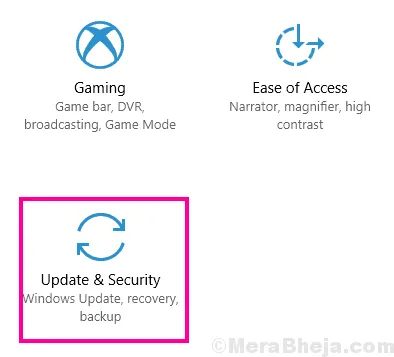
2. Then click on ” Updates & Security “.
3. Then click on ” Check for updates “.
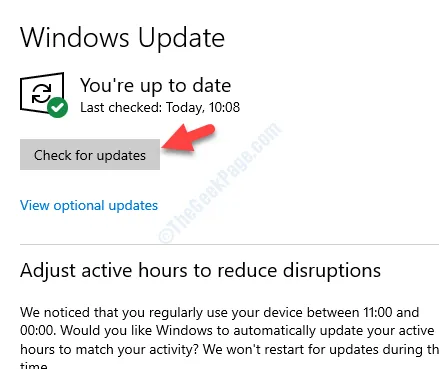
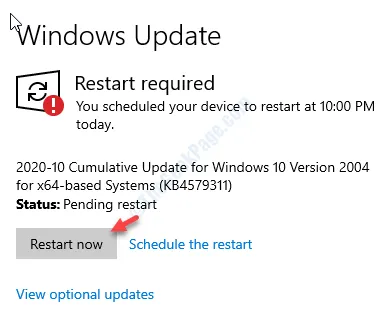
4. When the updates are downloaded, click ” Restart Now ” to restart your computer.
After restarting your computer, install the driver again.
Solution 3: install the NVIDIA driver with GeForce Experience
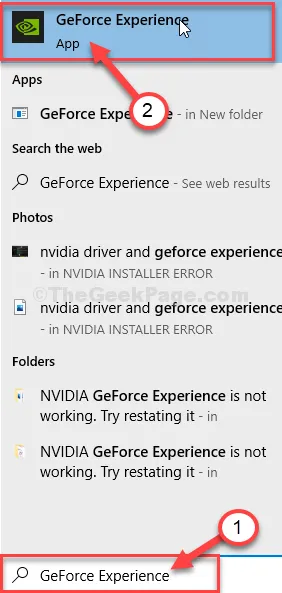
1. Search for the ” GeForce Experience ” in the search box.
2. After that, click on ” GeForce Experience ” in the search results.
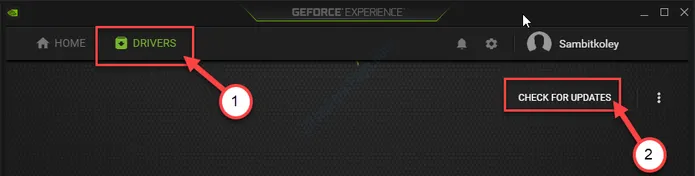
3. When the GeForce Experience appears, click on the ” Drivers ” tab.
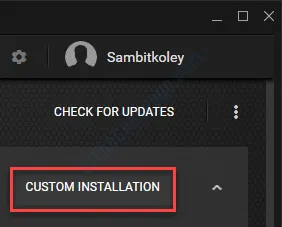
4. Now click on ” CHECK FOR UPDATES “.
5. To download the latest version of the driver, click on « Download “.
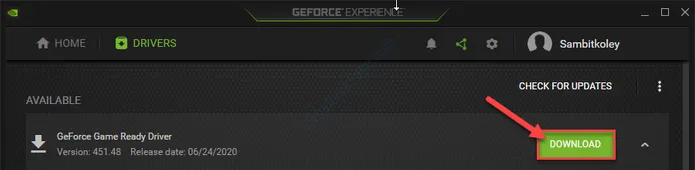
Let this download the driver to your computer. Please wait patiently for a few minutes.
6. After the download process is complete, you will see two options “Quick Install” and “Custom Install”.
7. You have to choose « Custom Installation “.
8. Then, check the ” Perform a clean install “.
9. Click ” Next ” to start the installation process.
Now, GeForce Experience will install the latest version of the graphics driver on your device.
This process will take 5-10 minutes.
10. In a few minutes you will notice the ” Installation Complete ” message.
11. Then click on « Close “.
Your problem should be solved.