Photo by Alex Litvin on Unsplash
Windows 10 offers a lot of advantages over the previous versions, especially the new operating system from Microsoft runs more reliably and smoothly, and security has also been improved again. All setting options of Windows 7 are also included in Windows 10, although some options are now located elsewhere and must be searched for. One of the main changes, which users will probably notice first when using Windows 10, is the renaming of programs to “Apps”.
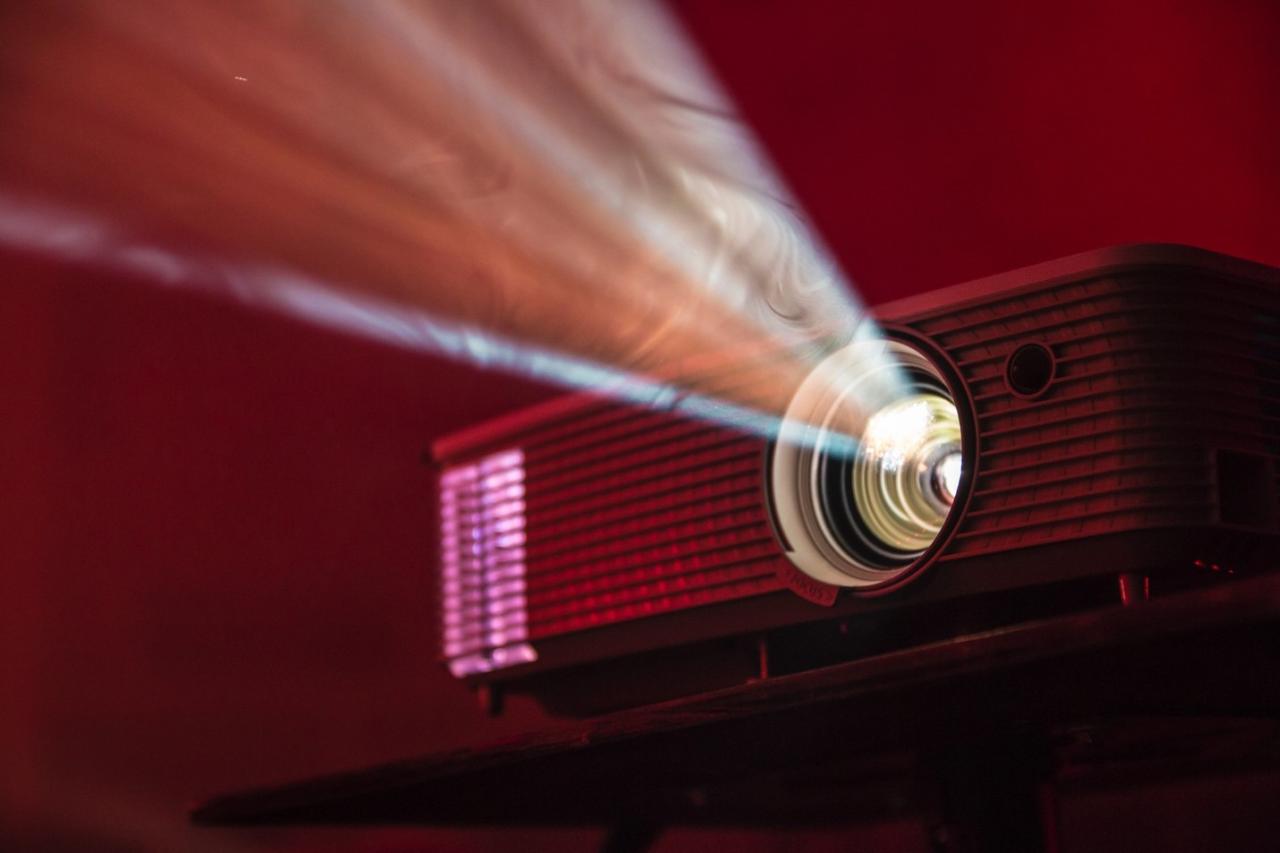
The Windows operating system now also offers its own app store, in which Windows applications can be conveniently searched. Connecting external devices such as printers or a projector is very easy and convenient. Depending on the model you are using, some plug-and-play devices only have to be connected to the Windows PC without the need for complex settings. With some projectors and end devices, however, manual configuration is required.
Connect with the projector in Windows 10
The key combination (Windows key) + P takes you directly to the configuration of the display in Windows 10, whereby in addition to a projector, other monitors or a connected TV can be selected as the output device. After calling up the on-screen display options, you have four options which you can use to conveniently set up the display.
1.Display via the Windows 10 PC monitor
If you select this option, no image is output via the connected projector. This setting can be useful during a presentation, for example if you want to copy data out of an email, but the rest of the content should not be shown to your audience. With this setting, all content is displayed on Windows 10 only on the primary monitor of the computer. Attention! If you have configured your screen as the primary output source, the PC screen remains black, because in this case the picture is only output on the screen or the connected TV.
2.Duplicate the screen display under Windows 10 (= double)
Select this setting if you want the same image to be displayed on all connected output devices. This can be particularly useful if you have connected different monitors, televisions or projectors to the Windows 10 computer so that all participants in the room can see your presentation well.
3. Extend the display in Windows 10
With this flexible setting of the screen display, the screen content with all windows and apps is displayed on the primary monitor, with all other end devices displaying a static preview image. This is mostly the set desktop background. For company presentations, therefore, do not use private holiday pictures as a desktop picture, but rather a neutral graphic that best contains the company logo. If you want to display a PowerPoint presentation on the projector, for example, while you see something else on the primary monitor, you can conveniently distribute individual elements to the other output devices. A marketing film, for example, can be played back via a projector, while diagrams or written information are displayed on a connected TV screen.
4. Displaying the content on one of the connected screens
Windows 10 makes it much easier for you to visually output your data. This option enables you, for example, to only use the projector to present your data. This can be very helpful if you run a PC in the company that does not have its own monitor. Compact PCs in particular, which can also be easily taken on business trips, are often set up in this screen entry under Windows 10.
Set up a projector wirelessly in Windows 10
If your projector supports wireless connectivity, e.g. via WLAN or Bluetooth, no cable is required to set up the projector under Windows 10. You can access the corresponding settings as described above, i.e. with the key combination (Windows key) + P. Now select the option “Connect to wireless display device” and then your wireless device such as a projector, projector, and so on. Here is an overview of the best wireless projectors of the year: https://www.beamertest.co/. In order to be able to carry out device detection without cables, your computer under Windows 10 needs the so-called Miracast interface. Miracast is considered an equivalent counterpart to Apple’s AirPlay, although Apple computers are still of little interest to hackers due to the small number of users worldwide. Miracast on Windows 10 has the great advantage that it does not have to be integrated into a wireless network. Rather, the individual devices can also be connected to each other using a Wi-Fi connection, which can make operation in the professional environment enormously easier.
Beamer is not recognized under Windows 10
This does not usually occur with a new projector, since current devices can be optimally recognized by Windows 10, with all necessary configurations being carried out internally in the operating system. Should it happen that your projector is not immediately recognized by Windows 10, you should first check the cable for any defects in a wired device before working through the partially nested setting options of Windows 10.
A defective network cable is often the reason why a projector is not recognized under Windows 10. Some devices require additional drivers, which you can usually download free of charge from the manufacturer of the display device. Check whether you have carried out the settings of the screen display correctly, this problem can be solved particularly easily with the steps shown above. If there is a defect in the projector, the device must probably be serviced by a technician, usually sending the projector to the manufacturer.