
Having a direct access to a program is something very simple but no less useful because it will allow us to access any application with a simple click of the mouse . The only problem is that you may not be very familiar with creating a shortcut in Windows 11 . But don’t worry, because throughout this simple article we will teach you how you can create them yourself to increase your productivity and time in front of your computer.
What is a shortcut and what is it for?
We call the shortcut in Windows 11 the bridge that allows us to reach the executable file by clicking on a desktop icon. In this way we can open a program without having to navigate through the folders of the file explorer.
How Shortcuts Are Created In Windows 11 2022
There are 3 ways to make application shortcuts in Windows 11 which we will explain below.
create desktop link in win 11
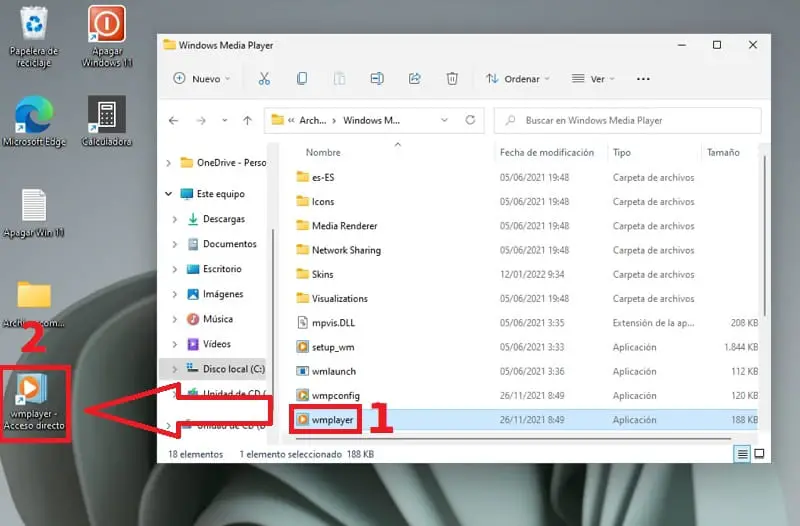
The easiest method to put an app on the Windows 11 desktop is to simply follow these steps:
- Locate the executable file (the one that opens the program) and select it with the left mouse button.
- Without releasing the left mouse button, we move the icon on the desktop and release the button to create a link.
Now we can open the program directly from the desktop just by double-clicking on said icon.
Create Shortcut Icons Here
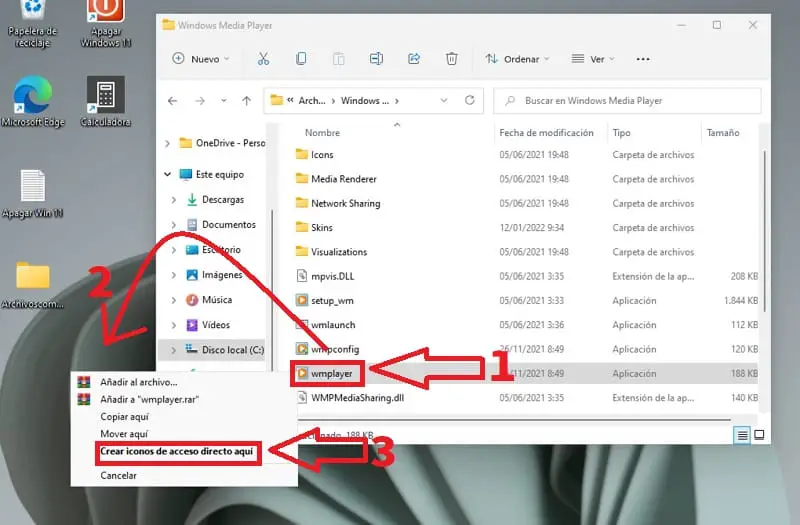
Another method very similar to the previous one would be to use the context menu to put an app on the Win 11 desktop . Doing it is very simple, just follow these steps:
- We click on the executable with the right mouse button.
- Without releasing the right mouse button we move the icon on the desktop.
- We release the right mouse button and select “Create Shortcut Icons Here” .
Make Shortcut By Element Location
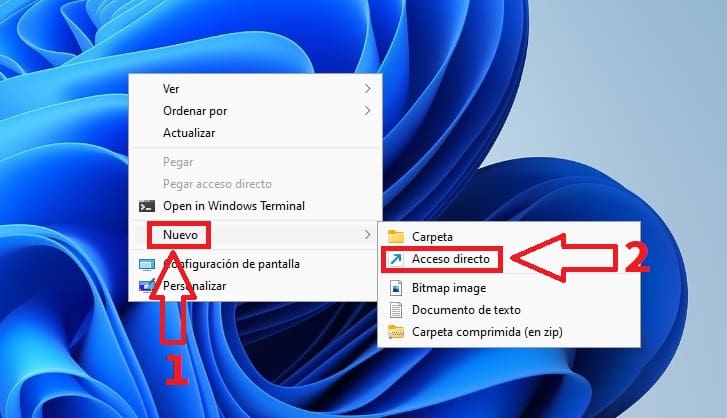
There is also the possibility of adding an app to the Win 11 desktop knowing the exact name of the application’s executable. To do so is as simple as following these steps:
- We right click with the mouse on the desktop and then in the context menu select «New» .
- In the new submenu we select «Direct Access» .
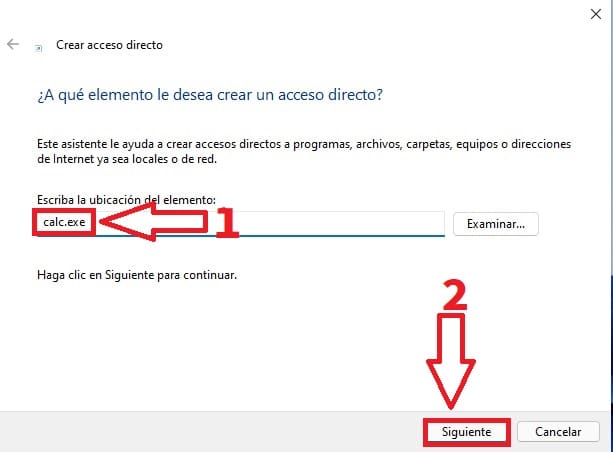
The next thing will be to put the exact name of the executable of the program , for example if you want to create a direct access to the calculator we will have to do the following:
- We write “calc.exe” without quotes.
- We give «Next» .
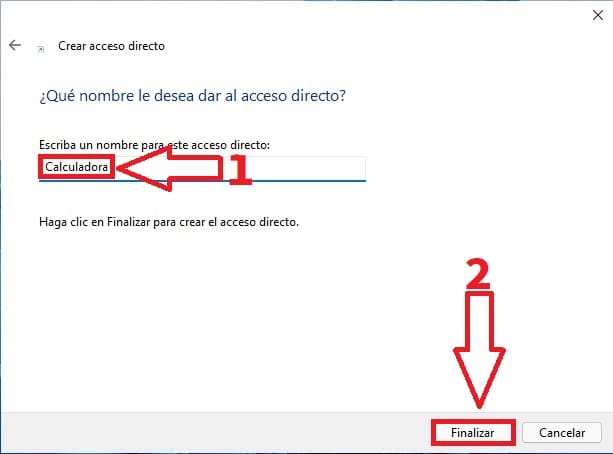
- Finally we put the name to our that we want (in my case Calculator ).
- We give «Finish» .
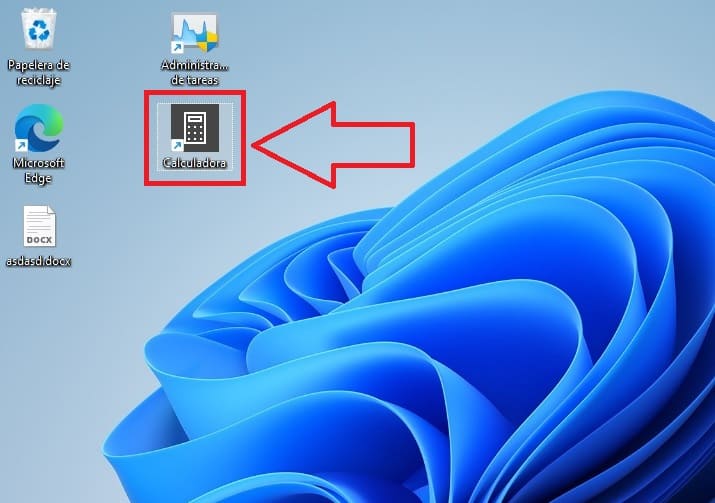
And this would be the result.
Now you know how to put an application on the Windows 11 desktop , if you have any questions you can always leave me a comment and don’t forget to share this tutorial with your friends through the social network buttons. Thanks for everything!