Normally, the mouse sensitivity or pointer speed of the mouse is set quite well by default in Windows 10 and most users get along well with it. Nevertheless, there can be various reasons to adjust the sensitivity of the mouse pointer to your own needs and to slow down or accelerate the mouse pointer speed.
These mouse pointer settings can also depend on the mouse hardware used and on screen resolutions. Microsoft has also integrated the setting option into the “Windows Settings” app. You can adjust the mouse pointer speed yourself as follows.
Adjust mouse pointer speed
First you get after pressing the Windows key combination

in the Windows settings. There you call the areas
Devices (Bluetooth, printer, mouse)
and then the option
mouse
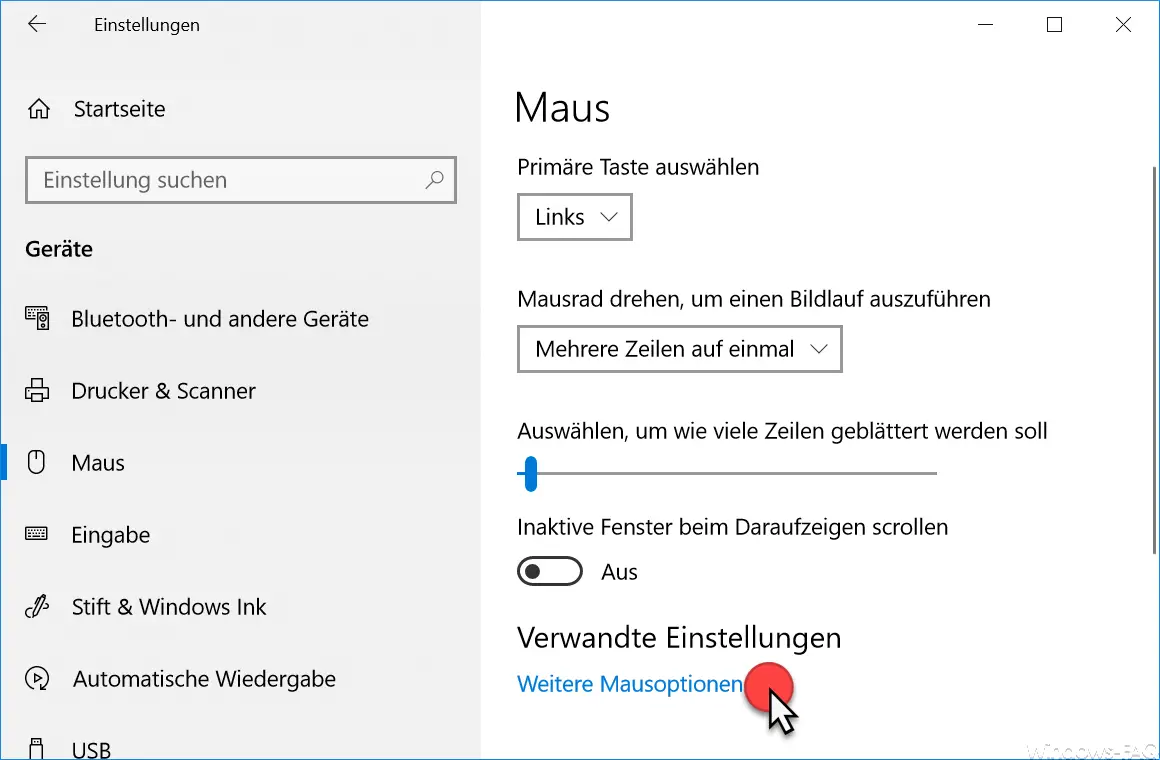
Then you get to the mouse settings by making various settings. We reported a while ago about ” Scroll inactive windows when pointing ” or about how you can adjust the size of the mouse pointer . The mouse pointer speed settings can be found under the point
Related settings – More mouse options
We have shown you this setting window below.
Then the ” Properties of the mouse ” are called. You can find the appropriate option for the pointer speed in the tab ” Pointer Options “, as you see in the figure below can.
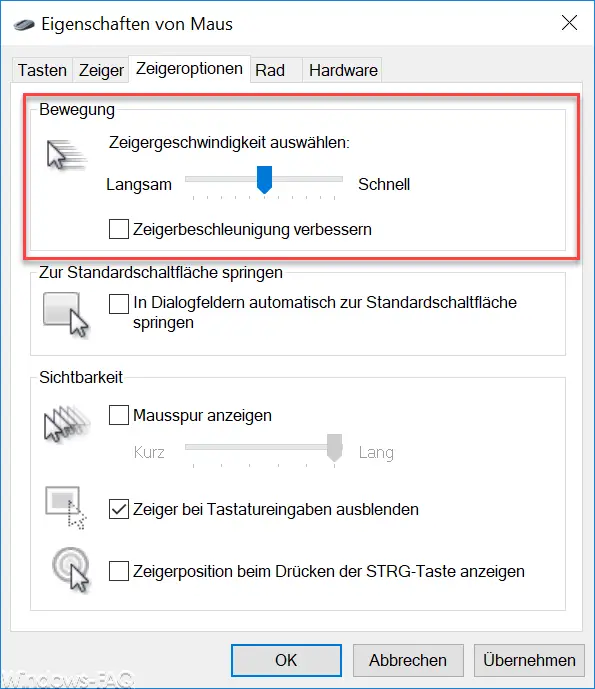
Here you can now set the mouse pointer speed as it is best for you. The easiest way is to try out the optimal mouse speed by adjusting the slider accordingly. The settings become active immediately after confirming ” Apply “.
The ” Improve pointer acceleration ” option is very controversial and does not work with all hardware. For many users, activating the option makes the mouse twice as fast, but for others, it does nothing. The option is always set by default, we have had better experiences when the pointer acceleration is switched off .