When upgrading your Windows 7, Windows 8 or 8.1 installation to Windows 10 , the following error message often appears
0xC1900101 – 0x20017 Windows 10 could not be installed
In the picture below you can see the original upgrade error message that occurred during the Windows 10 upgrade.
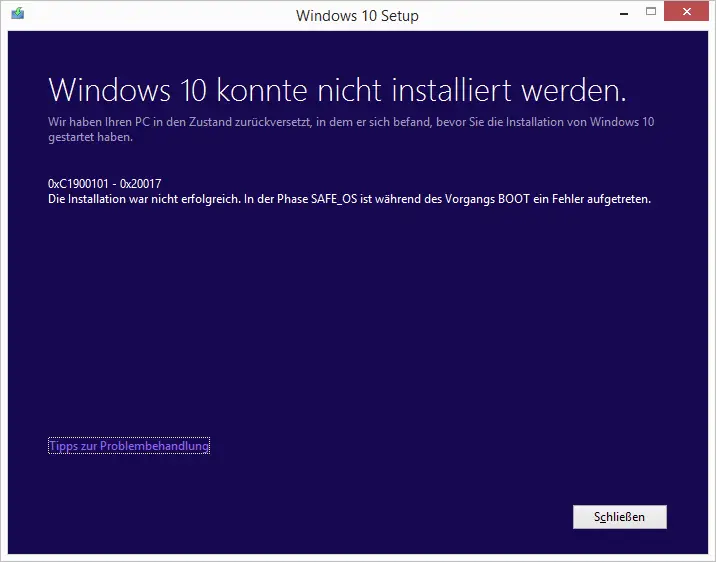
The exact upgrade error message is:
Windows 10 could not be installed.
We restored your PC to the state it was in before you started installing Windows 10.
0xC1900101 – 0x20017
The installation was not successful. In the SAFE_OS phase, an error occurred during the BOOT process.
There are various reasons why the error code occurs when upgrading Windows 10. We have listed all the hints and possible solutions for you to correct the update error
Installation of BIOS update
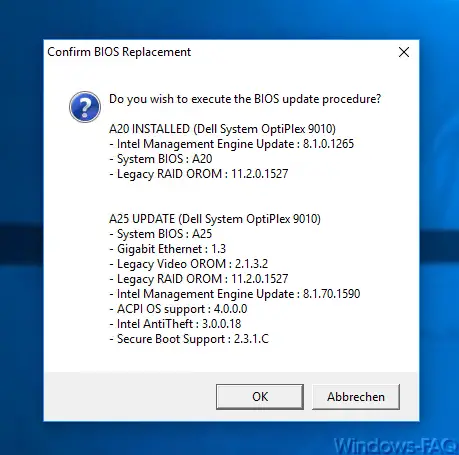
For many users who also receive this error message during the upgrade, it turned out that it was due to an older BIOS version . For this reason, you should definitely upgrade the BIOS to the latest version. Intel motherboards in particular seem to be susceptible to the 0xC1900101 error when an older BIOS version is installed.
Uninstall antivirus program (do not deactivate it)
Some affected users have reported that the upgrade issue is due to the anti-virus program installed . It turned out that the virus software must be uninstalled before starting the Windows 10 update. Simply deactivating the software or shutting down the Windows services generally did not help.
Of course, you have to make sure that you have the latest anti-virus software installed after the successful upgrade .
Disable Windows Defender
At the same time, you should also shutdown Windows Defender . How you can deactivate Windows Defender has been published in another post called ” Deactivate Windows Defender completely “. Again, please remember to reactivate the Defender after the upgrade.
Remove USB devices
Before you start the upgrade, you should definitely disconnect all USB devices that are currently connected to your PC. The connected USB devices can cause the error 0xC1900101 and prevent the boot process.
After a successful upgrade installation, you can of course plug the devices back in again and try out whether the USB devices also work perfectly under Windows 10.
Windows 10 installation source
It is also crucial whether you perform the Windows 10 upgrade via a LAN or WLAN connection . We advise you to save the upgrade installation files completely on a local partition and to carry out the Windows 10 upgrade from there. Of course you can also use a Windows 10 DVD or a suitable USB stick.
Reset Windows update files
If the problems persist, you should completely rename 2 folders in which Windows temporarily stores the installation files . By renaming, the Windows system is forced to put the files completely new there and thus installation problems can be eliminated. Please do the following in an MS-DOS prompt with admin rights .
net stop wuauserv
net stop cryptSvc
net stop bits
net stop msiserver
ren C: Windows SoftwareDistribution SoftwareDistribution.sav
ren C: Windows System32 catroot2 Catroot2.sav
net start wuauserv
net start cryptSvc
net start bits
net start msiserver
Then you should restart and start the Windows 10 upgrade again. Update error code 0xC1900101 should no longer occur.
If you are interested in further solutions for other Windows error codes , the following information may be of interest to you.
– 0x80240031 Windows Update error
– 0x8e5e03fa Windows 10 Update error code
– 0x80248007 error code with Windows Update
– Windows Update error code 0x80245006
– 0x80070003 error code with Windows Update
– Windows App Store error code 0x8024500c
– Windows Update error code 0x80240fff
– 0xc1900201 error code for Windows 10 Anniversary Update
– 0x80070490 Windows Update error code
– 0x8000ffff Windows error code
– 0x80072ee7 error code for Anniversary Download
– 0xc004f014 error code for Windows 10 Upgrade Home -> Pro