How can the size of the WinSxS folder be reduced ? These questions are asked by an infinite number of Windows users, because this WinSxS directory in the Windows system directory gets bigger and bigger depending on the age of the Windows installation. There are many Windows installations in which the WinSxS folder occupies more than 10 or 20 GB of space on the system partition and sometimes poses problems for users because the free space on the Windows system partition is becoming increasingly scarce.
Unfortunately, the WinSxS directory is the Windows component storage directory . This WinSxS component directory is used in all installation processes, including Windows updates, installation of service packs, feature updates and hotfix installations.
The WinSxs folder contains all files required for a Windows installation. All updates to system files are also saved in the component memory. As a result, the Windows component memory grows more and more over time. In the WinSxS folder, fixed NTFS links between yourself and other Windows directories are used to increase the stability of the Windows platform.
Clean up WinSxS folder
So it is clear that the WinSxS folder is a central function of every Windows installation, but the excessive storage space is very ugly and causes problems as described. That’s why we looked for ways to clean up the WinSxS folder .
IMPORTANT: Before you carry out these measures, you should definitely make a full backup of your system so that a backup can take place in the event of a problem.
Microsoft generally recommends that you do not delete the WinSxS folder manually. Removing folders or files can seriously damage the installed Windows system. Moving the WinSxS folder to another partition is also not allowed. There are two ways to remedy this, which we would like to introduce to you below.
Before that, however, we would like to show you how big our WinSxS folder was before.
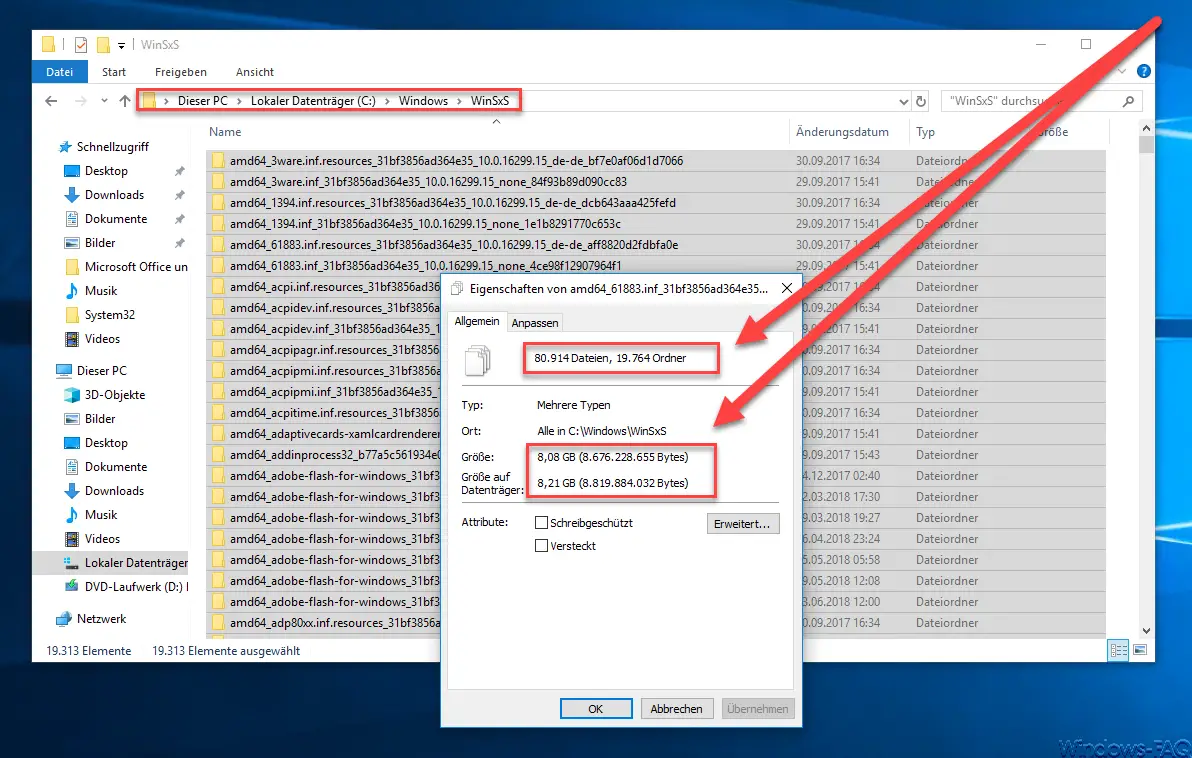
After all, there were almost 81,000 files and almost 20,000 folders with a total size of over 8GB .
1.) StartComponentCleanup cleans up WinSxS folder
The first way is the function
StartComponentCleanup
to use. On the one hand, this is a recurring task that is automatically called up by Windows 10 every 30 days. You can find the task in the Windows Task Scheduler (tasksched.msc) under the folder
Task Scheduler Library Microsoft Windows Servicing
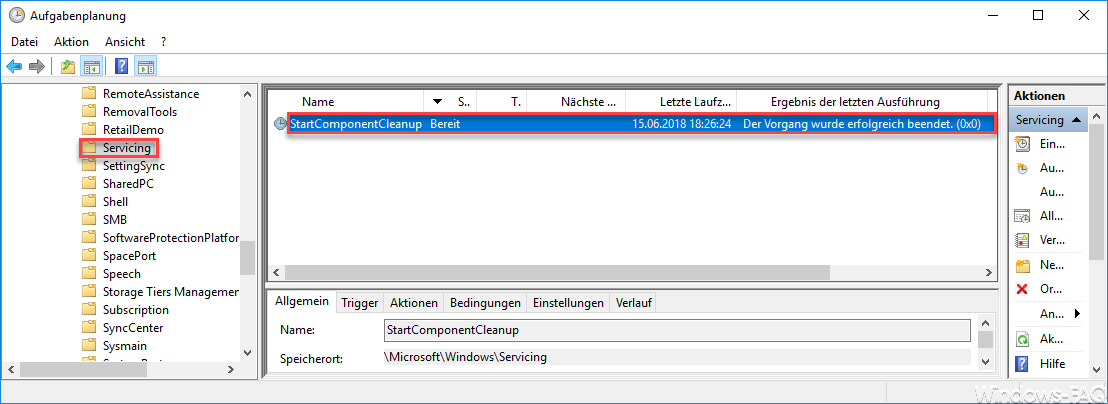
This task also cleans up the WinSxS folder and removes folders and files that are no longer required by the Windows installation. You can also perform this task manually using the following command.
Dism.exe / online / Cleanup-Image / StartComponentCleanup
Below we have illustrated the process for you.
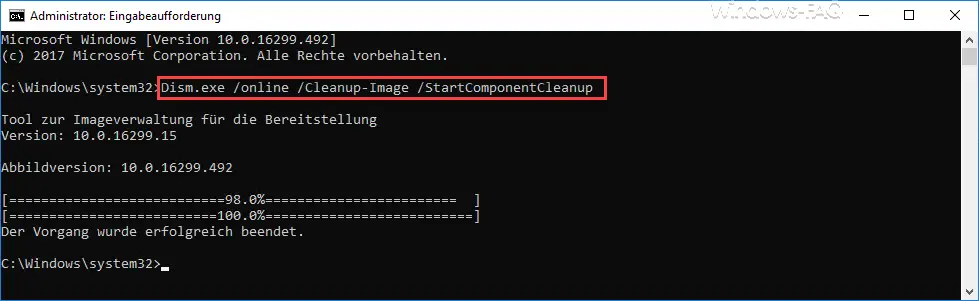
This process takes a relatively long time. In our tests it took 10-20 minutes on different PCs until the DISM command was successfully executed.
2. Reduce the WinSXS folder with the ResetBase parameter
An increase in the first option is to append the ” ResetBase ” parameter . This parameter cleans components from the WinSxS folder that prevent uninstallation of installed Windows updates and service packs . Microsoft has released the following information about this parameter.
Use / StartComponentCleanup to clean up the replaced components and reduce the size of the component memory. Use / ResetBase to reset the base of replaced components and thereby further reduce the component memory .
WARNING! Once the / StartComponentCleanup process has been completed, the installed Windows updates can no longer be uninstalled with / ResetBase.
The exact command is then:
Dism.exe / online / Cleanup-Image / StartComponentCleanup / ResetBase
Shown here again as an example:
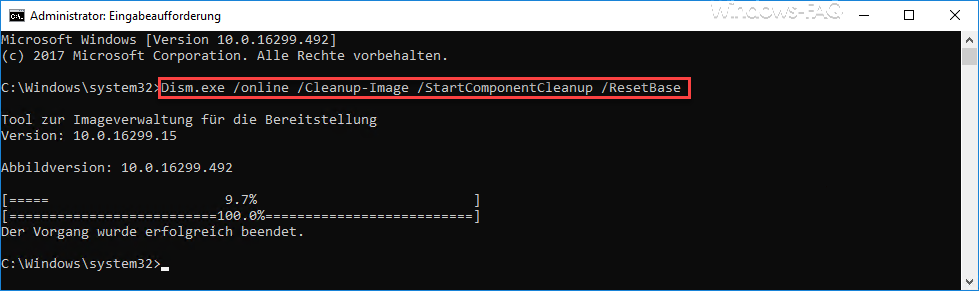
At the end of this run, the size of the WinSxS folder has been reduced to approximately half. There are just under 10,600 folders left and the entire WinSxS folder now occupies just under 4.4GB.
Clean up WinSxS folder in Windows 7
With Windows 7, this is unfortunately a bit different, because Windows 7 does not yet support the ” StartComponentCleanup ” and ” ResetBase ” parameters . In Windows 7 you can shrink the WinSxS folder with the following command.
dism / Online / Cleanup-Image / spsuperseded
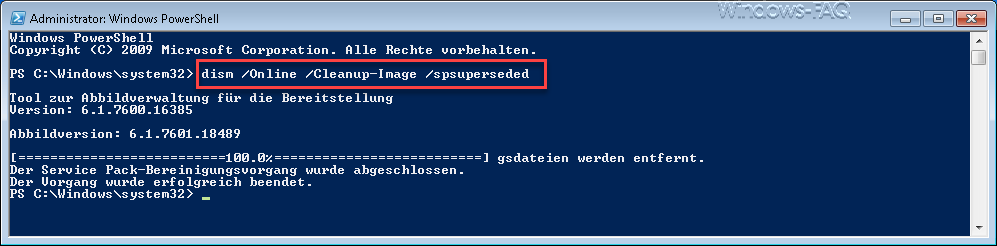
This process removes backup files by installing service packs for Windows 7. Attention: Afterwards, the uninstallation of any service pack installations is no longer possible.
You can find other interesting Windows commands in these posts here on our Windows FAQ blog.
– Generate large dummy files manually and quickly using a command with FSUTIL – Reset
the local GPOs completely
using a command – ISOBURN – Windows ISO burning program as command line command
– Call up system administration tools in Windows 10 – Show
or delete available WLAN connections using a command
– RAM diagnosis with MDSCHED (Windows command)
– Control shortcuts for important Windows setting options
– PowerShell command to deactivate the firewall
– Shut down Windows and restart with PowerShell commands