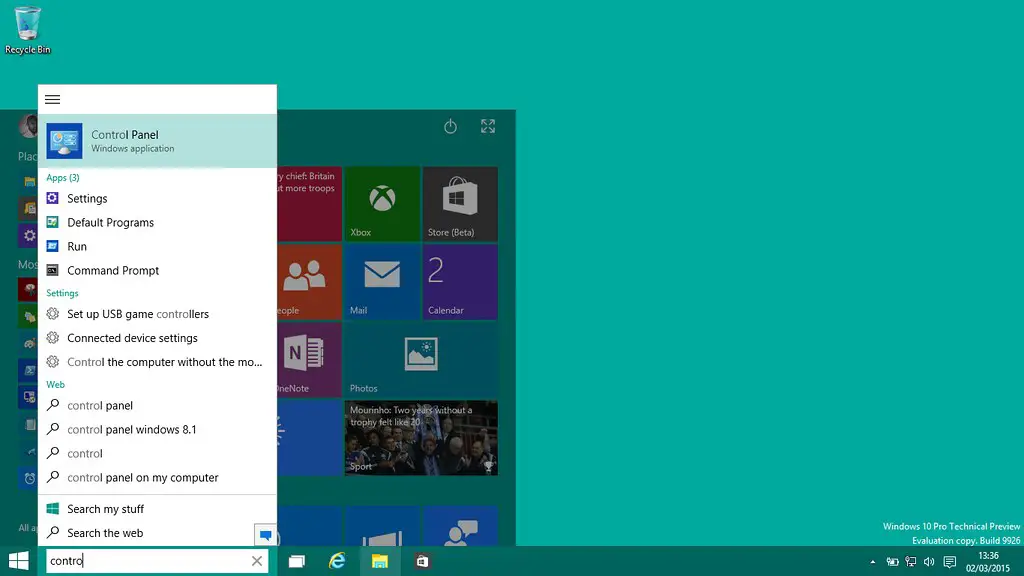
A screenshot , also called a hard copy or simply a screenshot , can be really helpful. Instead of copying or copying the content of a page, you can simply create a photo of the desktop or of individual program or browser windows. Most of the time, just pressing a button is enough , but with the screenshot there are several ways to get there. We list some of them and in the end you simply use the one that is most comfortable for you.
Key combinations and the snipping tool
The good thing is that you don’t need any additional software for screenshots, Windows 7, 8.1 and Windows 10 have several integrated screenshot features as standard.
- If you press the [Print] key, you take a picture of the entire screen that you are currently viewing, and Windows automatically saves the photo to the clipboard.
- With the combination [Alt] + [Print] only a photo of the active window is taken and also saved in the clipboard. In the first two methods, you have to open a program such as Word or Paint after pressing the keys and insert the screenshot into it with the key combination [Ctrl] + [v] . Now you can edit the image (depending on the possibilities of the program used) as you like and save it in a location of your choice.
- The third key combination is [Windows Key] + [Print] . So you take pictures of the whole screen and Windows automatically saves a corresponding JPG file in the Screenshots folder under My Pictures .
- The fourth Windows variant is the snipping tool , which is already preinstalled on every Windows computer (Windows 7, 8.1 and 10). You can find the Snipping Tool under Windows 7 in the Start menu under Accessories . On Windows 8.1 it is a little more hidden, the quickest way is to type “Snipping Tool” in the search line. Under Windows 10 it is again very easy to find it under All apps in the Windows accessories directory . The application saves the screenshots as HTML, PNG, GIF or JPEG files as required.
Alternatives: Free Windows and browser screenshot tools
If the standard screenshot functions are not enough for you, you can download additional tools for both the Windows operating system and especially for the browser. Telecommunications provider 1 & 1 has compiled a list of free screenshot tools for Windows in its digital guide. We briefly present a few of them here.
Tools for Windows
- Apowersoft Free Screen Capture: The tool enables free selection of image sections and the direct and extensive editing of screenshots. The images can also be saved, printed directly, sent, downloaded to a free cloud or shared via social media.
- DuckCapture: This tool was deliberately kept very slim. Complete websites can be photographed directly without scrolling. It is also possible to save, edit and upload the files.
- Greenshot: The compact open source tool can also display partial areas or the entire screen. Editing is also possible here.
Tools for different browsers
- Awesome screenshot: With this tool, screenshots can be taken of the entire website as well as only of the visible page area. The tool is available for Chrome, Firefox and Safari.
- Fireshot: Works similar to Awesome Screenshot and has a social media upload and image sharing services integrated. The tool is available for Chrome, Firefox, Internet Explorer and Opera.
- LightShot: This allows the image sections to be photographed to be freely selected and simple image processing is possible. The images can also be shared directly on social media. LightShot is available for both Windows and Chrome, Firefox and Opera browsers.
Note from March 27th, 2018: We have put another very comprehensive article on the subject of Windows screenshots or hard copies online. You can find the article here under the heading ” Creating a hard copy (screenshots) under Windows “.

Image rights: Flickr Windows 10 Pro Technical Preview okubax CC BY 2.0 Certain rights reserved