The Hyper-V Manager for many years has the opportunity Hyper-V virtual machines through export and import to duplicate or move when there is no possibility of a live migration is available. Unfortunately, this is the case under Windows 10.
About the function
share
you can easily create a current image of the VM and easily import it back into Hyper-V Manager. In this guide, we describe exactly how this process works.
Share Hyper-V VM
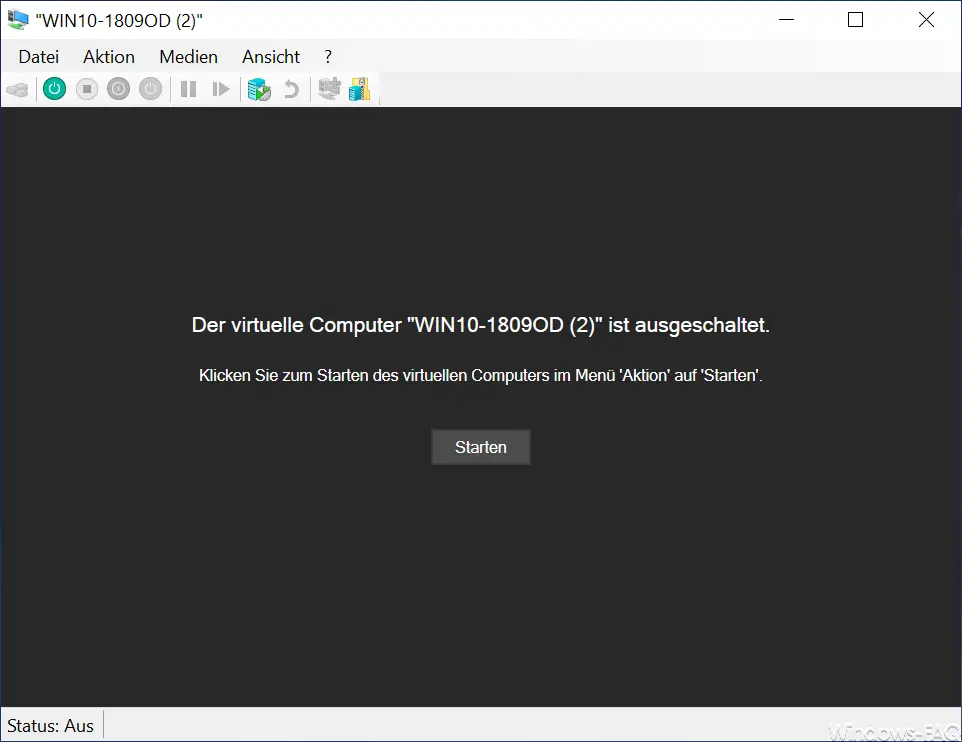
First you have to ” share ” the VM . This currently only works via a corresponding icon in the remote control of the VM, also called VMConnect . How did you identify this button in the following illustration.
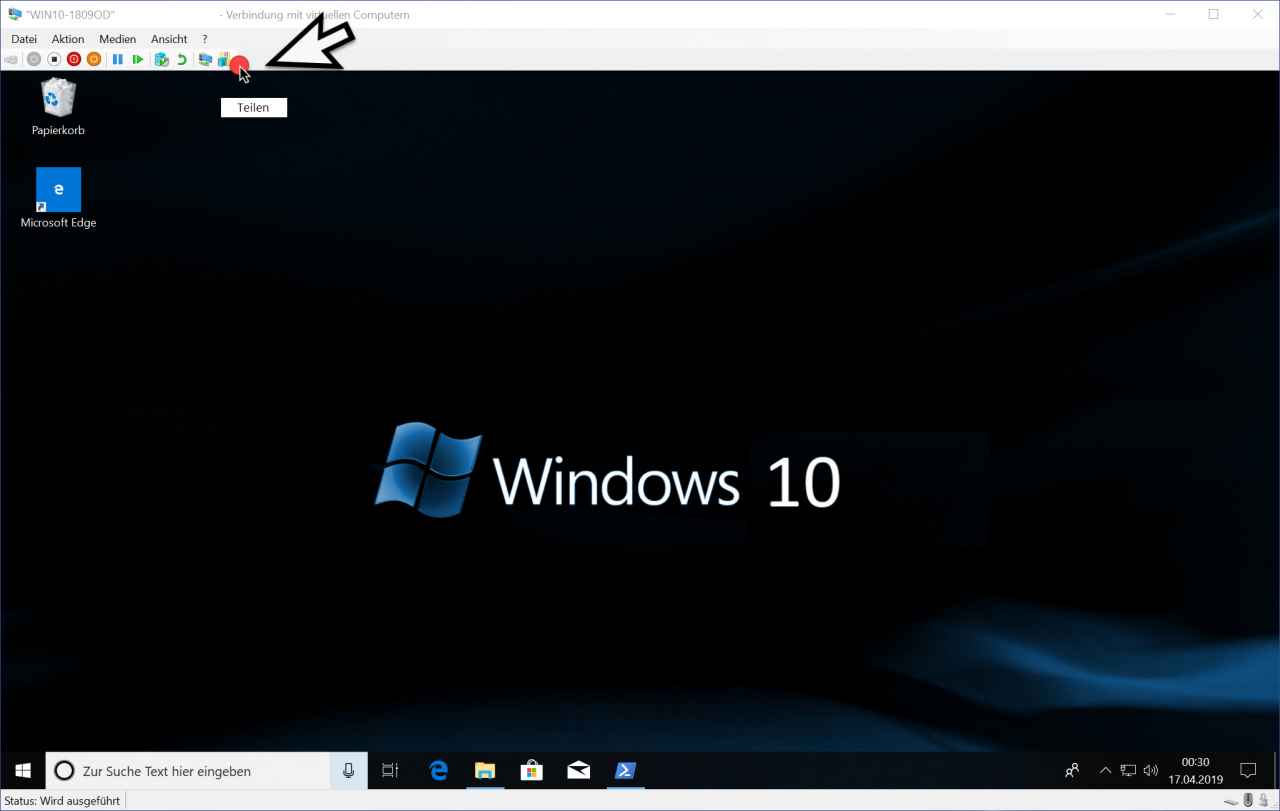
Unfortunately, this sharing function only exists here and not directly in the Hyper-V Manager. However, it can be assumed that Microsoft will also integrate this share function in the upcoming Windows 10 versions in the Hyper-V Manager.
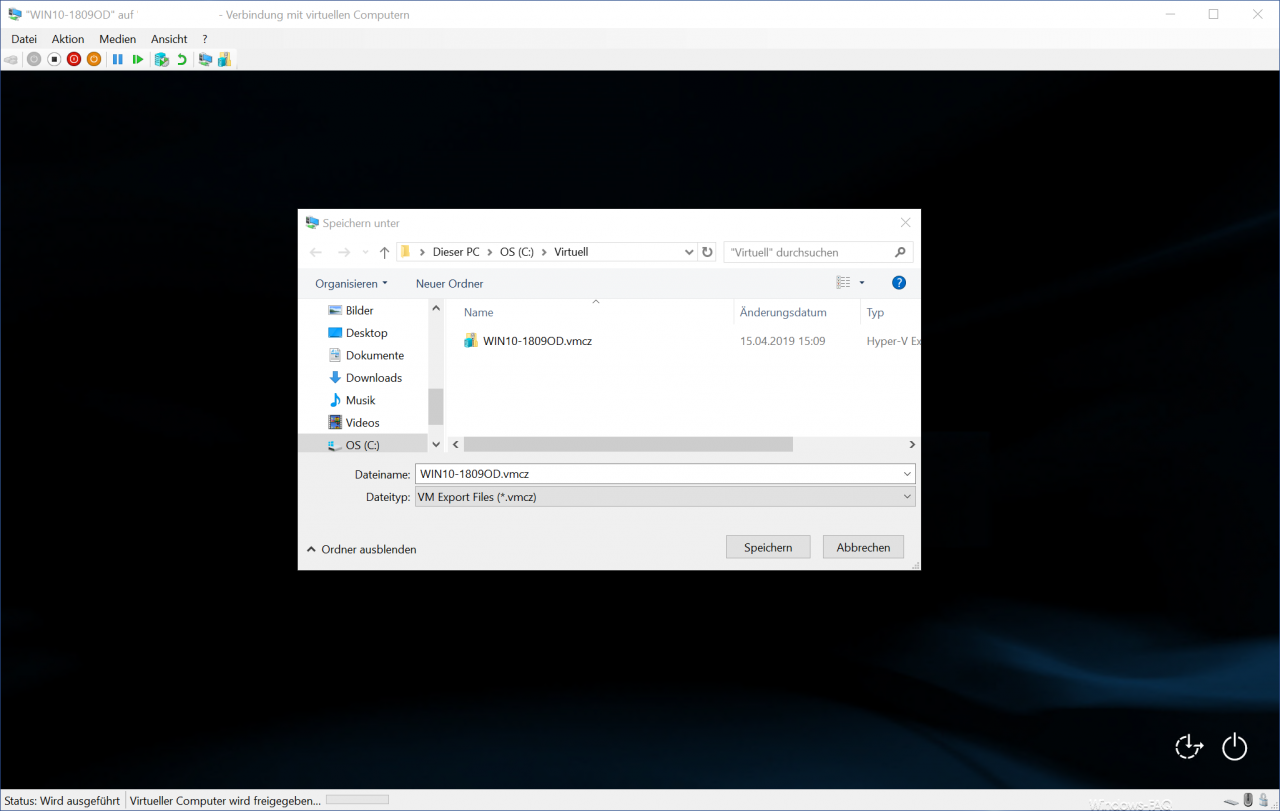
After you have started the sharing process , you will be asked for a storage location for the shared VM , as you can see here.
Do not interrupt sharing process
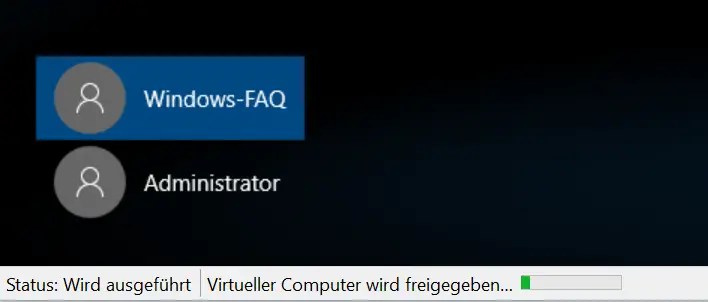
If you have selected the storage location and the “Share” process is active , you will not receive an active message as soon as the export process has been successfully completed. Please be patient because this sharing process can take several minutes and it may appear that the sharing function was not successful. You only see a small progress bar in the status bar of the display
Virtual machine is released …
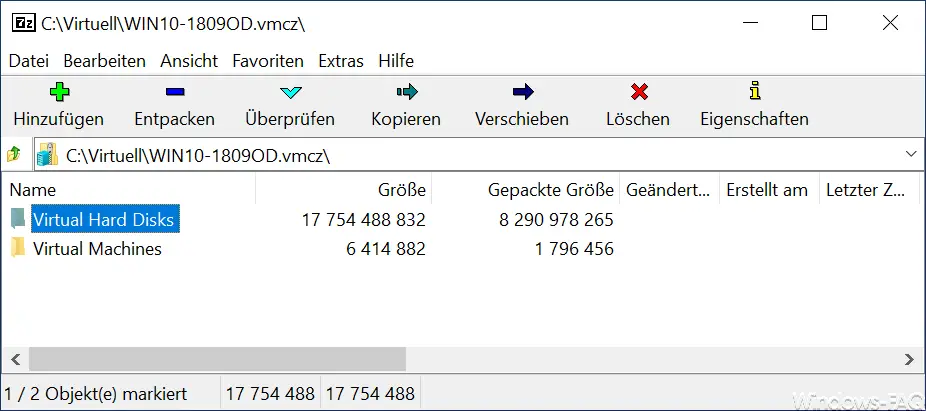
After a few minutes it is
VMCZ file
generated. The VMCZ file is a new file format that contains all information about the cloned VM . Current versions of the 7Zip Tool can easily display and extract the contents of the file. Ultimately, the VMCZ file contains all the data you need for a successful import.
Import VMCZ file
The interesting thing is that you can easily import this shared virtual machine again. A double click on the VMCZ file is enough and the program starts
VMIMPORT
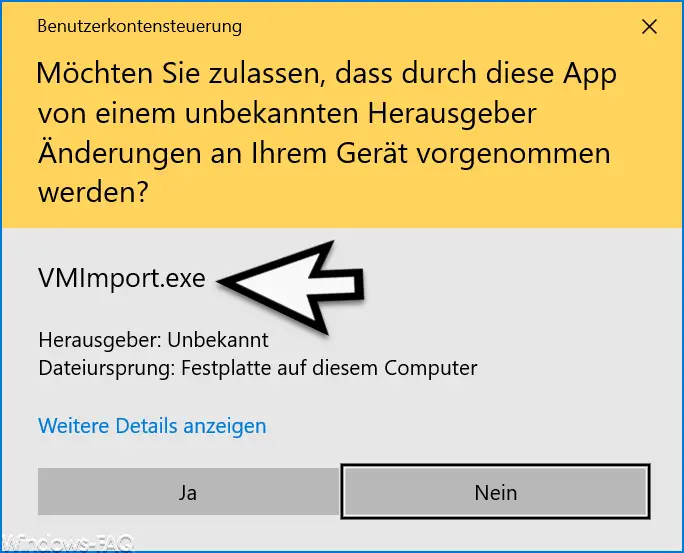
This Hyper-V utility can process these VMCZ files and guides you quickly through the entire VM import process . After starting, the following window appears first.
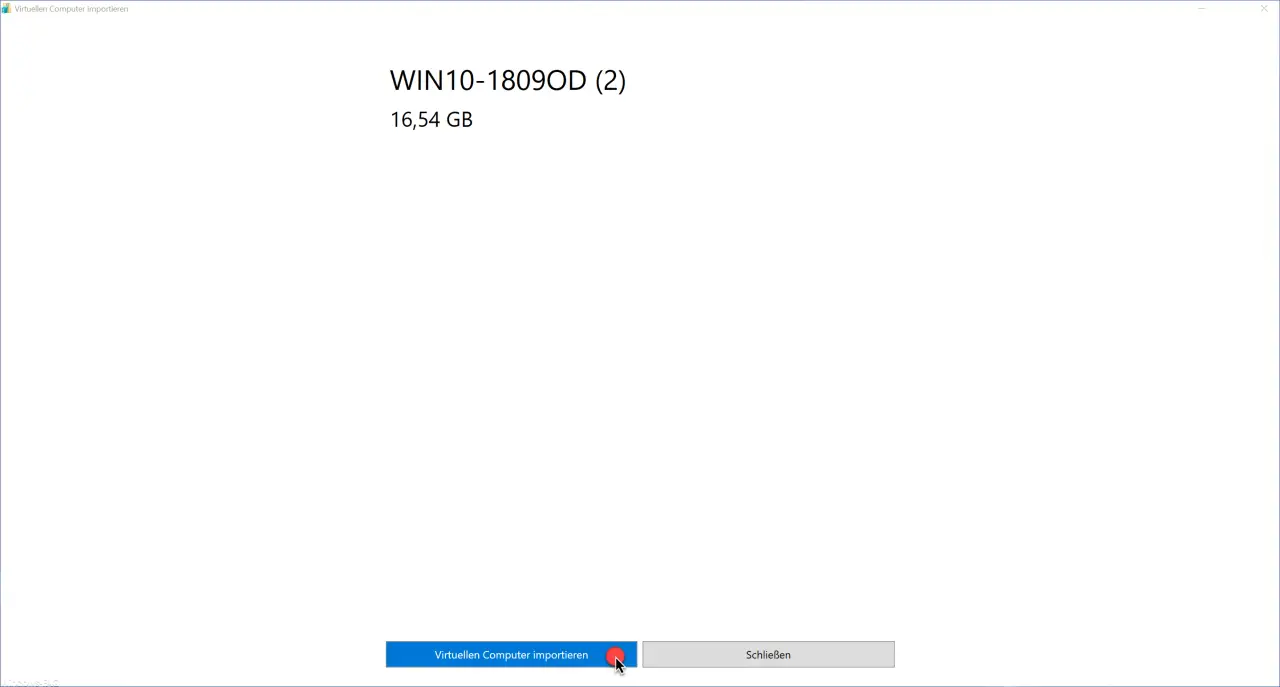
Import virtual machine
Not much information is visible in this somewhat misshapen window. The name of the VM to be imported is displayed and you have the option of canceling the import process or importing the virtual machine .
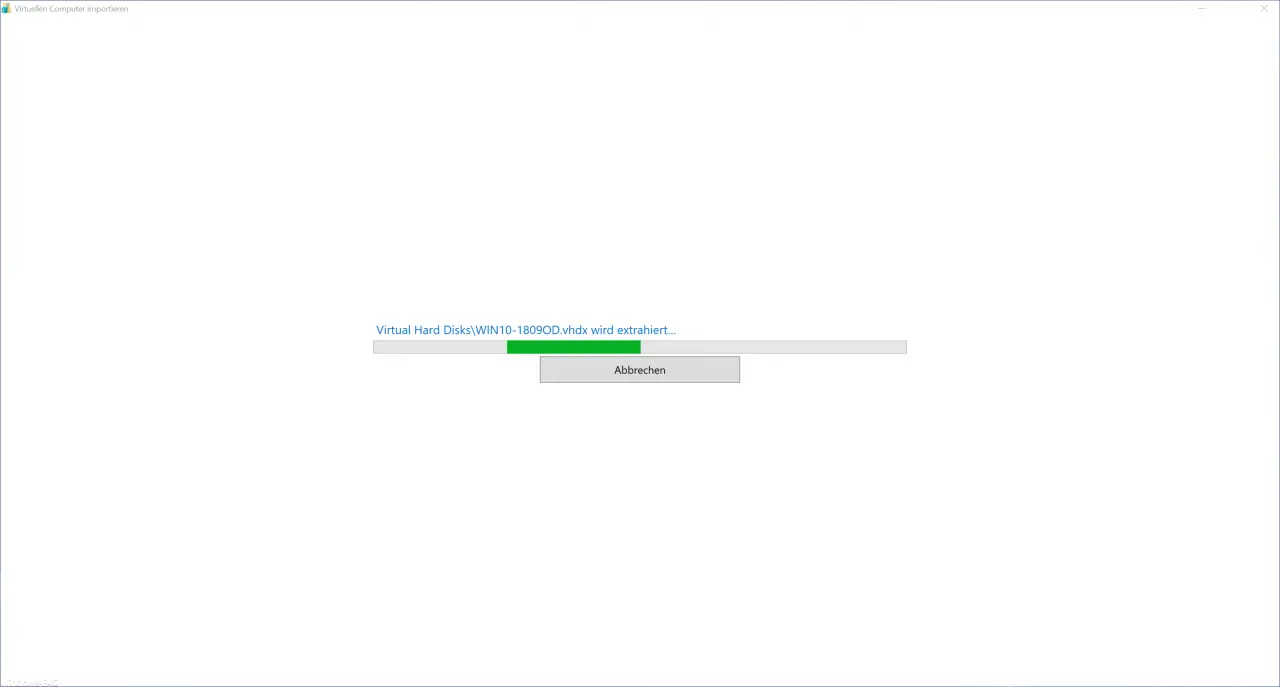
The following display then appears
The message
Virtuel Hard Disks VM name is extracted …
indicates that the VMIMPORTER is extracting the VMCZ file . This process can take several minutes depending on the size of the VM.
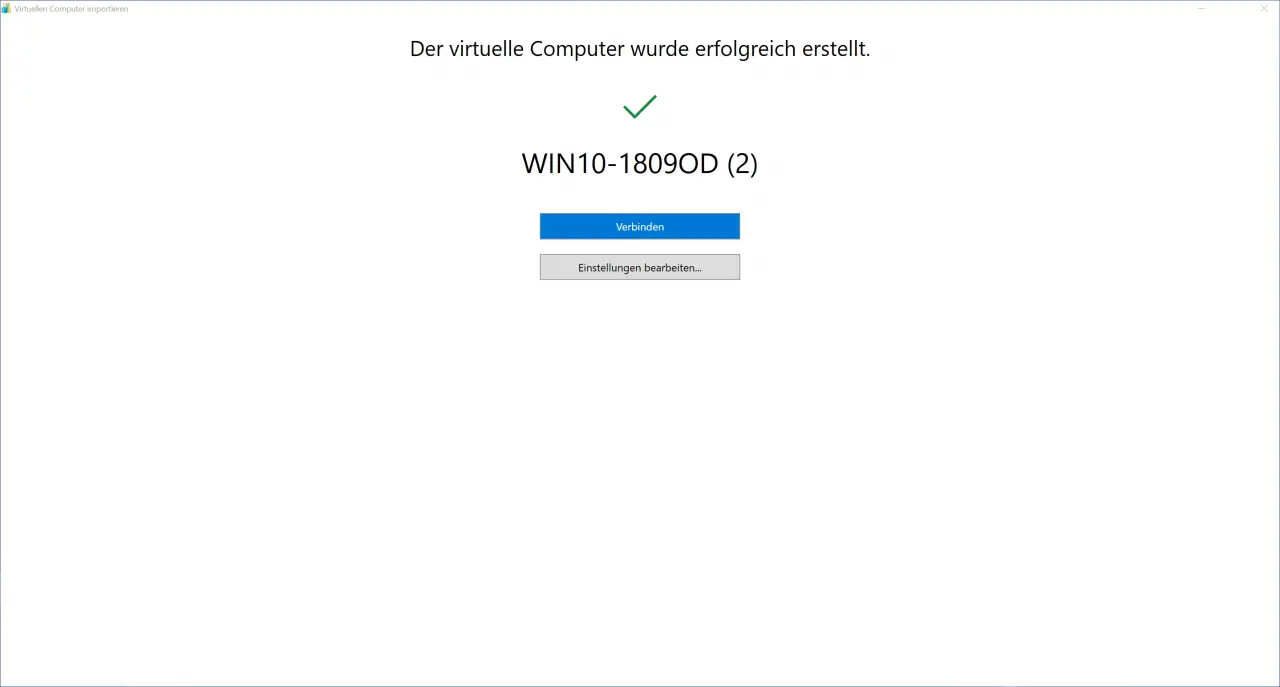
The following screen is then displayed.
The message is:
The virtual machine was created successfully
Now you have the option of using
Edit Settings
Revise and, if necessary, adjust the Hyper-V setting of the new and imported VM. over
Connect
the VMConnect console is then called up and you can start the VM or adjust the Hyper-V settings if necessary.
Overall, the ” Hyper-V Share ” function is a wonderful and helpful extension, which is unfortunately still relatively unknown at the moment.
If you are still interested in other Hyper-V topics , we recommend these articles here on Windows FAQ.
– Rename VM in Hyper-V Manager or via PowerShell
– TPM cannot be used on this device … Use BitLocker under Hyper-V – Upgrade
Hyper-V configuration version
– Hyper-V VMs react slowly with network traffic – Deactivate VMQ
– Automatic checkpoints with Hyper -V
– Set Hyper-V default folder for virtual computers and hard disks
– Get Hyper-V information about a VM using PowerShell
–
Get versions of Hyper-V integration services – Convert Hyper-V VMs Generation 1 to Generation 2
– Problems with Hyper- V Replication on iSCSI Volume
– Microsoft Hyper-V Version Numbers (Integration Services ) Overview
– Create desktop shortcuts to Hyper-V VMs
– Enable advanced session mode on Hyper-V VMs – Install
Hyper-V on Windows 10
– Hyper-V application error when starting a copied VM
– reset Windows password of a Hyper-V VM
– stop or start Hyper-V Manager VMMS service