Usually the Windows 10 clients work with assigned DHCP addresses , which they receive from your DHCP server or router in the network. Under certain circumstances, however, it can make sense to assign a static IP address to a Windows 10 client .
We have described in detail in our article ” Setting up a static IP address in Windows 10 ” how to set up this assignment using the well-known control panel functions .
However, since Microsoft is increasingly removing these legacy issues and transferring all settings to the Windows 10 Settings app , we would like to explain briefly how you can set a static IPv4 or IPv6 address in the Windows 10 settings. Microsoft only introduced this IP assignment with Windows 10 version 1903 .
Static IP address in Windows 10 settings
To do this, you first call the Windows 10 Settings app using the key combination

and then changes to the area
Network and Internet (WLAN, airplane mode, VPN …)
and then into the area
Ethernet
switch.
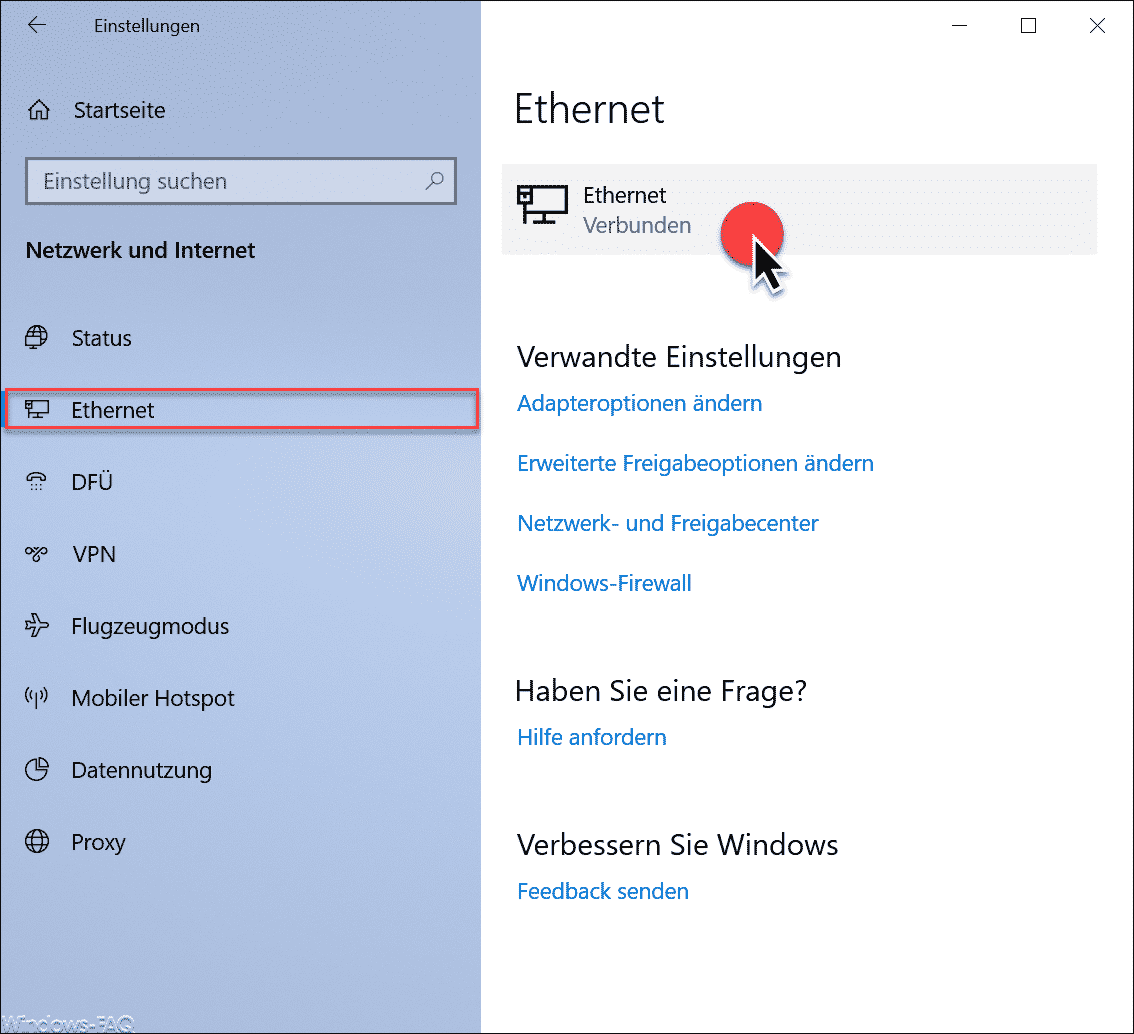
As you can see, a symbol for the network connection is shown, which is marked with
Ethernet (connected)
Now you have to click on this symbol and then the display changes as follows.
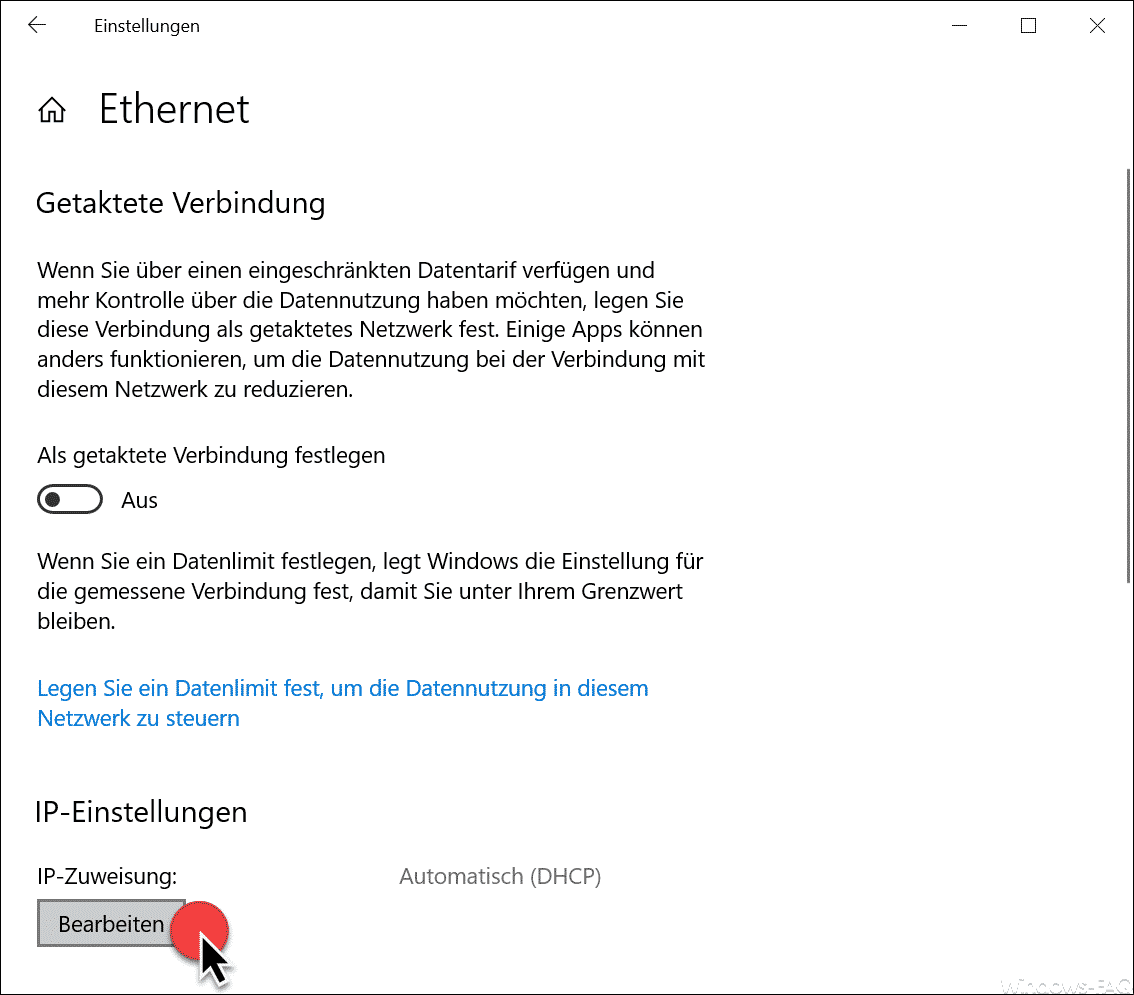
Relatively far below you can see the area ” IP settings ” and the current network setting ” Automatic (DHCP) “. If you want to change this, you have to
To edit
click.
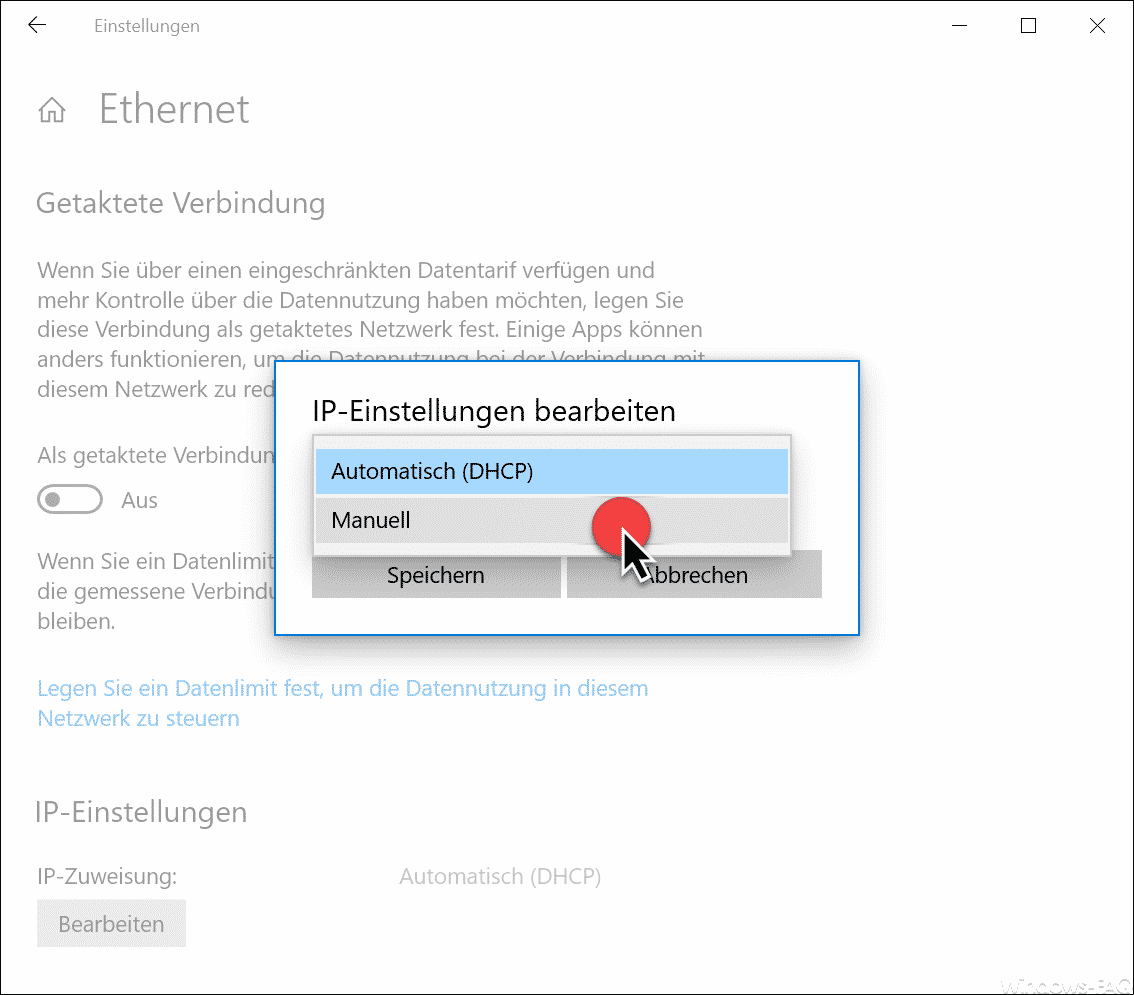
Thereupon another small window appears in which you change the IP settings from ” Automatic (DHCP) ”
Manually
have to change.
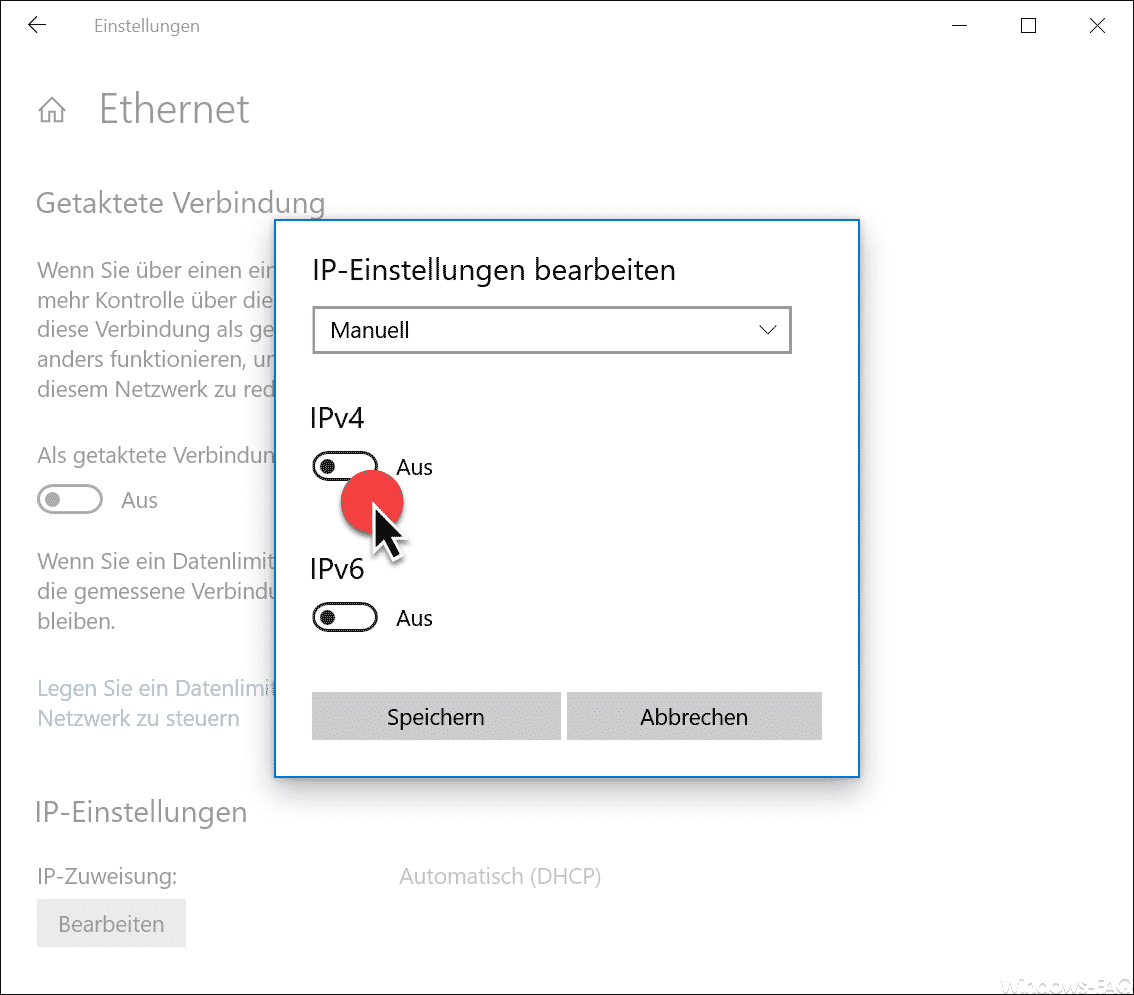
In the next display you have to choose whether you want to assign the static IP address for the IPv4 or IPv6 range . As a rule, you will always set the IPv4 slider to ” On ” here.
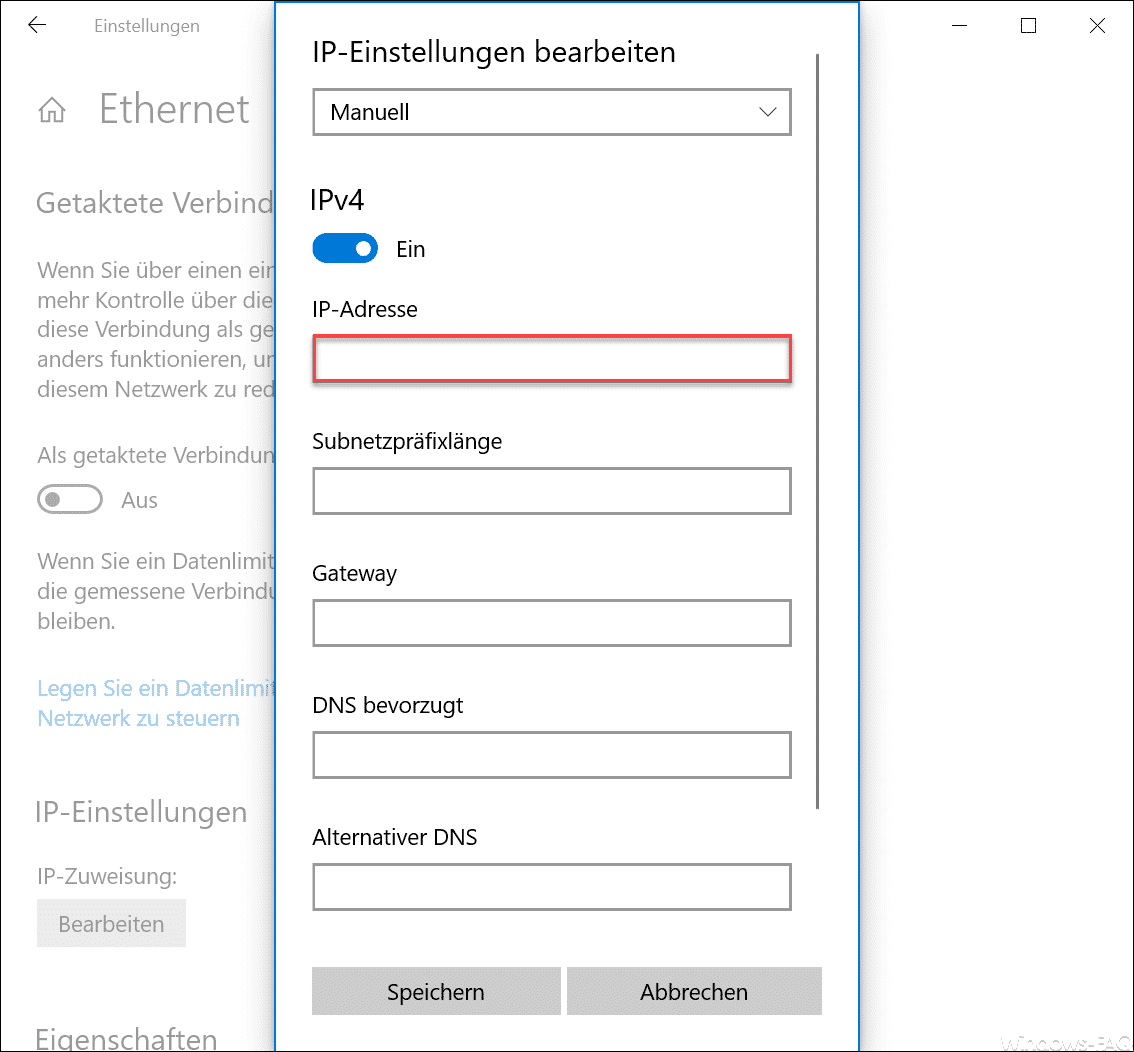
Here you now have the input options for the static IP address of your Windows 10 PC . You can fill the following fields here.
- IP address
- Subnet prefix length
- Gateway
- DNS preferred
- Alternative DNS
If you have entered all the fields for the static IP address correctly and
to save
, these IP changes become active immediately and the DHCP address is converted into a static IP address .
Finally, you will find other interesting articles on the topic of ” Windows Network ” here.
– Switch Windows 10 network from public to private
– Allow Windows 10 updates and downloads from other PCs in the network
– Hyper-V VMs react slowly with network traffic – Deactivate VMQ – Do
not disconnect network connections in standby with Windows
– Define sequence of network connections with Windows 10
– Reset network in Windows 10
– Always wait for the network when restarting the computer and logging in
– Remove or show the network icon from the Windows 10 taskbar
– Switch Ethernet network connection and WLAN connection to Windows 10 to metered
– Teaming of network cards and performance
-Problems
– Determine network problems – Only log ping dropouts – Pingtest.bat – Network inventory