Long documents can be difficult to navigate in Google Docs. It’s fine to scroll through two or three pages of a document, but if your document has dozens or even hundreds of pages, you might spend too much time going from one section of the document to another.
There is also the problem of finding what you need in your document. Bottom line: Without the use of a tool, long documents can be difficult to manage.
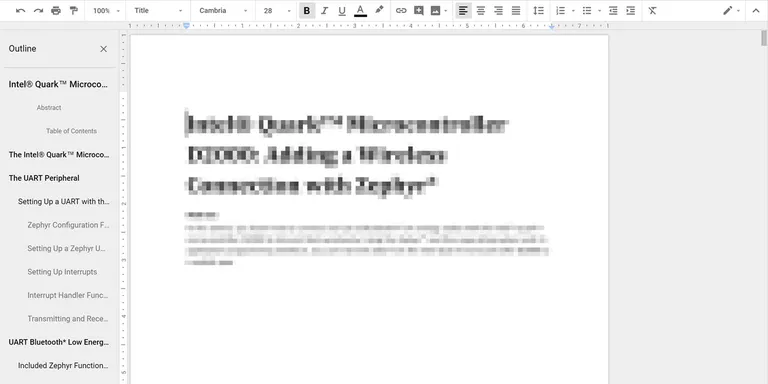
Google Docs has a feature called the Outline Tool that helps you quickly navigate through the document and find the sections you need.
Google Docs Outline Tool Search
When working from Google Docs on the web, you must start from an open document. It can be a new or existing document. Next, to open the Outline tool, follow these steps:
- Click the View menu .
- Select Show Document Outline .
- Alternatively, you can use the keyboard shortcuts Ctrl+Alt+A or Ctrl+Alt+H .
Once you have activated the Outline tool, the outline of your document will appear in the left pane of the document.
If you’re using an Android or iOS device, to enable document outline, tap More (the three-dot menu in the top right corner) and select Document outline . The schematic will appear at the bottom of the screen.
To turn off the document outline on the web, click X in the upper-right corner of the Outline tool. On Android or iOS, tap anywhere outside the outline to hide it, or repeat the steps above to turn the outline off.
How to Create a Google Docs Outline
Once the Outline tool is activated, creating or adding to the document outline is easy.
In Google Docs on the web:
- For new documents, create a single line of bold or underlined text to automatically add a heading to the outline.
- For existing documents, format a single line of text using bold or underline formatting, or use the formatting menu to choose a heading option.
If you want to create levels in your outline, you must format the headings by using the Format menu to designate headings as Heading 1, Heading 2, Heading 3, or Heading 4. Also, although the title will appear in an outline, the subheading will not.
- You’ll see your outline begin to take shape in the Outline panel to the left of the document.
On Android or iOS:
- For new documents, create a single line of bold or underlined text to automatically add a heading to the outline.
- For existing documents, format a single line of text using bold or underline formatting, or use the formatting menu to choose a heading option.
To format headings to map to designated levels in your outline, tap Format > Text > Style , and then choose the desired heading level. Also, although the title will appear in an outline, the subtitle will not.
- Your outline will be displayed at the bottom of the screen.
Navigating a Google Docs outline
Once you’ve created an outline in your Google Docs document, it’s very easy to navigate through the document using the outline. On the web, just click on the outline section you want to access and your cursor will move to be at the beginning of that section.
On Android and iOS devices, open the outline and tap where you want to go in the outline. Alternatively, if the outline is enabled, but hidden, and you start scrolling through the document, you will see a double arrow slider appear on the right side of the document. Tap this option to open the schematic, and then select the location in the schematic that you want to go to. As with other methods, the cursor is placed at the beginning of that section.