Microsoft has also integrated its “Hyper-V” virtualization technology into the Windows 10 client operating system. This enables you to install or use virtual Windows subsystems on your PC. Thus, if your PC has enough RAM and hard disk space, you can use several virtual machines under your Windows 10 installation .
This is particularly interesting for power users and system administrators, because it allows you to use several different versions of Windows on one PC. Microsoft then introduced Hyper-V technology with Windows Server 2008 and Windows 8, but has been developing it for years and is therefore also available under Windows 10 and Windows Server 2016.
Today we would like to show you how easy it is to install this virtualization component on your Windows 10 PC. To do this, you must first simply call the program to activate or deactivate Windows features . The easiest way to do this is to use the Windows key combination Windows key + “R”. Then enter the following command in the Execute dialog window.
APPWIZ.CPL
The program “ Programs and Features ” is then called up, as you can see in the figure below. There you have to choose the following option on the left side.
Enable or disable Windows features
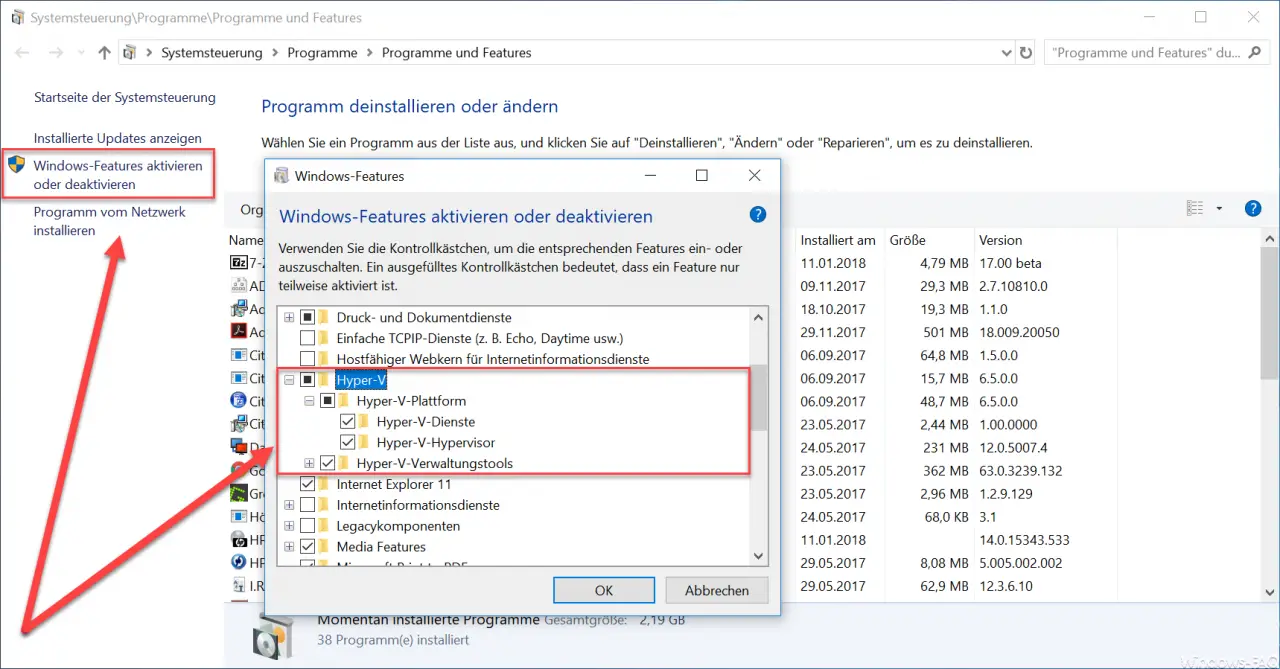
You have to scroll down a bit in the list of possible Windows features until the selection item ” Hyper-V ” appears. This selection point must then be activated by you if you want to install Hyper-V . If you want to uninstall the Hyper-V virtualization , the item must be removed accordingly.
The Hyper-V components include the Hyper-V platform, the Hyper-V services and the Hyper-V hypervisor. The Hyper-V administration tools must also be checked, because you can use them to edit your own VMs or manage the virtual machines from remote systems.
After confirming ” OK “, Windows 10 begins with the installation .
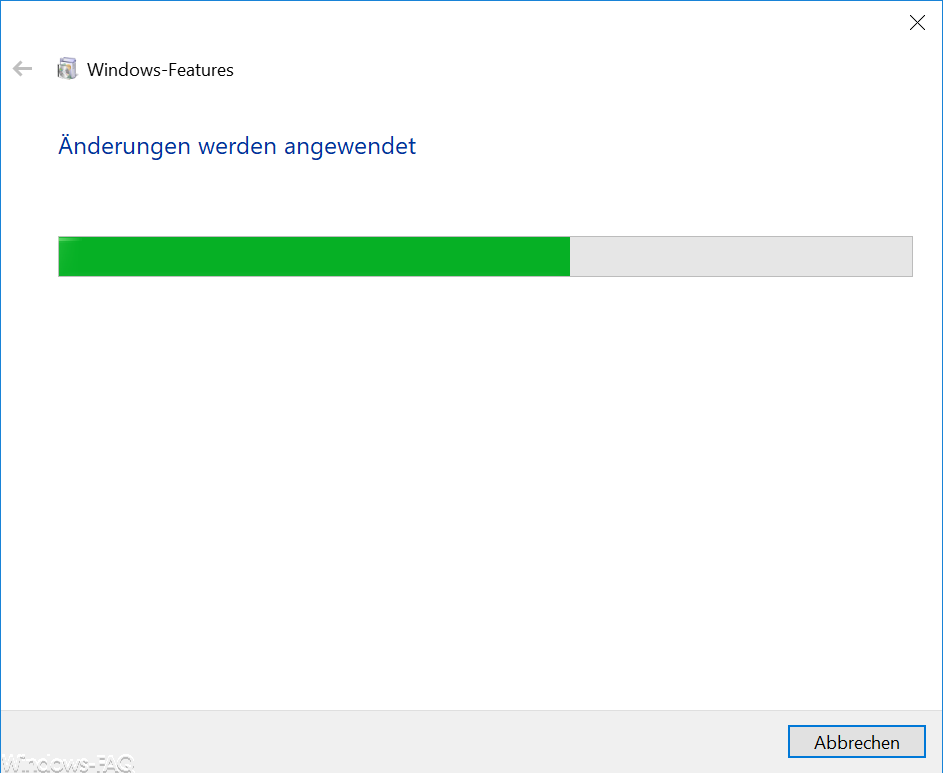
During this process, the necessary Hyper-V changes are made to the Windows 10 system. Depending on the PC performance, this process can take a few minutes. Then you have to restart the Windows 10 PC, as you can see below.

After the requested changes have been completed, the PC is restarted once. During the start-up process, Windows 10 is now changed significantly and the necessary Hyper-V components are installed. With all the changes, your PC will automatically restart a few times until all changes have been made. As soon as the Windows login is displayed, all Hyper-V installations are complete and you can start the Hyper-V administration program . The easiest way to find this is to enter the following search term in the Cortana search window.
Hyper-V manager
In the following figure you can see the search of the Hyper-V manager . Now you can start creating and installing the VMs.
If you are looking for further information on the topic of ” Hyper-V “, we recommend the following articles.
– Hyper-V application error when starting a copied VM
–
Reset Windows password of a Hyper-V VM – Stop or start Hyper-V Manager VMMS service
– Query versions of Hyper-V integration services
– Hyper-V VM’s Generation 1 in Generation 2 convert
– Problems with Hyper-V replication on iSCSI volume
– Microsoft Hyper-V version numbers (integration services) overview