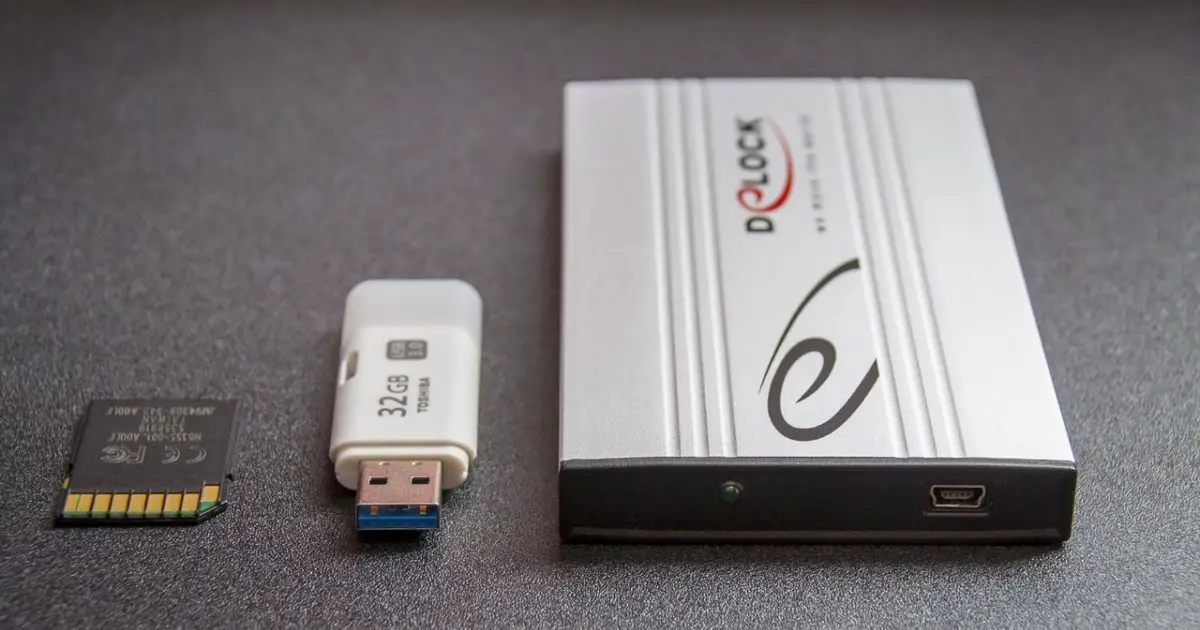
The so-called write protection is a method whose purpose is to protect a certain storage unit (hard disk, pen drive, SD card) from external writes. Although this type of protection is usually assigned manually, there are times when the system automatically assigns such protection . This is the reason why we are forced to resort to methods to remove write protection from a micro SD or any storage drive.
A few months ago we taught you how to remove and remove the USB shortcut virus in Windows . Weeks ago we showed the process to create a bootable USB with Windows 10 from scratch . This time we will teach you how to remove write protection from an SD, hard drive, disk or pen drive to format the unit later.
Solution 1 – Check the SD card tab
If the write-protect issue is present on an SD or micro SD card with an adapter, the problem is most likely due to the physical protection of the card media via the appropriate security tab .
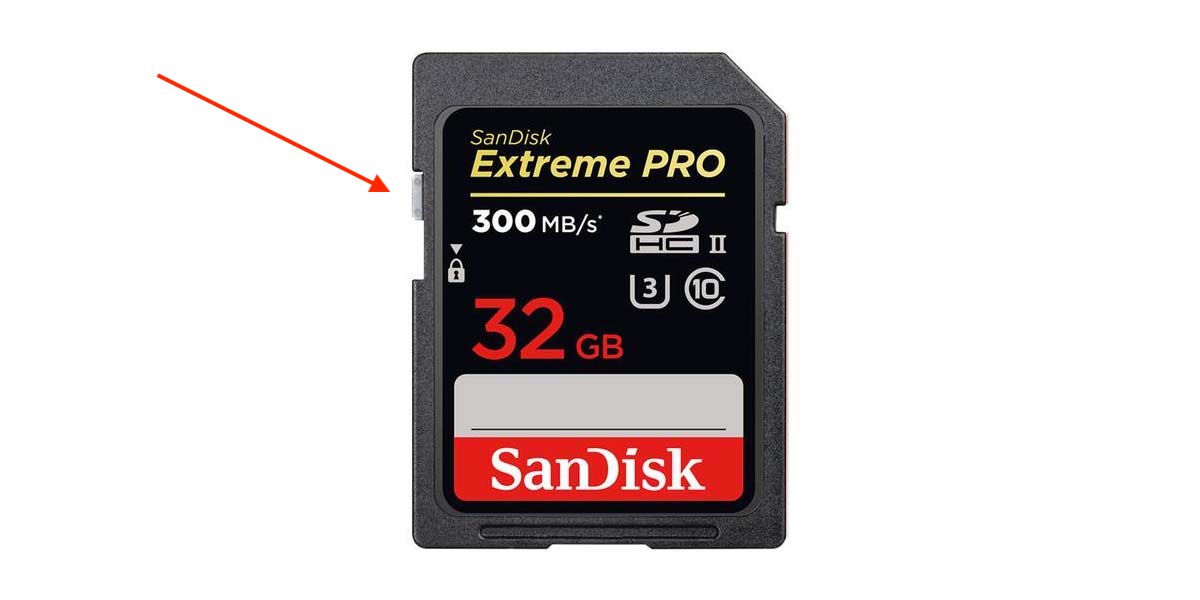
To check it, we will only have to check the card adapter tab that is located on the left side of the support in question. In the event that the tab is located at the top of the compartment, we will have to slide it down to unlock the write protection card. If it is located at the bottom of the compartment, we will slide it up to unlock its access.
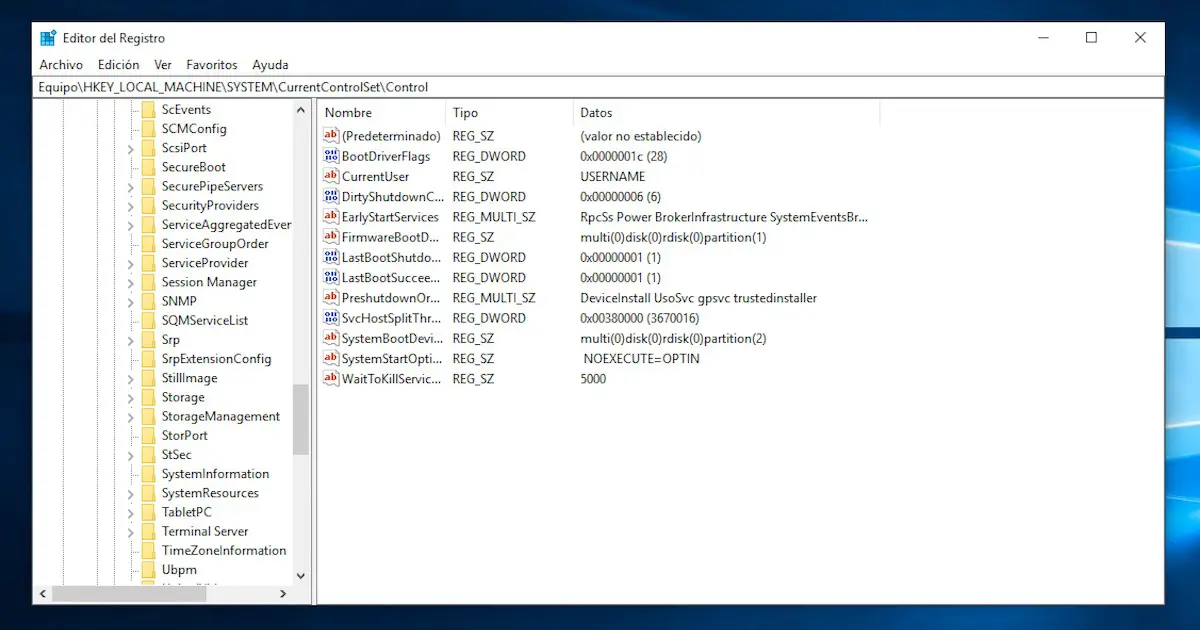
Solution 2: Modify WriteProtect in the Windows Registry
The first of the solutions to remove write protection in Windows via software is based on resorting to the system registry. As simple as writing the word “regedit” in the Windows Start menu and clicking on the program that will appear as a result.
Once inside, we will access the following address through the upper bar or manually:
- HKEY_LOCAL_MACHINE\SYSTEM\CurrentControlSet\Control\StorageDevicePolicies
In the likely case that the StorageDevicePolicies folder does not exist, we will have to create it manually by right-clicking on Control and selecting New and Password .
Once we have assigned the name StorageDevicePolicies to the new folder, we will right-click inside it and create a new DWORD (32-bit) Value called WriteProtect . In the event that said value already exists, we will only have to right-click on it and enter the value “0” within Value information .
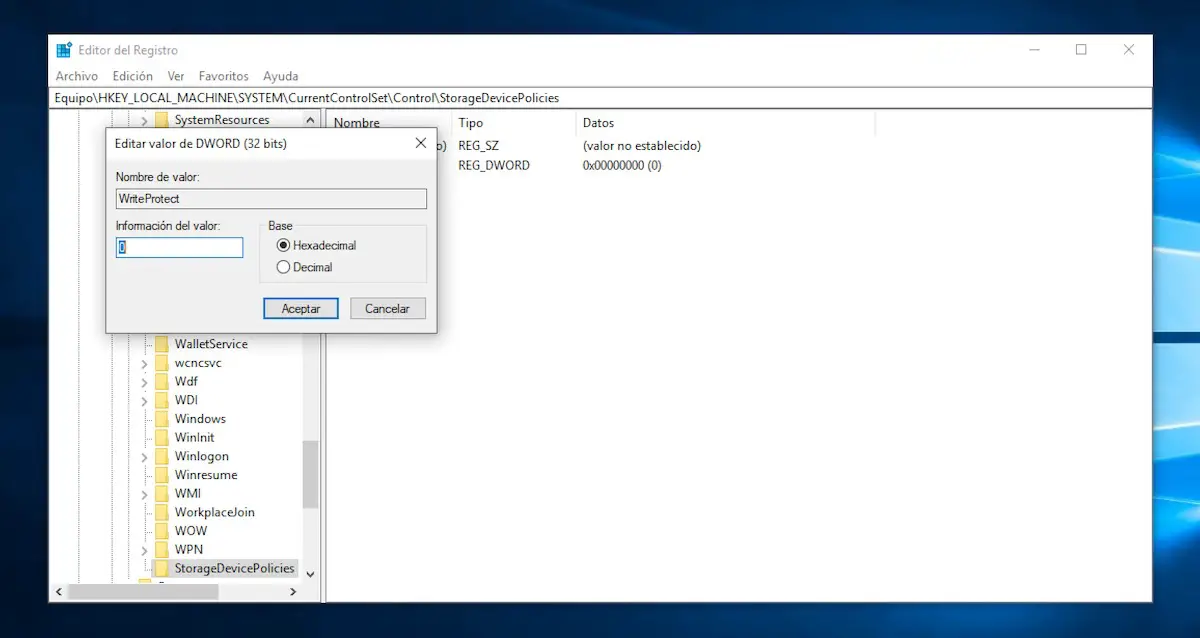
Finally we will save the record and close the program. Automatically the USB write protection will be completely removed from the system.
Solution 3 – Modify UsbStor within the Registry
In the event that the above has not worked for us, the next step to remove the write protection is based on accessing the UsbStor folder within the same StorageDevicePolicies folder to modify all the values to 0.
In general, within the folder there are usually five directories with a series of alphanumeric keys (054C00C1, 05DCA431 and so on). The process to follow is exactly the same as the one explained in the previous method.

In summary, we will have to select the respective records within each UsbStor folder to select the value 0 in each of them in the Value Information section . Once we have changed all the values to 0, the write protection should be completely gone from Windows 10.
Solution 4 – Low-level format the USB drive
If resorting to the Windows Registry has not worked for us, the next thing we will have to do is format the storage unit that we have previously entered at a low level through the HDD Low Level Format Tool that we can download by clicking on this link .
Once we have installed it in Windows 10, we will start the program in question and select the affected drive. Next we will click on Low-Level Format and finally on Format this device , but not before making sure that the Perform quick wipe (just remove partitions and MBR) box is unchecked.
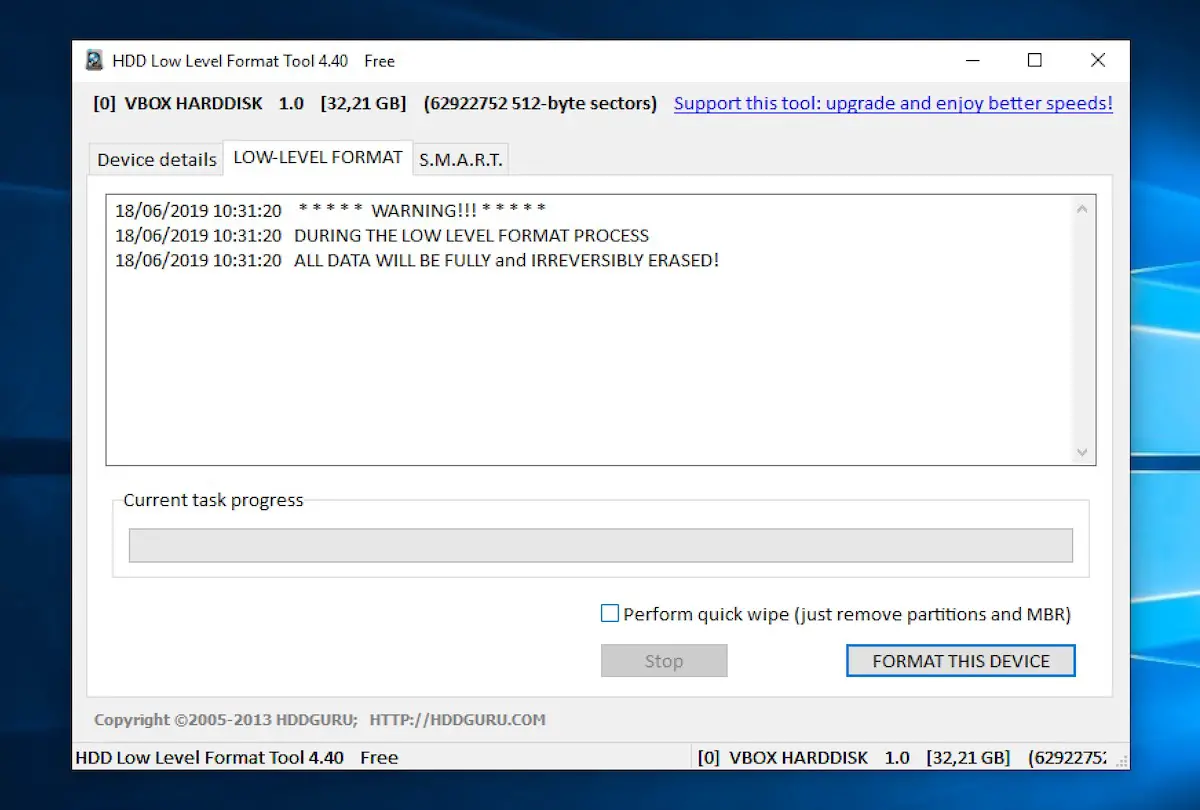
We must bear in mind that the action that we will carry out will erase all the files on the unit, so it is recommended to make a backup copy of all the data at the risk of losing all the information on the CD, hard drive, pen drive or card SD. The process once the Format this device button is pressed is irreversible, and the time that the tool will take to carry out the action can last several minutes, depending on the unit.
Solution 5: Remove write permissions with Disk Part
None of the above have worked? The last step before giving up the drive will be to use Disk Part, a tool present in the Windows CMD with which we can remove the write protection of any drive .
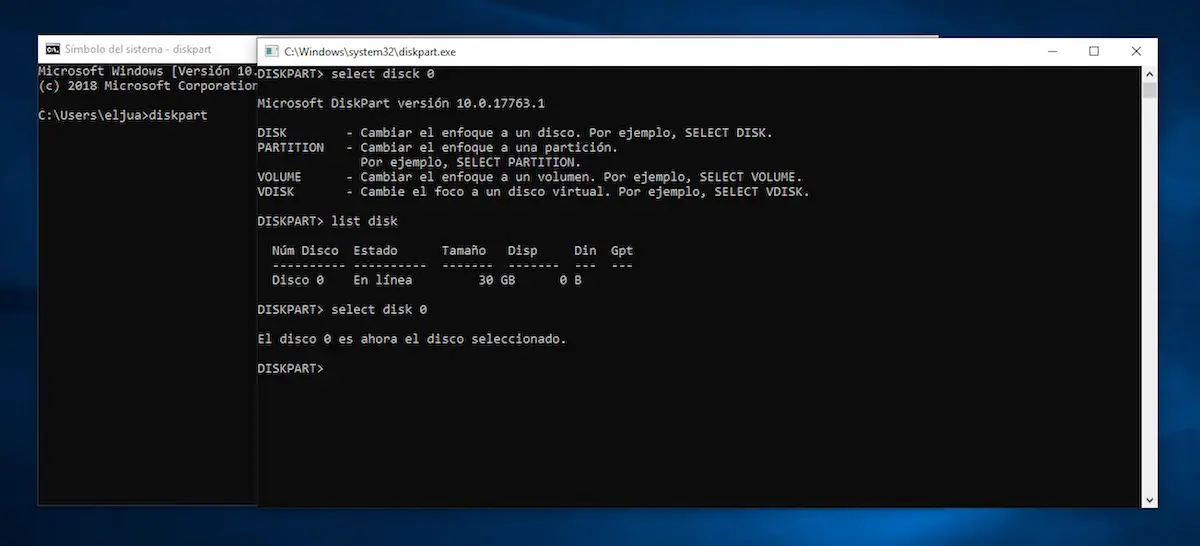
Making use of it is as simple as opening the CMD by typing the same name in the Windows Start menu and typing the following command:
- diskpart
Then, the program in question will appear with an interface similar to that of the CMD. The way to proceed once Disk Part has started is based on entering the following command:
- list disk
Next, Disk Part will show us a list with all the disks and drives present in Windows 10. We can find our drive by checking the size of it in Size . To select it, we will have to enter the following command:
- select disk X (where X is the number of the unit that corresponds to our disk, flash drive or SD card)
Finally we will enter the following command to remove the write protection:
- attributes disk clear readonly
After entering all the commands, write protection will be completely removed from the selected drive . If not, then most likely the drive is damaged or we just need to go to the owner to remove the write protection.