PopSockets are ideal for holding your phone with one hand. But if you got a new case or upgraded your phone and want to keep your PopSocket, you’ll need to remove it from your current device. What is the good news? Can be done!
How to remove a PopSocket
Removing a PopSocket is very easy. The adhesive gel is designed to be reusable and leaves nothing behind. No sticky phone! Here are the steps to remove your PopSocket:
- Know where your PopSocket goes next. If you are moving it to a new location or to another phone, you will need to do so within fifteen minutes of removing the PopSocket so that the adhesive gel does not dry out.
- Collapse your PopSocket so it is flat against your device.
- Start moving the PopSocket away from the device, moving your fingernails under the puck as you lift it up.
- Carefully pull the PopSocket out of your device until it comes loose.
That’s it! Really. The gel should remain sticky, so you can place the PopSocket on another device or move it to a different spot on the current device.
Reusing a PopSocket
If the gel on a PopSocket gets dirty, you can wash it off with water and let it dry for ten minutes before placing it on a device. Do not leave the adhesive gel exposed to air for more than fifteen minutes to prevent it from drying out.
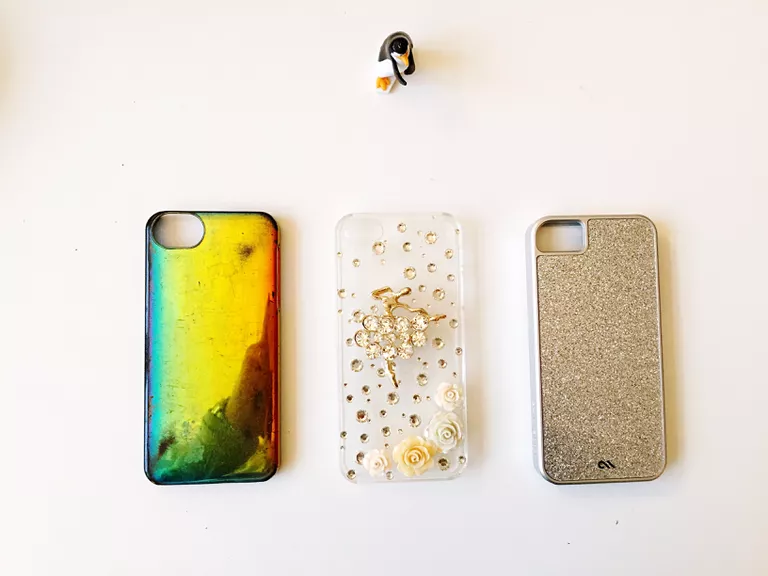
Our testing included applying a PopSocket to a case, removing it, and then applying it to the phone itself. We then removed the PopSocket again, confirming that the adhesive gel did not leave any residue on either the case or the phone once removed. It was also successfully reapplied, remaining stable for continued use.
How to remove a PopSocket
Having trouble dropping your PopSocket? Try slipping the floss under the adhesive to get it started – this is easier with a second set of hands to help.
And now your phone is clean and PopSocket-free, leaving you ready to add a new case, slip it back into your back pocket, or put your favorite PopSocket on your next device.