Installing Nvidia drivers on Linux, Ubuntu and, in general, a Unix-based system requires a process that, unlike Windows, uses the Terminal to add all the necessary packages . And while it is true that Nvidia’s own page has an executable that installs all the drivers through two simple commands, the program in question makes use of the same commands that are needed to install drivers in Linux.
A few months ago we showed you how to format a flash drive compatible with Windows, Mac and Linux . This time we will show you how to install Nvidia drivers on Linux Mint 19, Ubuntu 16 and any Unix-based system .
How to install the latest Nvidia drivers on Linux from Terminal
Before proceeding with the installation of the Nvidia Web Drivers in Linux, the first thing we will have to do is know the exact model of our graphics card .

To do this, we will open the terminal and enter the following command:
- lspci | grabbed the VGA
Then, an output similar to this will appear on the screen:
- 01:00.0 VGA compatible controller [XXXX]: NVIDIA Corporation XXXX [GeForce XXX] [10de:XXXX] (rev a2) (prog-if 00 [VGA controller])
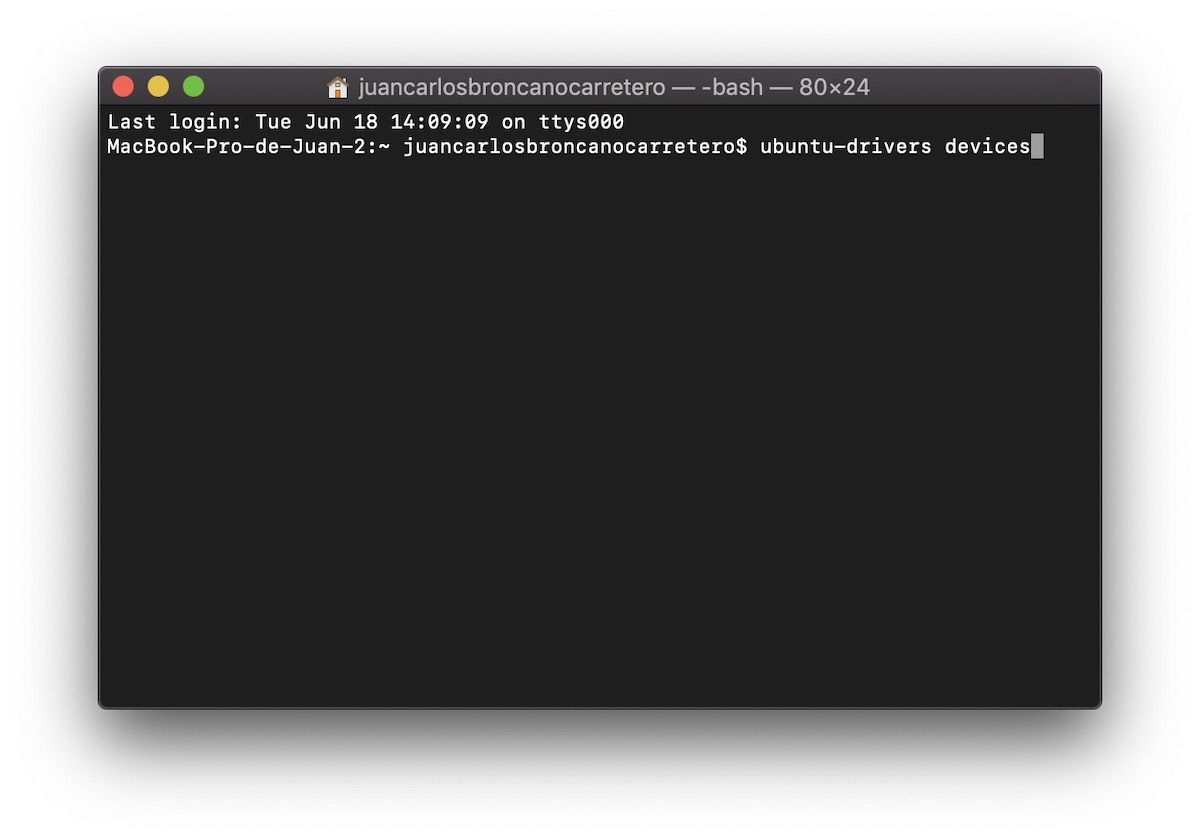
Next, we will write the following command to proceed with the installation of the Nvidia drivers for our graphics card:
- ubuntu-drivers devices
The output in this case should be similar to this:
- vendor : NVIDIA Corporation
- model : XXXX [GeForce GT XX]
- driver : nvidia-XXX – distro non-free
- driver : nvidia-XXX – distro non-free
- driver : nvidia-XXX – distro non-free recommended
The information displayed in the characters corresponding to the XXX in nvidia-XXX will show the latest Nvidia driver version to date . In case we want to install this version we will have to enter the following command:
- sudo ubuntu-drivers autoinstall
If what we want is to download a specific version of the Nvidia drivers for Linux , the command to enter will be the following:
- sudo apt install nvidia-XXX (where XXX is the version number of the drivers)
Finally, the drivers for our graphics card will be installed automatically .
How to install Nvidia drivers with PPA on Linux
In the event that the above has not worked for us, another method to add the Nvidia drivers in our Linux distribution is based on resorting to third-party PPA libraries .

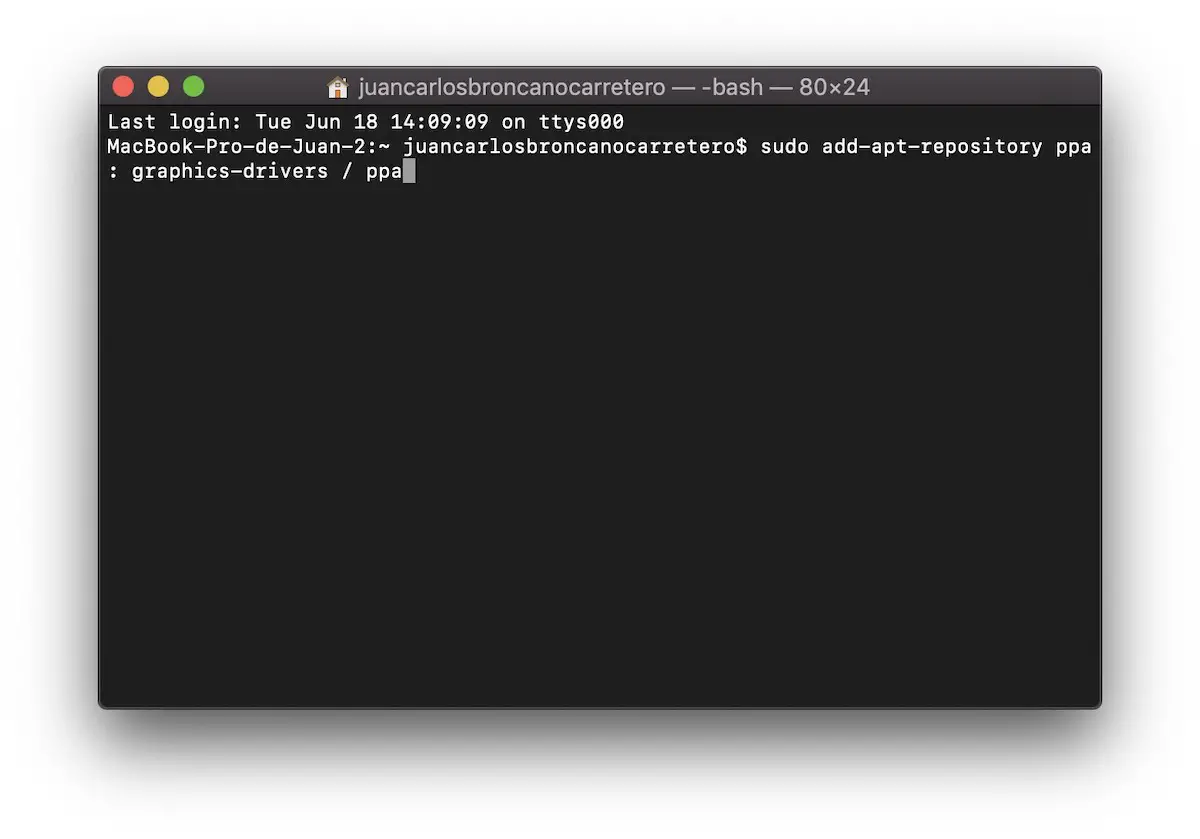
The way to proceed on this occasion is as simple as entering the following commands:
- sudo add-apt-repository ppa: graphics-drivers / ppa
- sudo apt-get update
To install a certain version of the Nvividia drivers in Ubuntu, Mint or Fedora, we will enter the following command:
- sudo apt install nvidia-XXX (where XXX is the version number to install)
How to install Nvidia drivers on Linux from Nvidia Web Drivers
For those inexperienced users in the world of Linux, Nvidia has created an executable to install the drivers using a couple of commands . On the next page we can select both the model of our graphics card and the system and version of the drivers.

We can know the exact model of our graphics card with the following command:
- lspci | grabbed the VGA
Once the file with the .run extension has been downloaded, we will unzip the containing folder and open the Terminal to place ourselves on said folder with the respective access commands (cd/).
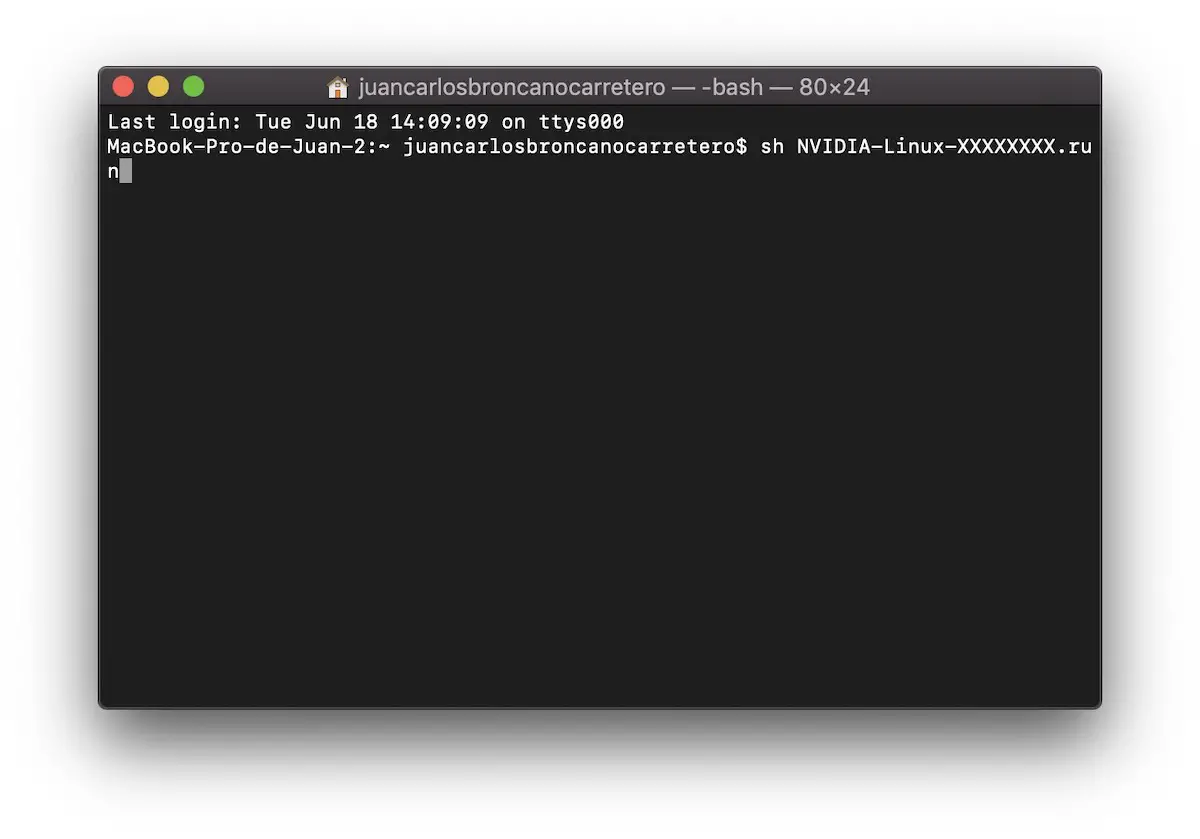
Finally, we will write the following command:
- sh NVIDIA-Linux-XXXXXXXX.run
The drivers will automatically be installed on our Linux computer.