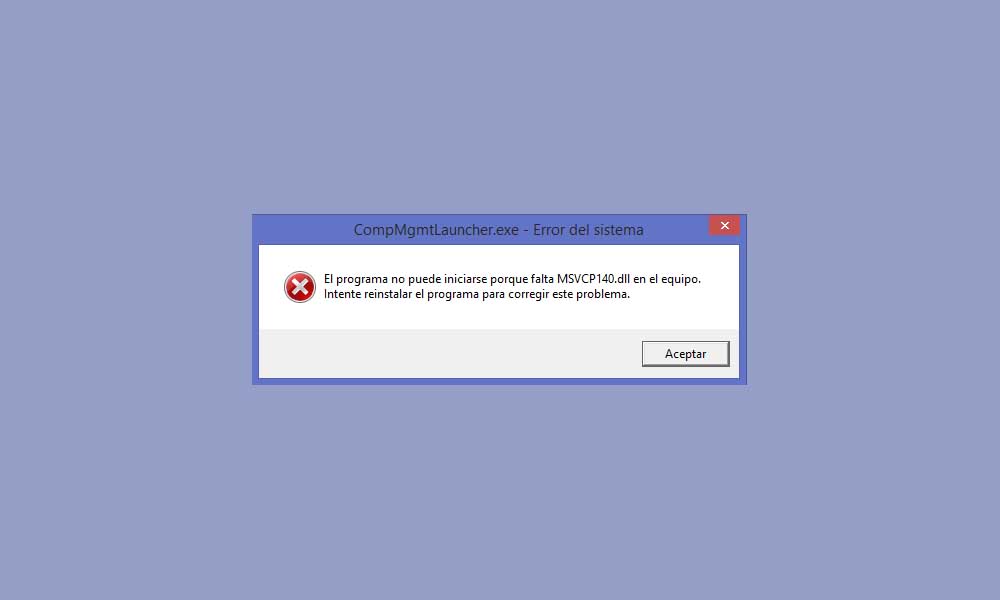
“The program can’t start because msvcp140.dll is missing from your computer. Try reinstalling the program”, “The program can’t start because msvcr120.dll is missing”… There are many messages referring to the same error: missing file [file name].dll. As a general rule, this error is usually related to the Visual C++ libraries of Visual Studio . In other cases, this error may be due to the fact that the system is not able to find the library in question in Visual C++, which forces us to resort to a manual installation. Whatever your case, this time we will show you how to solve any error related to libraries with a DLL extension in Windows 10 , Windows 7 and Windows 8.
Solution 1: Reinstall Visual C++ on Windowsç
Libraries with a .dll extension draw, for the most part, from Visual C++, a native Windows program that can sometimes cause conflicts with the system. To solve any error of the type Missing file.dll, the way to proceed is to reinstall the program in question .

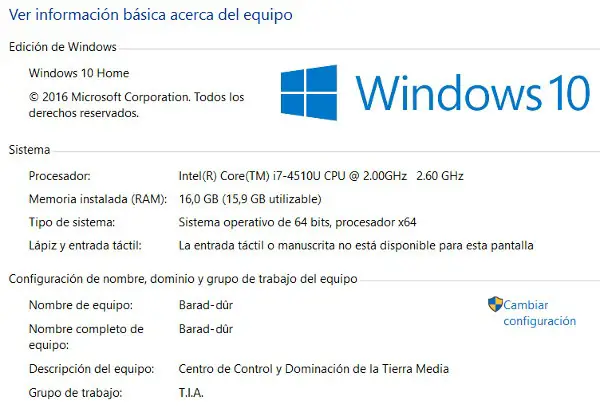
Before proceeding with the download of the program, it is necessary to know the type of system that our computer has: 32 or 64 bits. To do this, as simple as right-clicking on the Windows icon in the Start bar and accessing the System option. In System type we can see the type of system in number of Windows bits.
Once we have verified the system that our PC runs, we will download the corresponding version of Visual C++. Finally we will install the program and restart Windows so that the changes are applied correctly .
Solution 2 – Download the file manually
In the event that the previous method did not work, the following method is based on installing the file with the DLL extension manually. We leave you below with a list of .dll files to download:
- 0XC0000142
- MSVCP140.dll
- VCRUNTIME140.dll
- MSVCP100.dll
- MSVCP120.dll
- D3DX9_43.dll
- MSVCR100.dll
- XINPUT1_3.dll
- MSVCR110.dll
- API-MS-WIN-CRT-RUNTIME-L1-1-0.dll
- D3DX9_39.dll
- MSVCR120.dll
- MSVCR71.dll
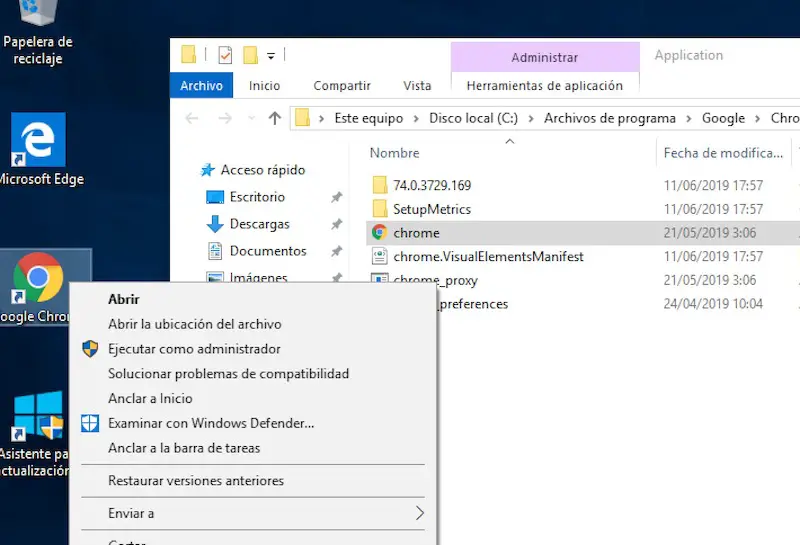
As with Visual C++, before proceeding with the download of the file we will have to make sure of our system type. When we have downloaded the library, we will move it to the folder of the program that is generating the conflict. In the case of Google Chrome, for example, the way to proceed is as simple as right-clicking on the program within the Windows Desktop and clicking on Open file location .

Finally we will move the file to the Chrome folder. To prevent the error from happening again with other programs, we will move a copy of the file to the following address:
- C:\Windows\System32\
Solution 3 – Resort to Command Prompt
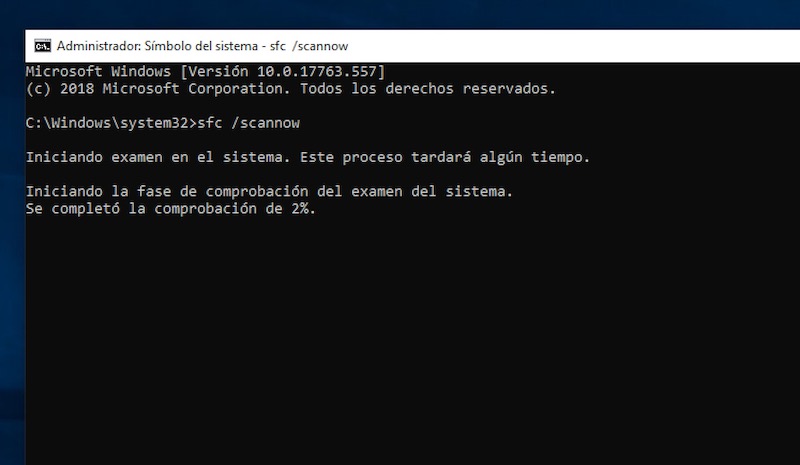
Has none of the above worked? CMD, better known as Command Prompt can be the solution. To do this, we will write the name of the program in the Windows search bar and access it with administrator privileges by right clicking on it.

Once inside, we will write the following command:
- sfc /scannow
Windows will automatically run a diagnostic tool that will try to find and repair all damaged system files . When the tool has finished running, we will type the exit command and restart the computer.