HDMI is the primary way to connect multiple components such as televisions, video projectors, Blu-ray and Ultra HD disc players, receivers, media streamers, and even cable/satellite boxes. When an HDMI connection goes wrong, there are a few things you can do that will, in most cases, fix it.
Copy protection and HDMI handshake
One of the goals of HDMI is to make it easy to connect all your components to each other by using a single cable for audio and video. However, there is another purpose for the implementation of HDMI: copy protection (known as HDCP and for 4K HDCP 2.2). This copy protection standard requires that components connected to HDMI be able to recognize and communicate with each other.
This ability to recognize and communicate is called an HDMI handshake . If the ‘handshake’ does not work, the HDCP encryption that is built into the HDMI signal is not properly recognized by one or more of the connected components. Most of the time, this results in you not being able to see anything on the TV screen.
Before the frustration sets in, there are a few things you can do yourself if you find that your HDMI-connected components aren’t communicating properly.
HDMI Troubleshooting Tips
This is a list of the key things you can do to fix HDMI connection issues before you panic.
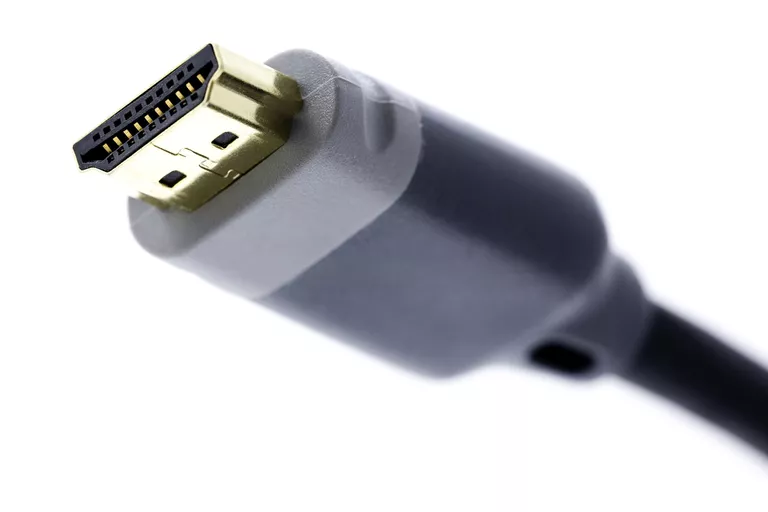
- Check the HDMI cable connections: HDMI connections do not fit as tightly as component or composite video connections and can sometimes come off if the equipment is moved slightly. If this is an issue, consider getting HDMI cable locks or getting self-locking HDMI cables.
- Try a different power-up sequence for your components: If you’re in the habit of turning on the TV first, then the Blu-ray Disc player or other HDMI source component, try the reverse power-up sequence and see if it works. Also, if you have a Blu-ray Disc player or other component hooked up to a home theater receiver and then to the TV, try different startup combinations and see if it works. If you find a sequence that works, remember it. Of course, make sure everything is turned on and that you’ve selected the correct input on your TV that your Blu-ray Disc player or other source component is connected to.
However, if changing the power sequence of the TV and connected components doesn’t seem to work, with both the TV and the source component turned on, simply try switching to another input on the TV, and then switch back to HDMI to see if the signal is blocked. incorrectly.
Once you have determined the best firing sequence, write it down for future reference.
- Check your source device’s video resolution output setting: If your Blu-ray Disc player or other HDMI source device has a video resolution output setting menu, check to see if it’s set to AUTO. If so, readjust it to match the native resolution of your TV or projector (for example, 720p, 1080p, or 4K, if you have a 4K-capable TV or projector) and see if this provides a more stable result.
- Use the Elimination Process: If you have a Blu-ray Disc player (or other HDMI source) connected to a home theater receiver on a TV and still get nothing to display your TV screen no matter what power-up sequence you try, use the removal process. Connect the Blu-ray Disc (or other HDMI source) directly to the TV. This bypasses the home theater receiver. Let’s see if that works. If so, the culprit is most likely the home theater receiver or the HDMI source component/home theater receiver combination. What you can do now is keep the HDMI source connected directly to your TV, and then make a separate audio connection from your source device (such as a Blu-ray Disc player) to your home theater receiver.
- Check for Firmware Updates: If you find that none of the above solutions work or work consistently, check to see if there are any firmware updates announced for your HDMI source and home theater receiver (or even your TV) that might resolve this issue. Also, check to see if there have been any complaints filed or posted by other users regarding issues with the HDMI handshake of your components.
The HDR Factor
The implementation of HDR on a growing number of 4K Ultra HD TVs can also cause connection issues.
If you have an HDR-enabled source device, such as a UHD Blu-ray Disc player or Media Streamer connected to an HDR-enabled TV/Video projector, and you’re trying to access HDR-enabled content, you may find yourself in a difficult situation. situation where the TV/video projector does not recognize HDR content.
When an HDR TV or video projector detects an incoming HDR signal, a brief confirmation indicator should appear in the upper left or right corner of the screen. If you don’t see this indicator, or if you see a message on the TV or source component screen indicating that you need to connect the HDR source to an HDR-compatible TV, or if a message appears indicating that the incoming signal has been downgraded to 1080p Due to the lack of proper HDR detection, there are ways to correct this problem.
- Make sure you are using high speed HDMI cables (at least 10.2 Gbps nominal – with 18 Gbps preferred).
- If you have your HDR source routed through a home theater receiver to a compatible TV/Video projector, make sure your home theater receiver also supports HDR.
- Go to your source device’s video resolution output settings and make sure it’s set to AUTO. If so, change the output resolution setting to 4K (sometimes called 4K/2K) and see if that corrects the problem. The reason this issue occurs is that the TV/Video projector firmware may not be reading the HDR signal correctly when the video resolution setting output is set to AUTO, so change the device setting source to 4K may correct the problem. Check that your TV/Video projector has the latest firmware update.
- If possible, upgrade all your HDMI cables to ones that support 18Gbps transfer speed. This doesn’t make any difference to the handshake problem, but does solve the problem with any new or future HDMI features you might need.
- After changing the settings and upgrading the cables, if the TV/Video projector still does not recognize the HDR source, then get content support for the TV/Video projector, or even the source device(s), and check if they can fix the problem.
Troubleshooting a HDMI to DVI or DVI to HDMI connection
Another HDMI connection issue sometimes arises when you need to connect an HDMI-enabled device to a TV or monitor that has a DVI connection, or a DVI-enabled source device to an HDMI-equipped TV.
In this case, you must use an HDMI to DVI conversion cable (HDMI on one end – DVI on the other) or use an HDMI cable with an additional HDMI to DVI adapter or a DVI cable with a DVI to HDMI adapter.
The additional requirement is that the DVI-equipped device you are connecting is HDCP-enabled. This allows proper communication between HDMI and DVI devices.
Another thing to note is that where HDMI can pass both video and audio signals, DVI connections can only pass video signals. This means that if you successfully connect an HDMI source component to a DVI-equipped TV, you still have to make a separate connection to access the audio. Depending on the TV, this can be done through an RCA or 3.5mm audio connection.
Normally there should be no problem converting HDMI to DVI, but there can be. For example, you will find that 3D and 4K signals are not supported. With standard 480p, 720p, or 1080p resolution video signals, most of the time this is successful, but you may experience that some adapters and conversion cables don’t work as advertised. If you’re experiencing this problem, it may not necessarily be the TV or another component. You may have to try a couple of adapters or cables from different brands.
You may also run into a situation where older DVI equipped TVs, even if they are HDCP compliant, may not have the proper firmware to recognize the identity of the HDMI source component you are trying to connect. If you find yourself in this situation, it’s a good idea to call technical support for your TV or source component before proceeding.
Connecting your PC/Laptop to a TV via HDMI
With more consumers using their PC or laptop as a home theater source, problems may arise when trying to connect an HDMI-equipped PC/Laptop to an HDMI-equipped TV. Be sure to go to your PC/Laptop settings and designate HDMI as the default output connection. If you can’t get an image from your laptop to appear on your TV screen, try the following:
- Try booting your PC/Laptop with the HDMI cable connected to a TV on.
- You can try to boot the PC/Laptop while the TV is off, and then turn on the TV.
- If the above options don’t work, try booting up your PC/Laptop first, and with the TV turned on, connect the HDMI cable to both your PC/Laptop and your TV.
If you can’t connect your PC to your TV using an HDMI cable, if your TV has a VGA input, you may need to use that instead.
HDMI without cables
Another form of HDMI connectivity available is “Wireless HDMI”. This is most commonly done by using an HDMI cable coming out of a source device (Blu-ray Player, Media Streamer, Cable/Satellite Box) to an external transmitter which sends the audio/video signal wirelessly to a receiver which then in turn, connects to a TV or video projector using a short HDMI cable. Currently, there are two competing “wireless HDMI” formats, each supporting its own product group: WHDI and Wireless HD (WiHD).
On the one hand, both options are designed to make it more convenient to connect HDMI sources and displays without an unsightly HDMI cable (especially if your TV or video projector is across the room). However, as with traditional wired HDMI connectivity, there can be “oddities” such as distance, line-of-site issues, and interference (depending on whether you’re using WHDI or WiHD).
In addition, there are differences in how both methods can be implemented at the make and model level, such as whether some 3D and surround sound formats can be accommodated, and most “HDMI wireless” transmitters/receivers cannot. they support 4K but, as of 2015, this is starting to be implemented.
If you install a “wireless HDMI” connection option and find that it isn’t working properly, the first thing you should do is try changing the position, distance and power-up sequence of the components and see if that resolves the issue.
If after setup the issue cannot be resolved, please contact technical support for information on your specific “Wireless HDMI” connection product. If this still doesn’t resolve the issue, the “stability” of a traditionally wired HDMI connection setup might work better for you. For long distances, there are also additional HDMI connection options to consider.
The final result
Like it or not, HDMI is the default interface used to connect home theater components to each other. It was originally designed to provide a single, convenient connection for both audio and video, with built-in copy protection and the added ability to upgrade over time. However, due to the fact that both source and display devices have to communicate and recognize each other and the encoded content has to be detected correctly, failures can occur. However, following the practical steps outlined above can resolve most HDMI connection issues.
Disclosure E-commerce content is separate from editorial content and we may receive compensation in connection with your purchase of products through links on this page.