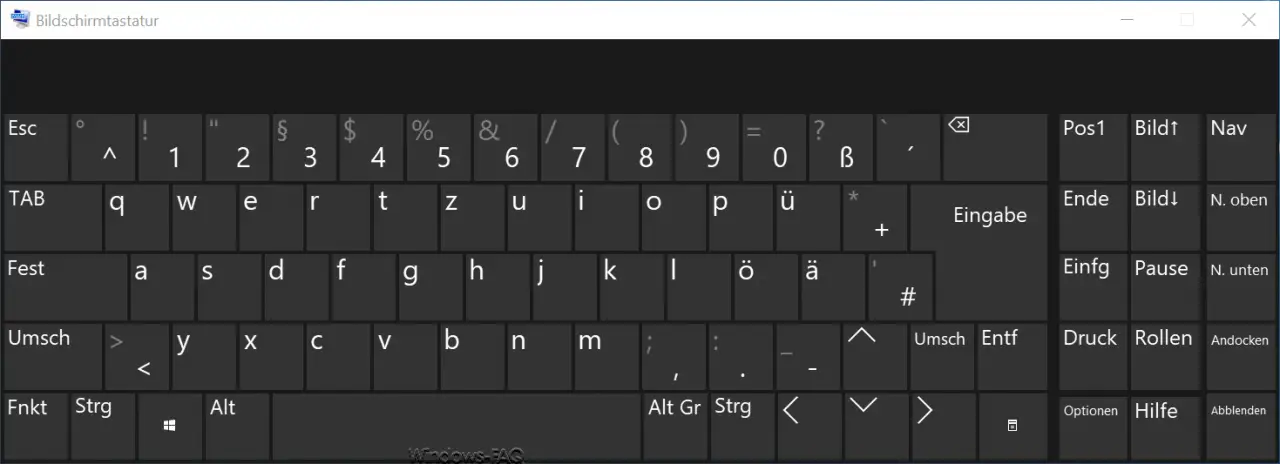
The Windows 10 on-screen keyboard is usually a very pleasant function and when using mobile Windows devices. This virtual keyboard gives you access to all the necessary keys without physically connecting a keyboard . The Windows 10 on- screen keyboard currently looks like this.

Unfortunately, many users find this virtual on-screen keyboard annoying and want to switch it off completely. The deactivation of the Windows 10 screen keyboard works in two ways.
Switch off the on-screen keyboard via Windows 10 Settings
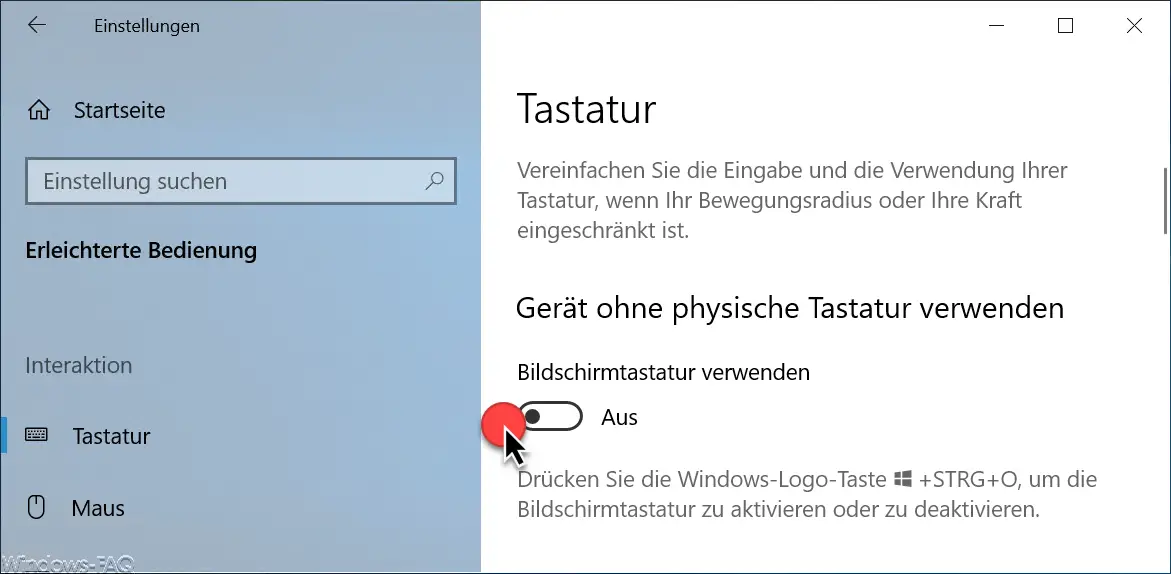
The easiest way is via the Windows 10 settings, your fastest via the Windows keyboard shortcut

can call. Then you have to go to the areas
Ease of use
and
keyboard
switch. Then you will see the desired option
Use the device without a physical keyboard

There you have the option to deactivate the “on- screen keyboard ” by setting the slide switch to ” Off “.
Even if you have deactivated the Windows on-screen keyboard, you can always use the keyboard shortcut

Call the Windows logo key + CTRL + “O” again and work with the on- screen keyboard . This will set the slide switch shown to ” On ” again.
Deactivate on-screen keyboard via Windows service
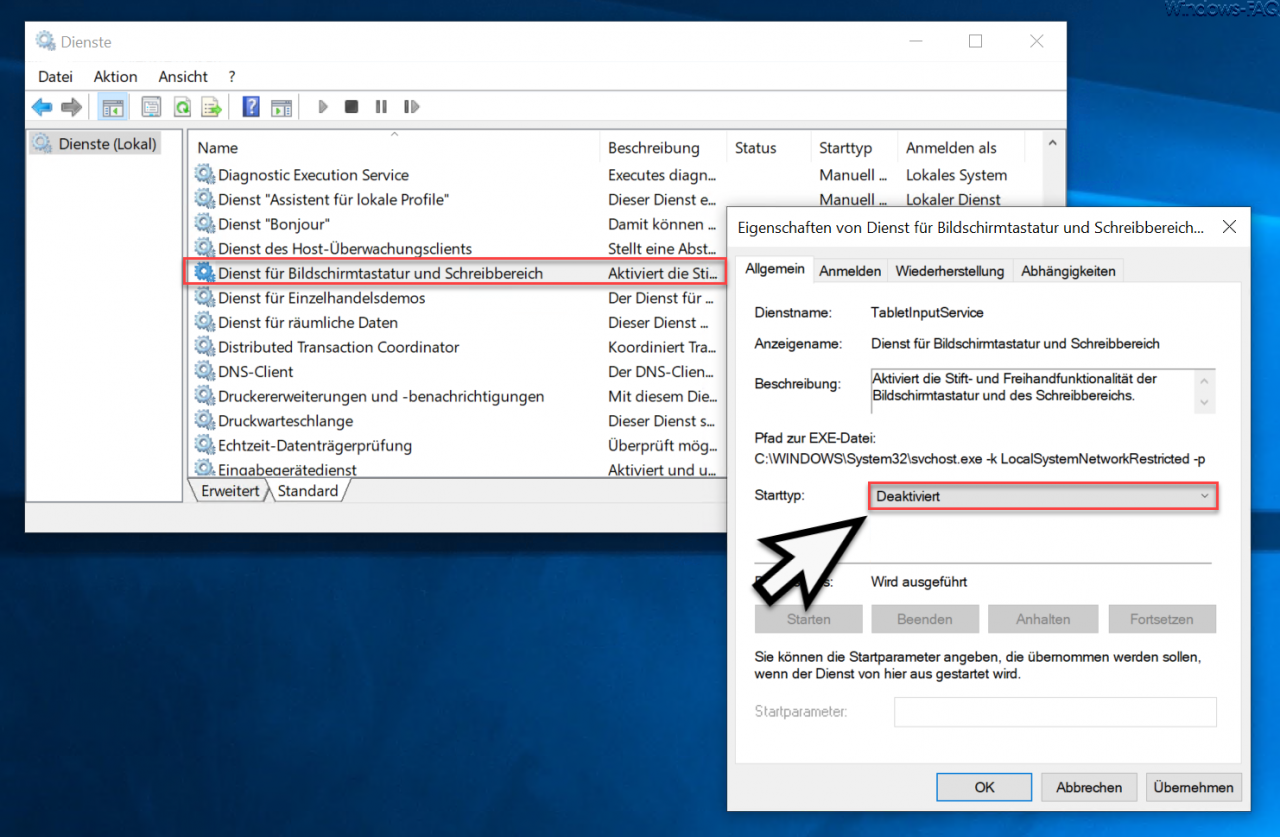
The second option is to stop or deactivate the ” TabletInputService ” service responsible for the Windows 10 on-screen keyboard . To do this, calls the Windows service management
services.msc
and scrolls up to
On-screen keyboard and writing area service

You should ” stop ” this service or set it to the start type “deactivated” . In this case, the Windows on-screen keyboard is completely deactivated and can no longer be called up using the above key combination.
Finally, we have listed further articles on the subject of ” keyboard “.
– Set the keyboard delay and repetition rate under Windows
– Hide the mouse pointer when
entering the keyboard – Switch the key tones on the Windows 10 on
-screen keyboard off or on – Remove the on -screen
keyboard symbol from the Windows 10 task bar – Start the Windows calculator quickly using the keyboard or key combination