Home networks generally do not use a network domain, but combine the existing PCs in a Windows work group . All PCs and other resources (eg printers, scanners) belonging to this work group can access the existing devices.
So it is sometimes necessary to change the name of the Windows workgroup or to adapt it to the other PCs. In this guide, we describe how this change in the workgroup name works.
Change workgroup name
First you call after pressing the key combination

the ” Run ” window and here you start the program
sysdm.cpl
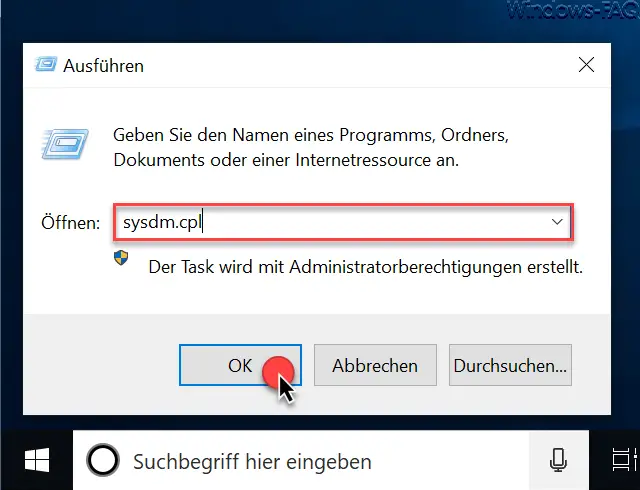
Then the program for editing the Windows system properties is called. Right in the first tab ” Computer Name ” you will find the point relatively far below
To change
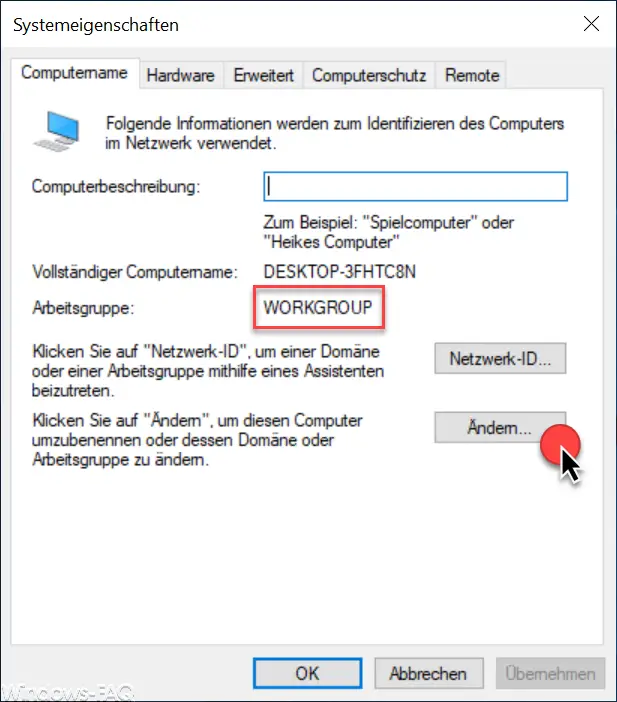
After you click ” Change “, the window for changing the Windows workgroup appears immediately.
In the field ” Workgroup: ” you can now assign a new workgroup name . In our case, we have entered the name ” NEW NAME ” as an example .
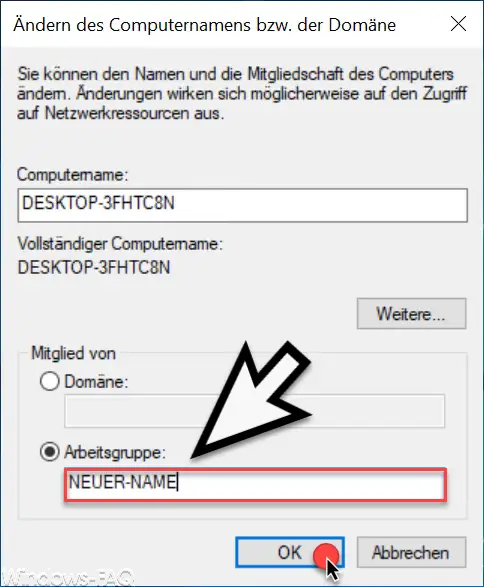
After clicking on ” OK “, the following window appears with the message
Welcome to the working group… ..
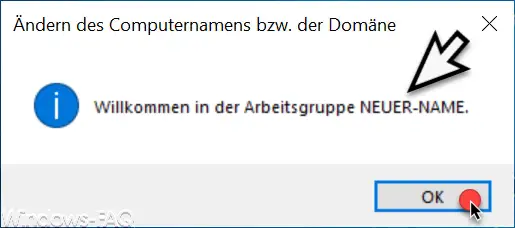
And after clicking on ” OK ” the following window is displayed.
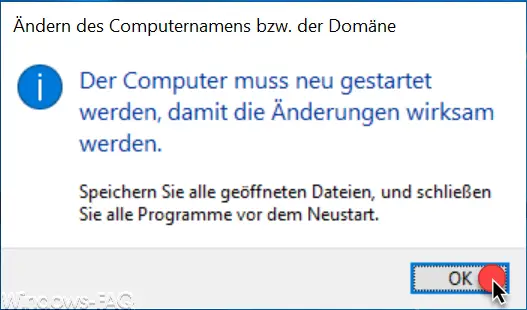
The information text is as follows:
The computer must be restarted for the changes to take effect. Save all open files and close all programs before restarting.
After pressing ” OK ” the Windows PC will be restarted immediately and you will be in the new workgroup after the restart. You can change the name of the working group as often as you like, there are no restrictions here. It is important that all PCs that should be in a workgroup really have the exact same name .
Finally, we have listed other articles that all deal with the system properties (sysdm.cpl) of Windows .
– Change the Windows computer name
– Change the size of the Windows swap file pagefile.sys
– Can not log in to the account
– Show hidden or inactive devices in the Windows device manager
– The security database on the server does not contain a computer
account for this working relationship – Optimize Windows CPU performance for programs or services