As already in part 1 ” Backup Exec – Create SDR data carrier “, we want to show today which measures are necessary before the actual SDR creation in Backup Exec . Basically, this is all very easy to do, but it takes a little time. First, the Backup Admin changes to the ” Home ” of the Backup Exec . If an SDR data carrier has not yet been created, the Backup Admin will see the following message in the ” Simplified Disaster Recovery ” area.

There simply click on the note ” Create SDR disk “. Then the ” Wizard for creating an SDR disk ” appears, which guides the user quite well through the necessary steps. First, you can choose whether we want to connect to another Backup Exec server to create an SDR disk for it. This would be useful if we have multiple backup servers , but only want to install the Windows ADK ( Windows Assessment and Deployment Kit) on one.
Specify source location
After that, the source location must be specified. As a rule, the administrator will select point 1 ” Create new SDR disk image (.iso) “, since this is the most sensible when creating an SDR disk for the first time . However, it is also possible to create the SDR disk from a CD, DVD, folder or another ISO file (image).
Installation of Windows Assessment and Deployment Kit (ADK)
Then it is checked whether the ADK , the Windows Assessment and Deployment Kit, is already installed. Without installing the ADK, no SDR disk can be installed. To do this, check the box “I understand that ADK must be installed”.
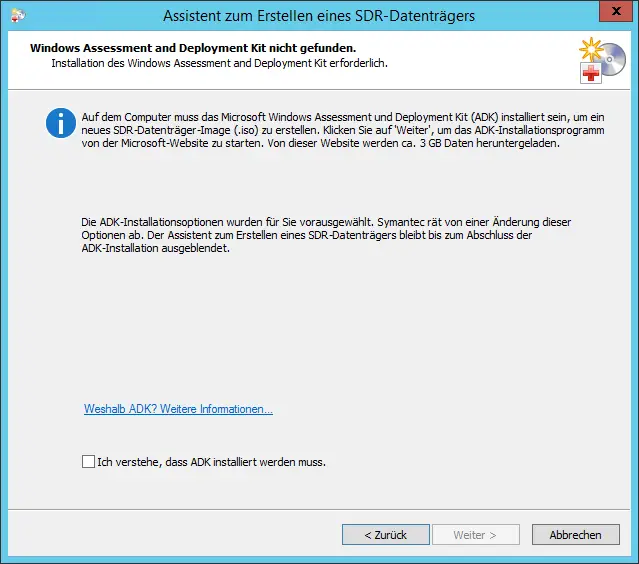
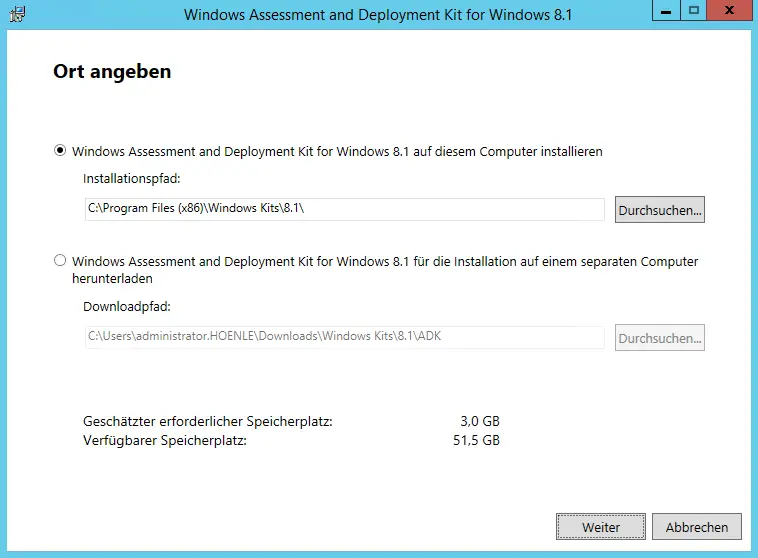
Please note that the ADK is relatively large and that approximately 3GB of data is downloaded from the Internet during installation. Then you will be asked in which folder the installation should take place.
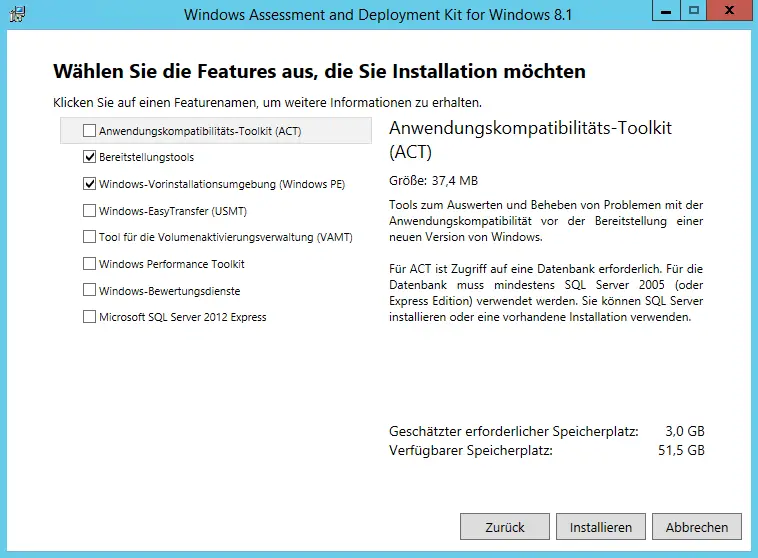
Everyone can answer the window to participate to improve the user-friendliness as desired and then accept the license agreement with Next . Finally, you will be asked to install the desired ADK features . The ” Deployment tools ” and the “Windows preinstallation environment ( Windows PE ) are activated by default. These settings can be left as they are.
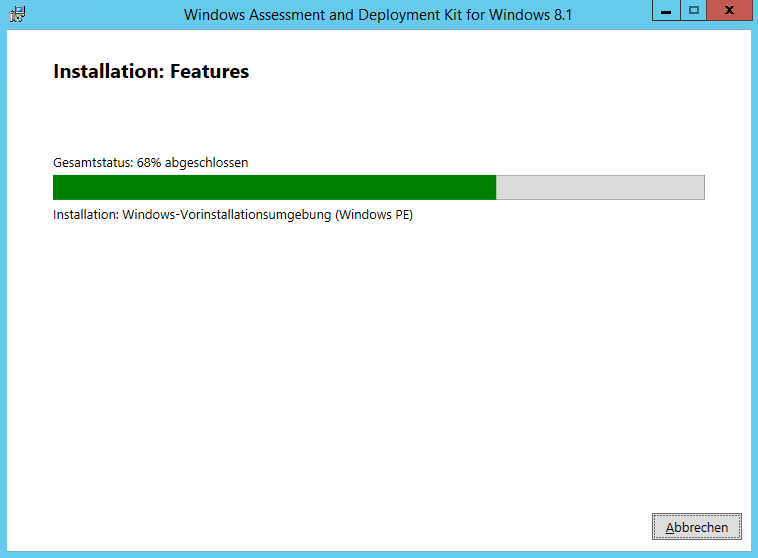
Installation of the Windows Assessment Deployment Kit
Now that occurs installation of Windows Assessment Deployment Kit (ADK) , as you can see below here can. The installation takes a relatively long time due to the size. Of course, it depends on the speed of your internet connection and the server performance . With us the installation took about 20 minutes.
After that, the necessary preparations for the creation of the SDR data carrier are completed. We then describe how the creation of the SDR data carriers works in the third part of this series. The third part of this series can be found under ” Backup Exec – Create SDR Disk – Part 3 “.
You can find many other valuable tips and tricks for Veritas Backup Exec here:
– Backup Exec 16 from Veritas available
– FP5 for Backup Exec 15 released (revision 1180)
– Hyper-V .AVHD problem with Backup Exec 15 FP3
– Copy backup job at Symantec (Veritas) Copy Backup Exec
– Symantec (Veritas) Backup Exec Error V -79-57344-33932
– Symantec (Veritas) Backup Exec error message (FIXEDB2DDevice, memory could not be deleted)
– Deduplication Option Error with Symantec Backup Exec 2014 Upgrade
– Backup Exec 2012 Snaphot Error 0xe0008526 (V-79-57344-34086)
– Symantec Backup Exec error message 0xe0008488 – Access denied
– The BackupExec Management Service could not be started – .NET Framework update error