We have already reported on Microsoft’s “Hyper-V” virtualization solution in the past. Today we would like to show you how you can create a snapshot or test point for a virtual machine (VM) using the PowerShell command and how you can quickly and easily display the existing test points.
View VM checkpoints using PowerShell
In order to display the existing test points of a Hyper-V VM, you have to use the following command.
Get-VMSnapShot -VMName NAME-DER_VM
This looks like this in the PowerShell console.
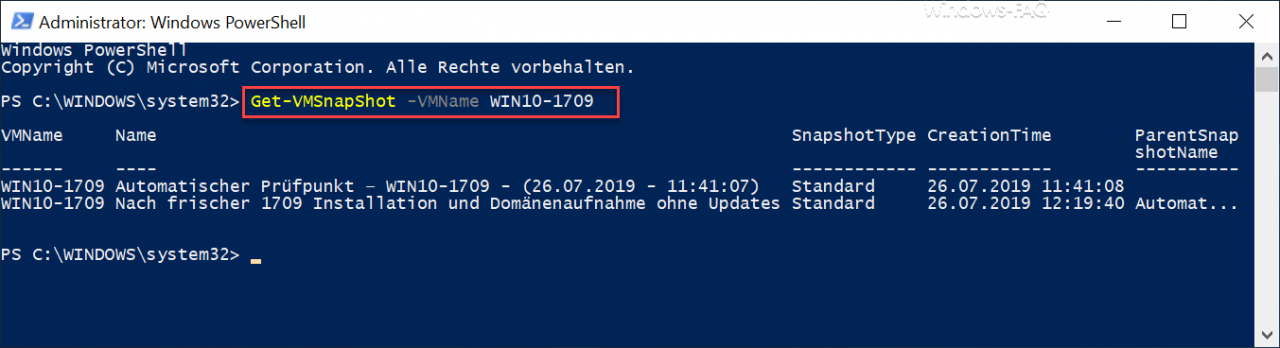
In this case you can see that the VM with the name “WIN10-1709” already has 2 test points. The date and creation time of the Hyper-V snapshot are also displayed.
Information about the virtual hard disks
If you also want to see information about the virtual hard disks ( VHD or VHDX files) of the virtual machine, you have to use the following command.
Get-VMSnapShot -VMName NAME-DER_VM | Get-VMHardDiskDrive | Get-ChildItem
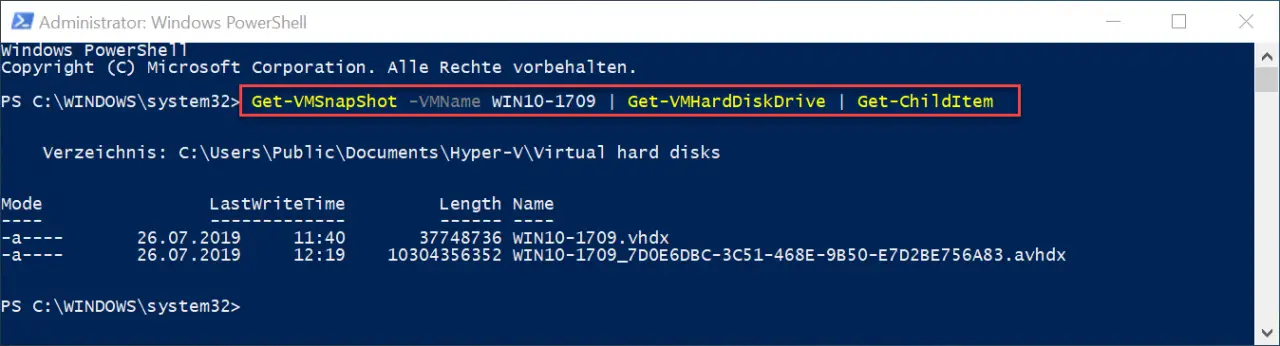
Here you can see the location of the virtual hard disks and the names of the VHDX and AVHDX files and their size.
Create Hyper-V test point using PowerShell
If you now want to create another test point for a VM , this works with the following PowerShell command.
CheckPoint-VM -VMName NAME-DER-VM -SnapShotName SNAPSHOT-DESIGNATION

After issuing this command, the Hyper-V probe will be created immediately and you will see the following display while the snapshot is being created.

After the successful creation of the VM test point , this display disappears and it appears again before the above command without feedback. Now the VM test point has been created and has been given the corresponding name.
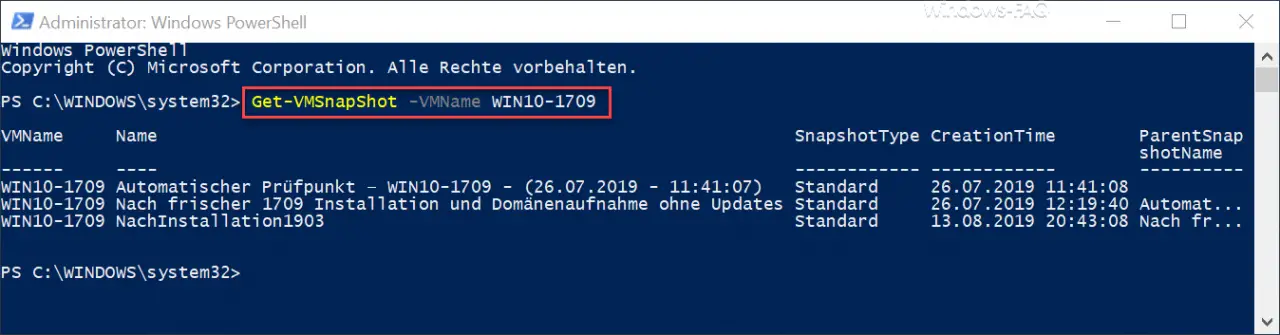
If you now want to use PowerShell to check again whether the creation of the Hyper-V snapshot really worked, you only have to issue the first command of this tutorial and then the previous and newly created test points will be displayed again, as you can see here on the following one Can see picture.
Many more tips and tricks around Hyper-V can also be found in these posts here in our Windows blog.
– Share Hyper-V VM – Easy way to clone virtual machines
– Rename VM in Hyper-V Manager or via PowerShell
– No TPM can be used on this device … Use BitLocker under Hyper-V
– Upgrade Hyper-V configuration version
– Hyper- V VMs are slow to respond to network traffic – Disable VMQ
– Automatic checkpoints for Hyper-V – Set
Hyper-V default folder for virtual machines and hard drives
– Get Hyper-V information about a VM using PowerShell
– Get versions of Hyper-V integration services
– Hyper-V Convert VM’s Generation 1 to Generation 2
– Problems with Hyper-V replication on iSCSI volume
– Microsoft Hyper-V version numbers (integration services) Overview
– Create desktop shortcuts to Hyper-V VMs
– Activate the extended session mode with Hyper-V VMs s
– Install Hyper-V on Windows 10
– Hyper-V application error when starting a copied VM
– Windows password Reset Hyper-V VM
– Stop or start Hyper-V Manager VMMS service