Microsoft added so many different ways to take a screenshot in Windows 10 that it can even be hard to find the one that works best for your workflows.
While you can use the good old-fashioned Print key to capture your entire screen and from there paste it into an image editor, edit it however you like, and save it , there are other options that are much faster than that.
Please note that most of the screenshot methods below apply to Windows 10 only . Some will work on Windows 8.1 as well, and only one, in my experience, works on Windows 7 or earlier versions of Windows.
The fastest way to capture screen on Windows 10
As a general rule, screen capture methods that save the output to a file directly are faster than methods that copy the capture to the Clipboard.
However, you could still load the saved file into an image editor to process it later, if necessary. Also, any option that requires you to run a program first is slower than one that doesn’t require you to do so.
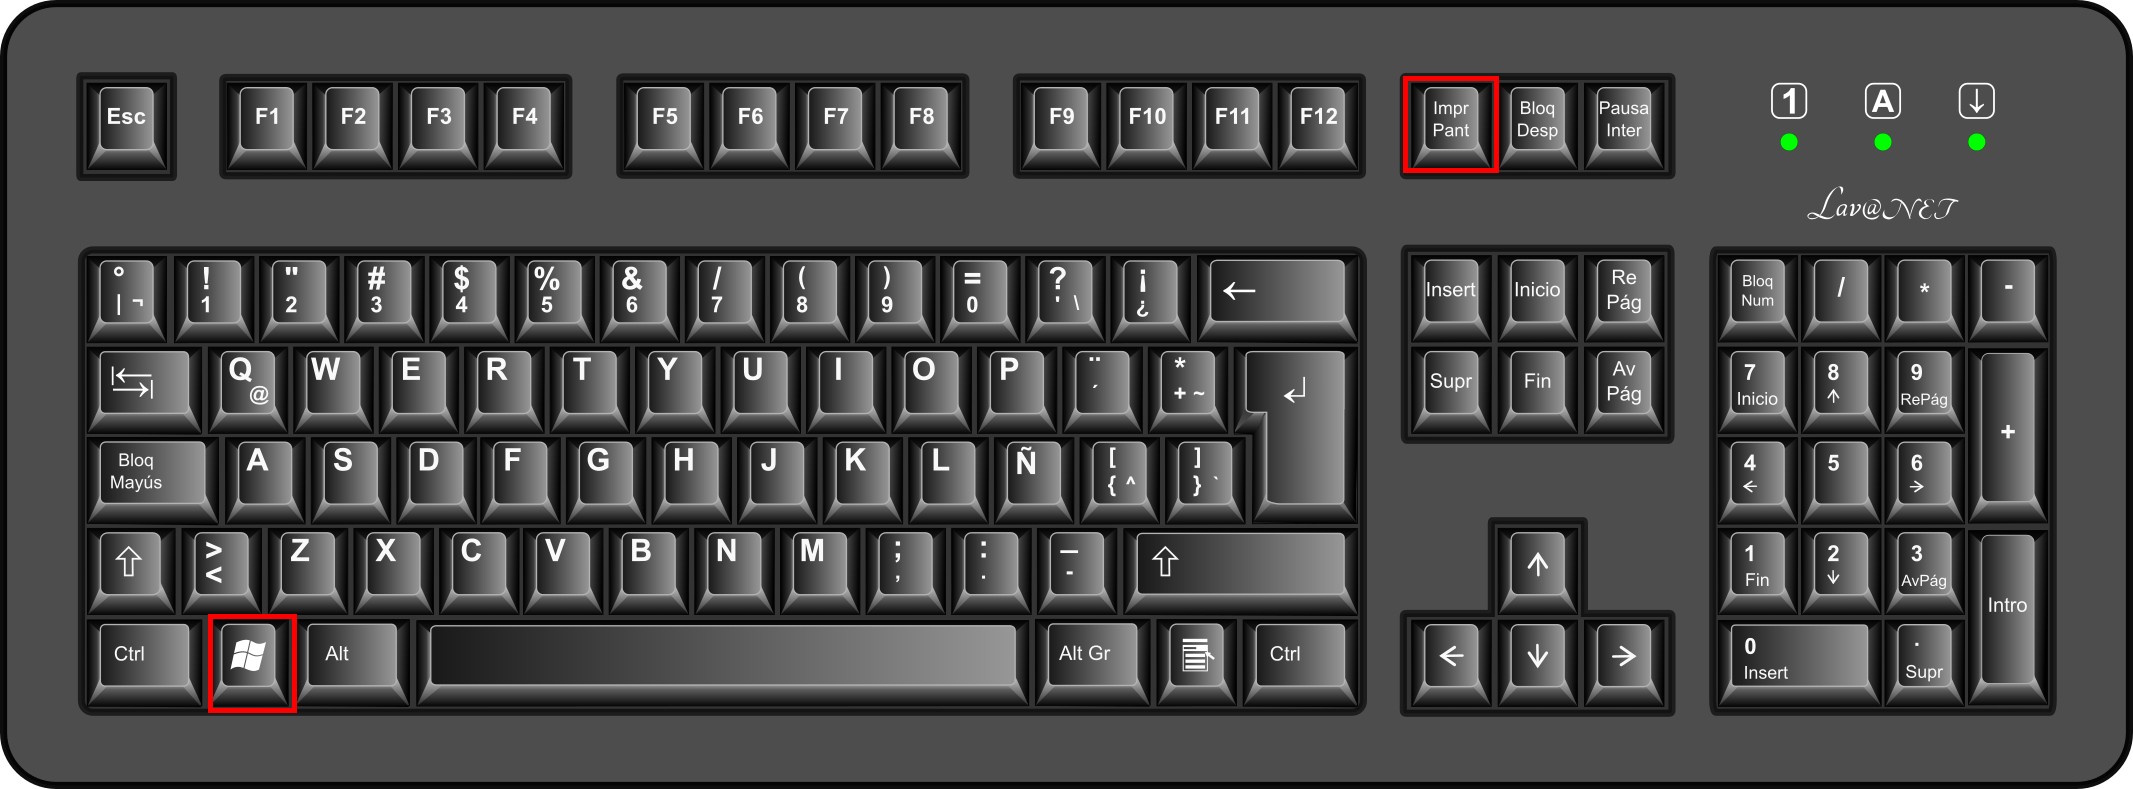
Method 1: Win+Print

The Win+Print keyboard shortcut captures the entire screen and saves the output directly as a file on the system. Laptop users may very well need to use Fn+Win+Print.
You’ll find the screenshots in C:\Users\Username\Pictures\Screenshots . Images are saved in png format, and are called Screenshot (1).png , Screenshot (2).png , and so on.
The advantage of this method is that it saves the screenshot to the system automatically. It is ideal if you want to capture the entire desktop . If you have multiple screens, it will capture them all in the same image.
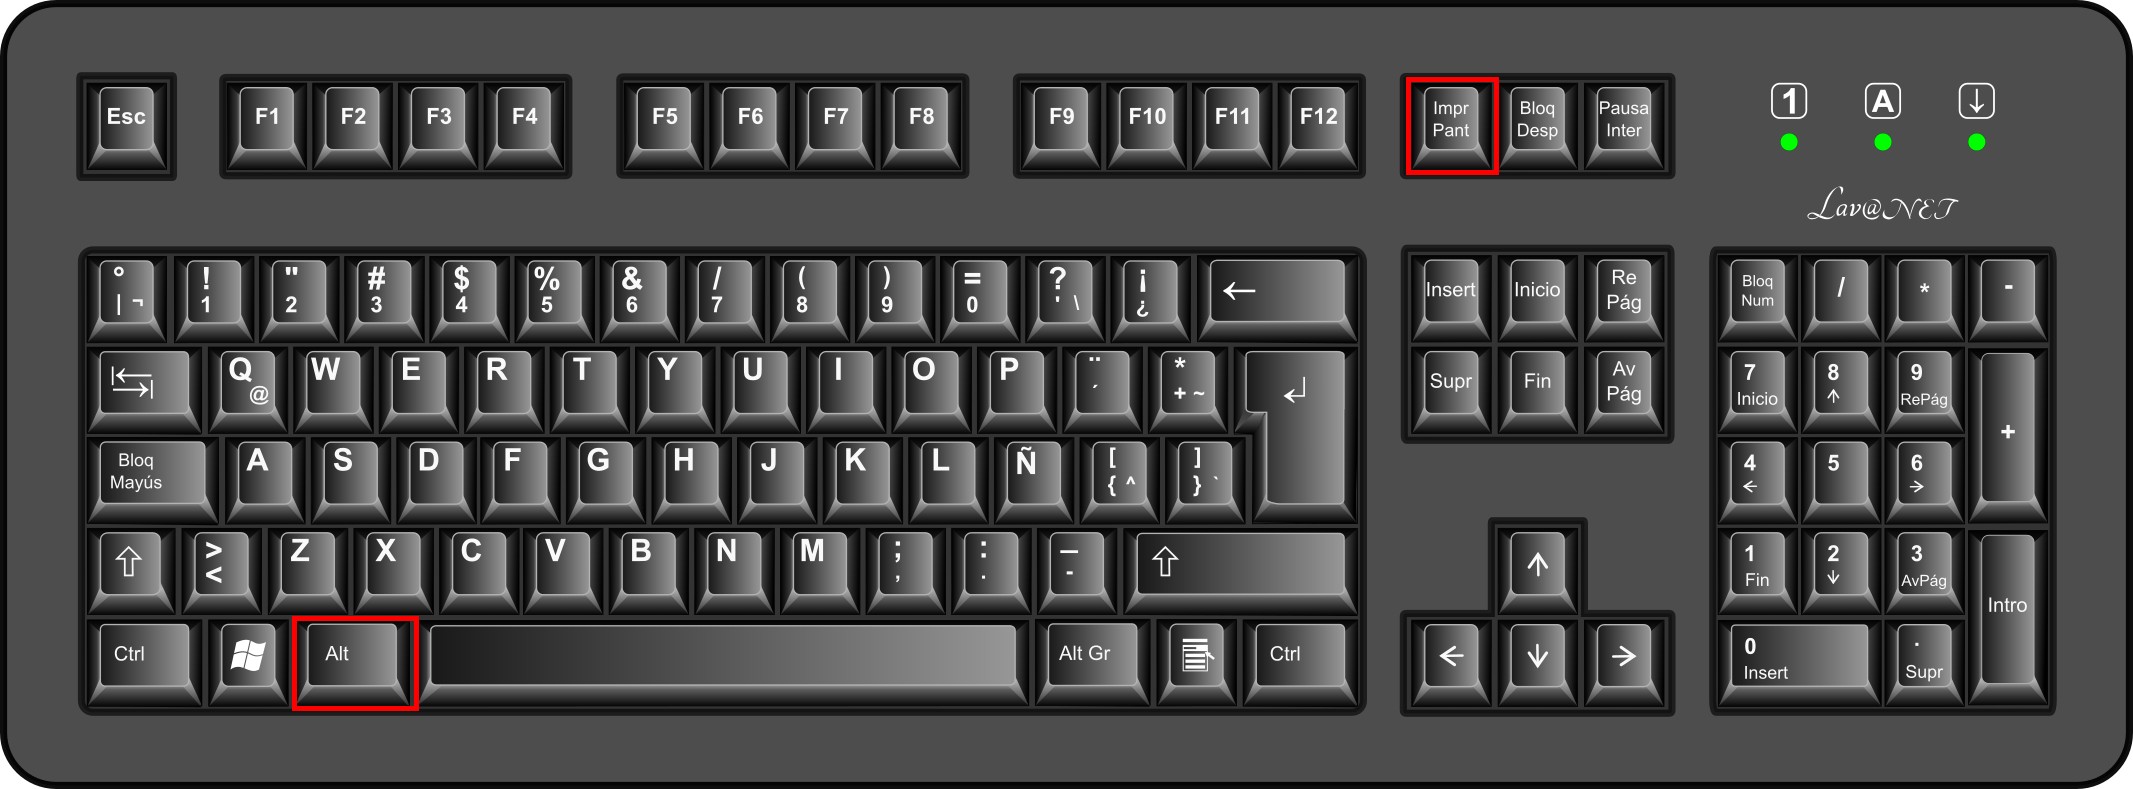
Method 2: Alt+Print

If you use the keyboard shortcut Alt+Print, you will take a screenshot of the currently active program window on your desktop. The capture is copied to the Windows Clipboard, so you will have to use an image editor to process it; Paint, without going any further.
Laptop users may very well need to use Fn+Alt+Print .
The advantage of this method is that it only captures the window of a particular program and not the entire screen. If that’s what you’re looking for, then this might be the fastest method compared to the above.
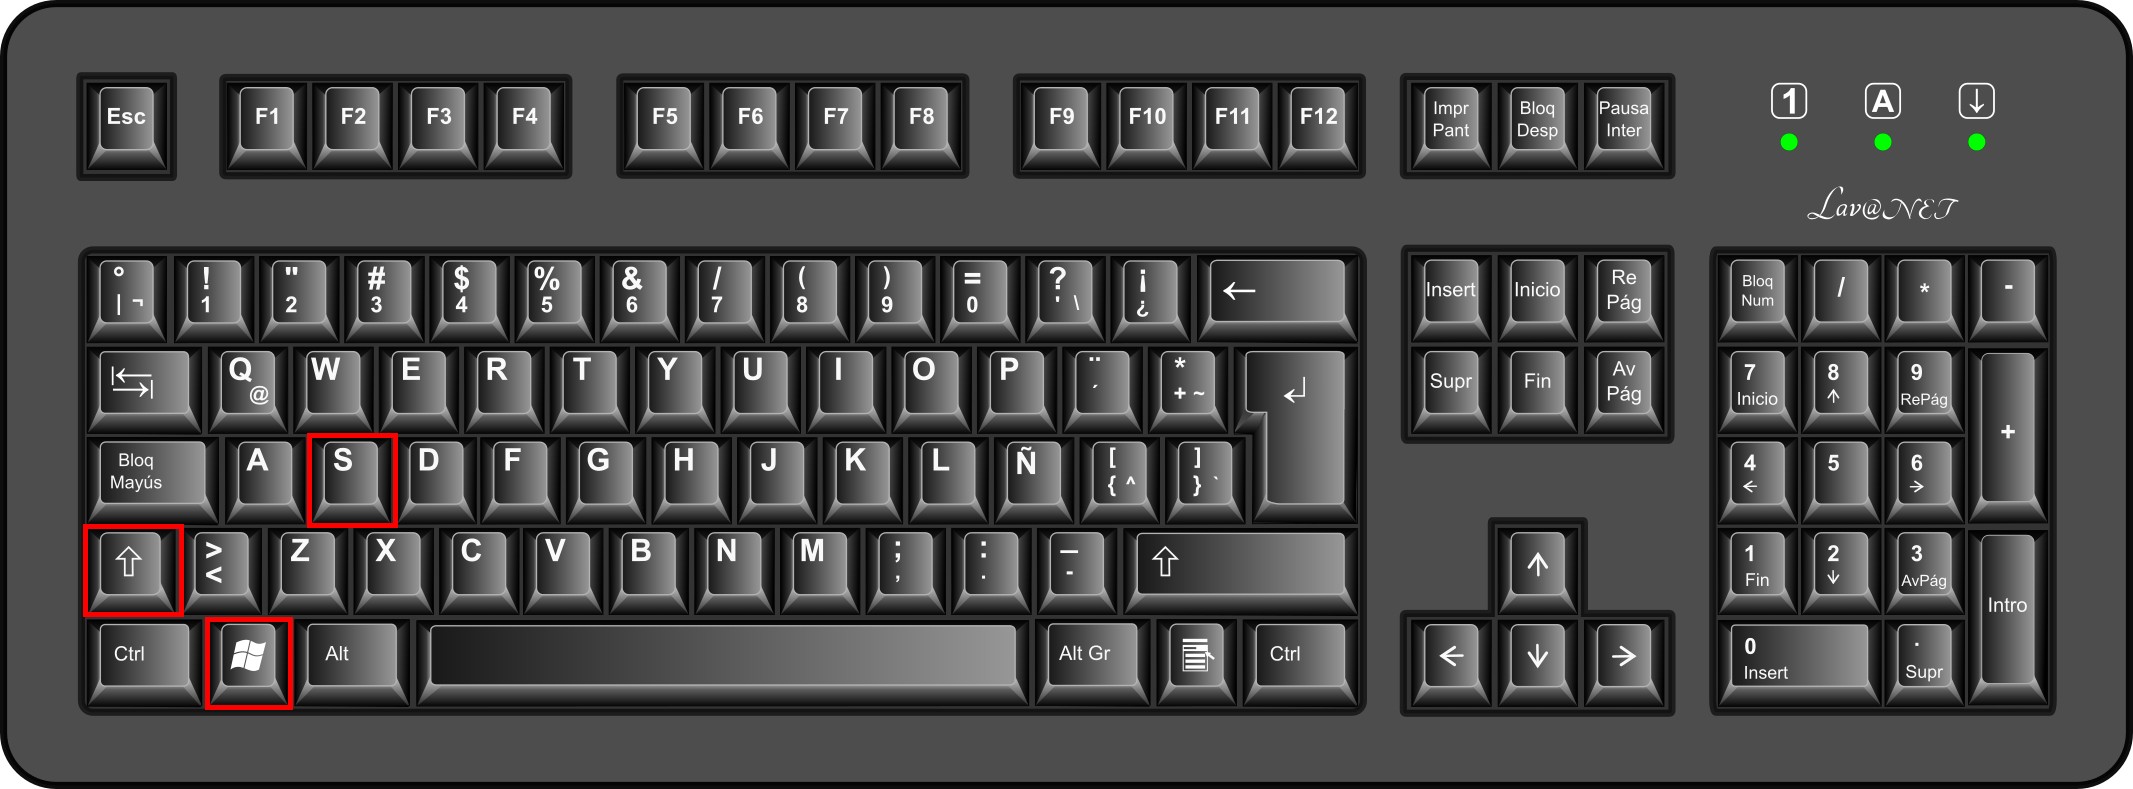
Método 3: Win+Shift+S

The third option, the keyboard shortcut Win+Shift+S, is a new way to take a screenshot in Windows 10 that Microsoft introduced in the Creators Update or “creators update”.
By using this method, the screen will become a kind of canvas on which we can draw a rectangular area over the area of the screen that we want to capture . This type of screenshot can be found in some third-party programs such as SnagIt or Greenshot.
The advantage of this option is that you capture only the area you want and not the entire screen . The downside is that, like the previous method, the screenshot is copied to the Windows Clipboard , so you’ll have to process the image in an image editor.
And again, if you’re running Windows on a laptop and the shortcut doesn’t work for you, consider using the Fn key first, so the combination would be Fn+Win+Shift+S .
Other alternatives
Snipping Tool o Recortes

We have several alternatives available to the above methods. The most notable is probably the Snipping tool . The program is available on all versions of Windows starting from Windows 7.
It is similar to third-party screenshot tools in that it must be run before it can be used, and that it has different capture modes including the ones I mentioned above. You can also configure it to take the capture with a timer .
You can run the tool by opening the Start menu, typing Snipping and pressing the Enter key. You can pin the program to the taskbar or Start menu for easy access. To do this, right-click on the taskbar icon after launching it and select the Pin to taskbar option.
Taken screenshots are automatically copied to the Clipboard, but are also loaded into the Snipping tool’s own interface with several basic editing options that you can use to erase certain parts, highlight others, or add text. The save option is also available.
PowerShell

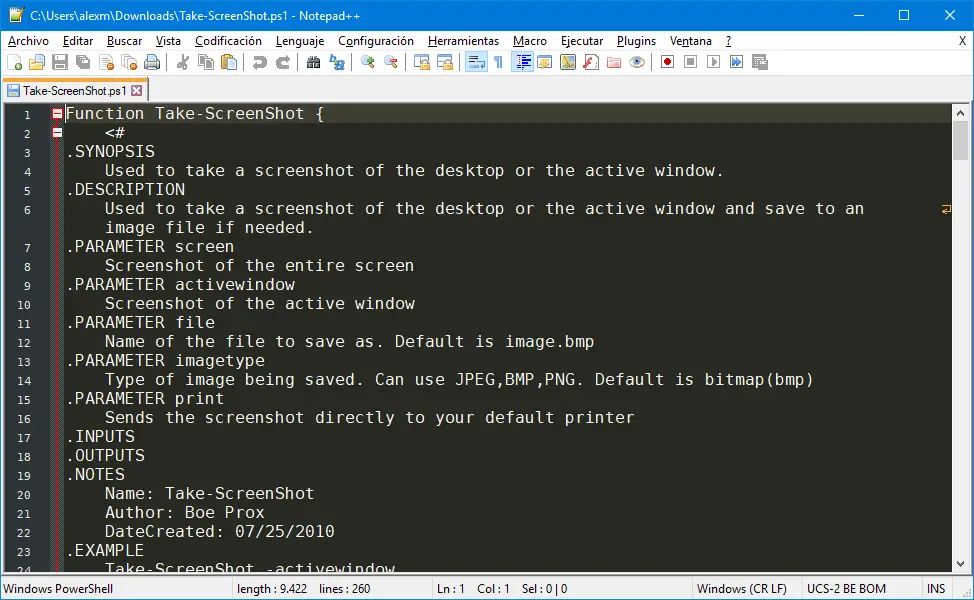
Microsoft created a PowerShell script to capture the entire desktop or an active window . It is not built into Windows, but can be downloaded from the Technet Script Center.
The script must be executed with parameters, but all the parameters are explained, so its use will not be too complicated for you.
If you’re using a tablet, hybrid computer, or mobile device running Windows, you could also use the combination of the Windows button and the Volume Down button to take a screenshot.