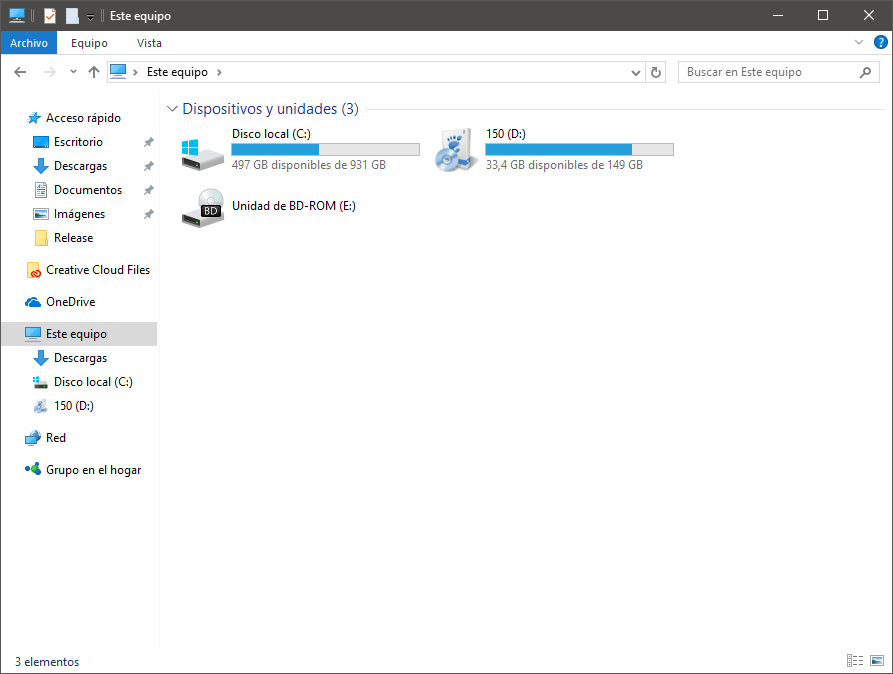
Removing folders from This PC is a change that many users would like to make since in Windows 10, unlike Windows 7, “This PC” not only contains disks, removable storage devices, and network drives, but also some user folders , such as Downloads, Pictures, or Music.
Seeing that many users are not happy with this change , I have decided to write this article to explain how to remove folders from This Computer. In addition, I am going to leave you at the end the whole procedure in a video that I uploaded a while ago to my YouTube channel.
Although it is true that there are tools that make it much easier to manage this type of feature in Windows 10, in this case we are going to do it by taking advantage of the possibility that the operating system itself offers us: modifying the registry .
The registry is a critical part of Windows and you shouldn’t touch it unless you know what you’re doing. You could make a mistake and cause the system to stop working. It is very important that you follow the instructions carefully.
Is your system 32 or 64 bit? Check it!
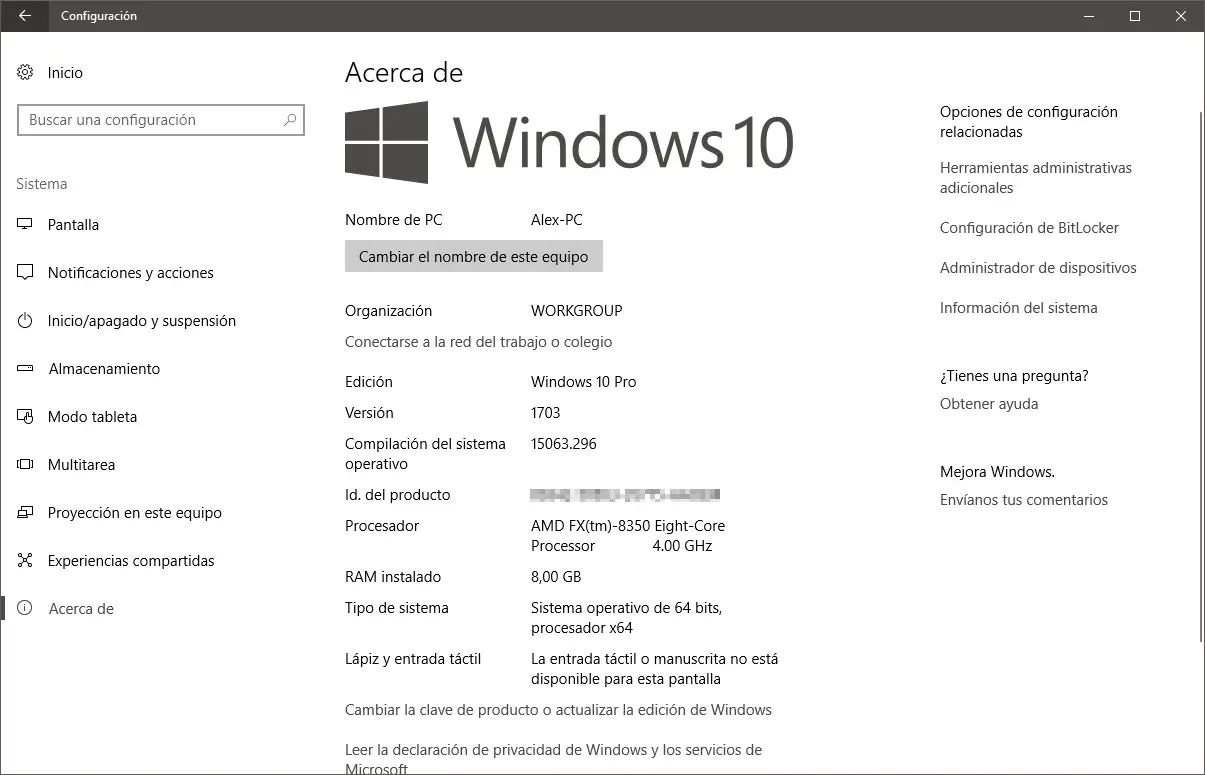
Before downloading and running the corresponding files, you need to know which version of Windows 10 you are using, 32-bit or 64-bit. It’s probably the 64-bit one, but if you’re not sure, it doesn’t hurt to do a quick check.
Pull down the start menu and open the Settings app. Go to System, select About and look where it says “System Type” to find out what version you are using.

Download and run the necessary .reg files
Now that you know the architecture of your operating system, it’s time for you to download the necessary files to remove the This PC folders.
I told you that it would not be necessary to download any application – and technically it is not, but to make the process as easy as possible for you, I have decided to create some .reg files that will do all the work for you .
To do so, you can click on this link . They are compressed files in .zip format, so you will need a utility such as WinRAR or 7-Zip (the latter is totally free) to decompress them or access the content directly by double-clicking.
I already have the files, now what?
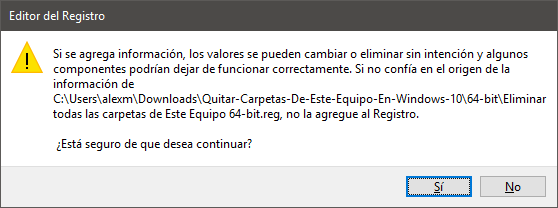
Once you have the files downloaded and unzipped, run the most appropriate one according to your preference, since there are several options available: delete all folders or delete a specific folder. Then accept the window that will ask you if you are sure you want to make the changes to the registry.

And that’s it. You should be aware that the changes may not be visible immediately until you restart the File Explorer process (explorer.exe) or log back into your computer.
To restart the File Explorer process , open Task Manager—right-click on the taskbar and select Task Manager or press Ctrl+Shift+Esc—and click on “More details”. Now, in the “Processes” tab select Windows Explorer and click on the “Restart” button.
You’ve got it. The folders have disappeared.

If you decide to revert the changes, run the appropriate registry files to restore all folders, or just the ones you deleted individually. Remember that you will have to restart the Windows Explorer process again for the changes to take effect.